Let's Build My New Laptop
Just got my new work laptop and I figured it’d be a good time to show off why it’s so fancy.
I have a particular disdain for the current state of consumer electronics. Overwhelmingly, the options available are short-lifespan, “single-use” products that you need to throw out and replace if anything happens to them. Think about the evolution of smartphones, and the design and form factor choices championed by Apple.
Not only is this bad for consumer welfare, it’s terrible from an environmental standard.
This is where Framework comes in. They’re a relatively new company (2020) that has started creating laptops that are modular, and repairable.
Drop your laptop and the screen breaks? Had it for a while and the battery life isn’t what it used to be? Order a laptop with 8GB of RAM and realise you vastly underestimated how much you’ll need because you’re running a bunch of agentic workflows and choking out your system?
All of the above is no problem. Just head over to Framework, find the replacement, and swap it out. Every part has QR codes attached to them, which link to detailed replacement instructions. Because they’re a proponent of the right-to-repair, this process is super easy. No glue or proprietary security screws!
Enough background. Let’s get to the fun stuff. Because ~~I’m a huge nerd~~ I was being price conscious, I opted for the DIY edition. That means I have to build it myself.
Oh no, what a shame.
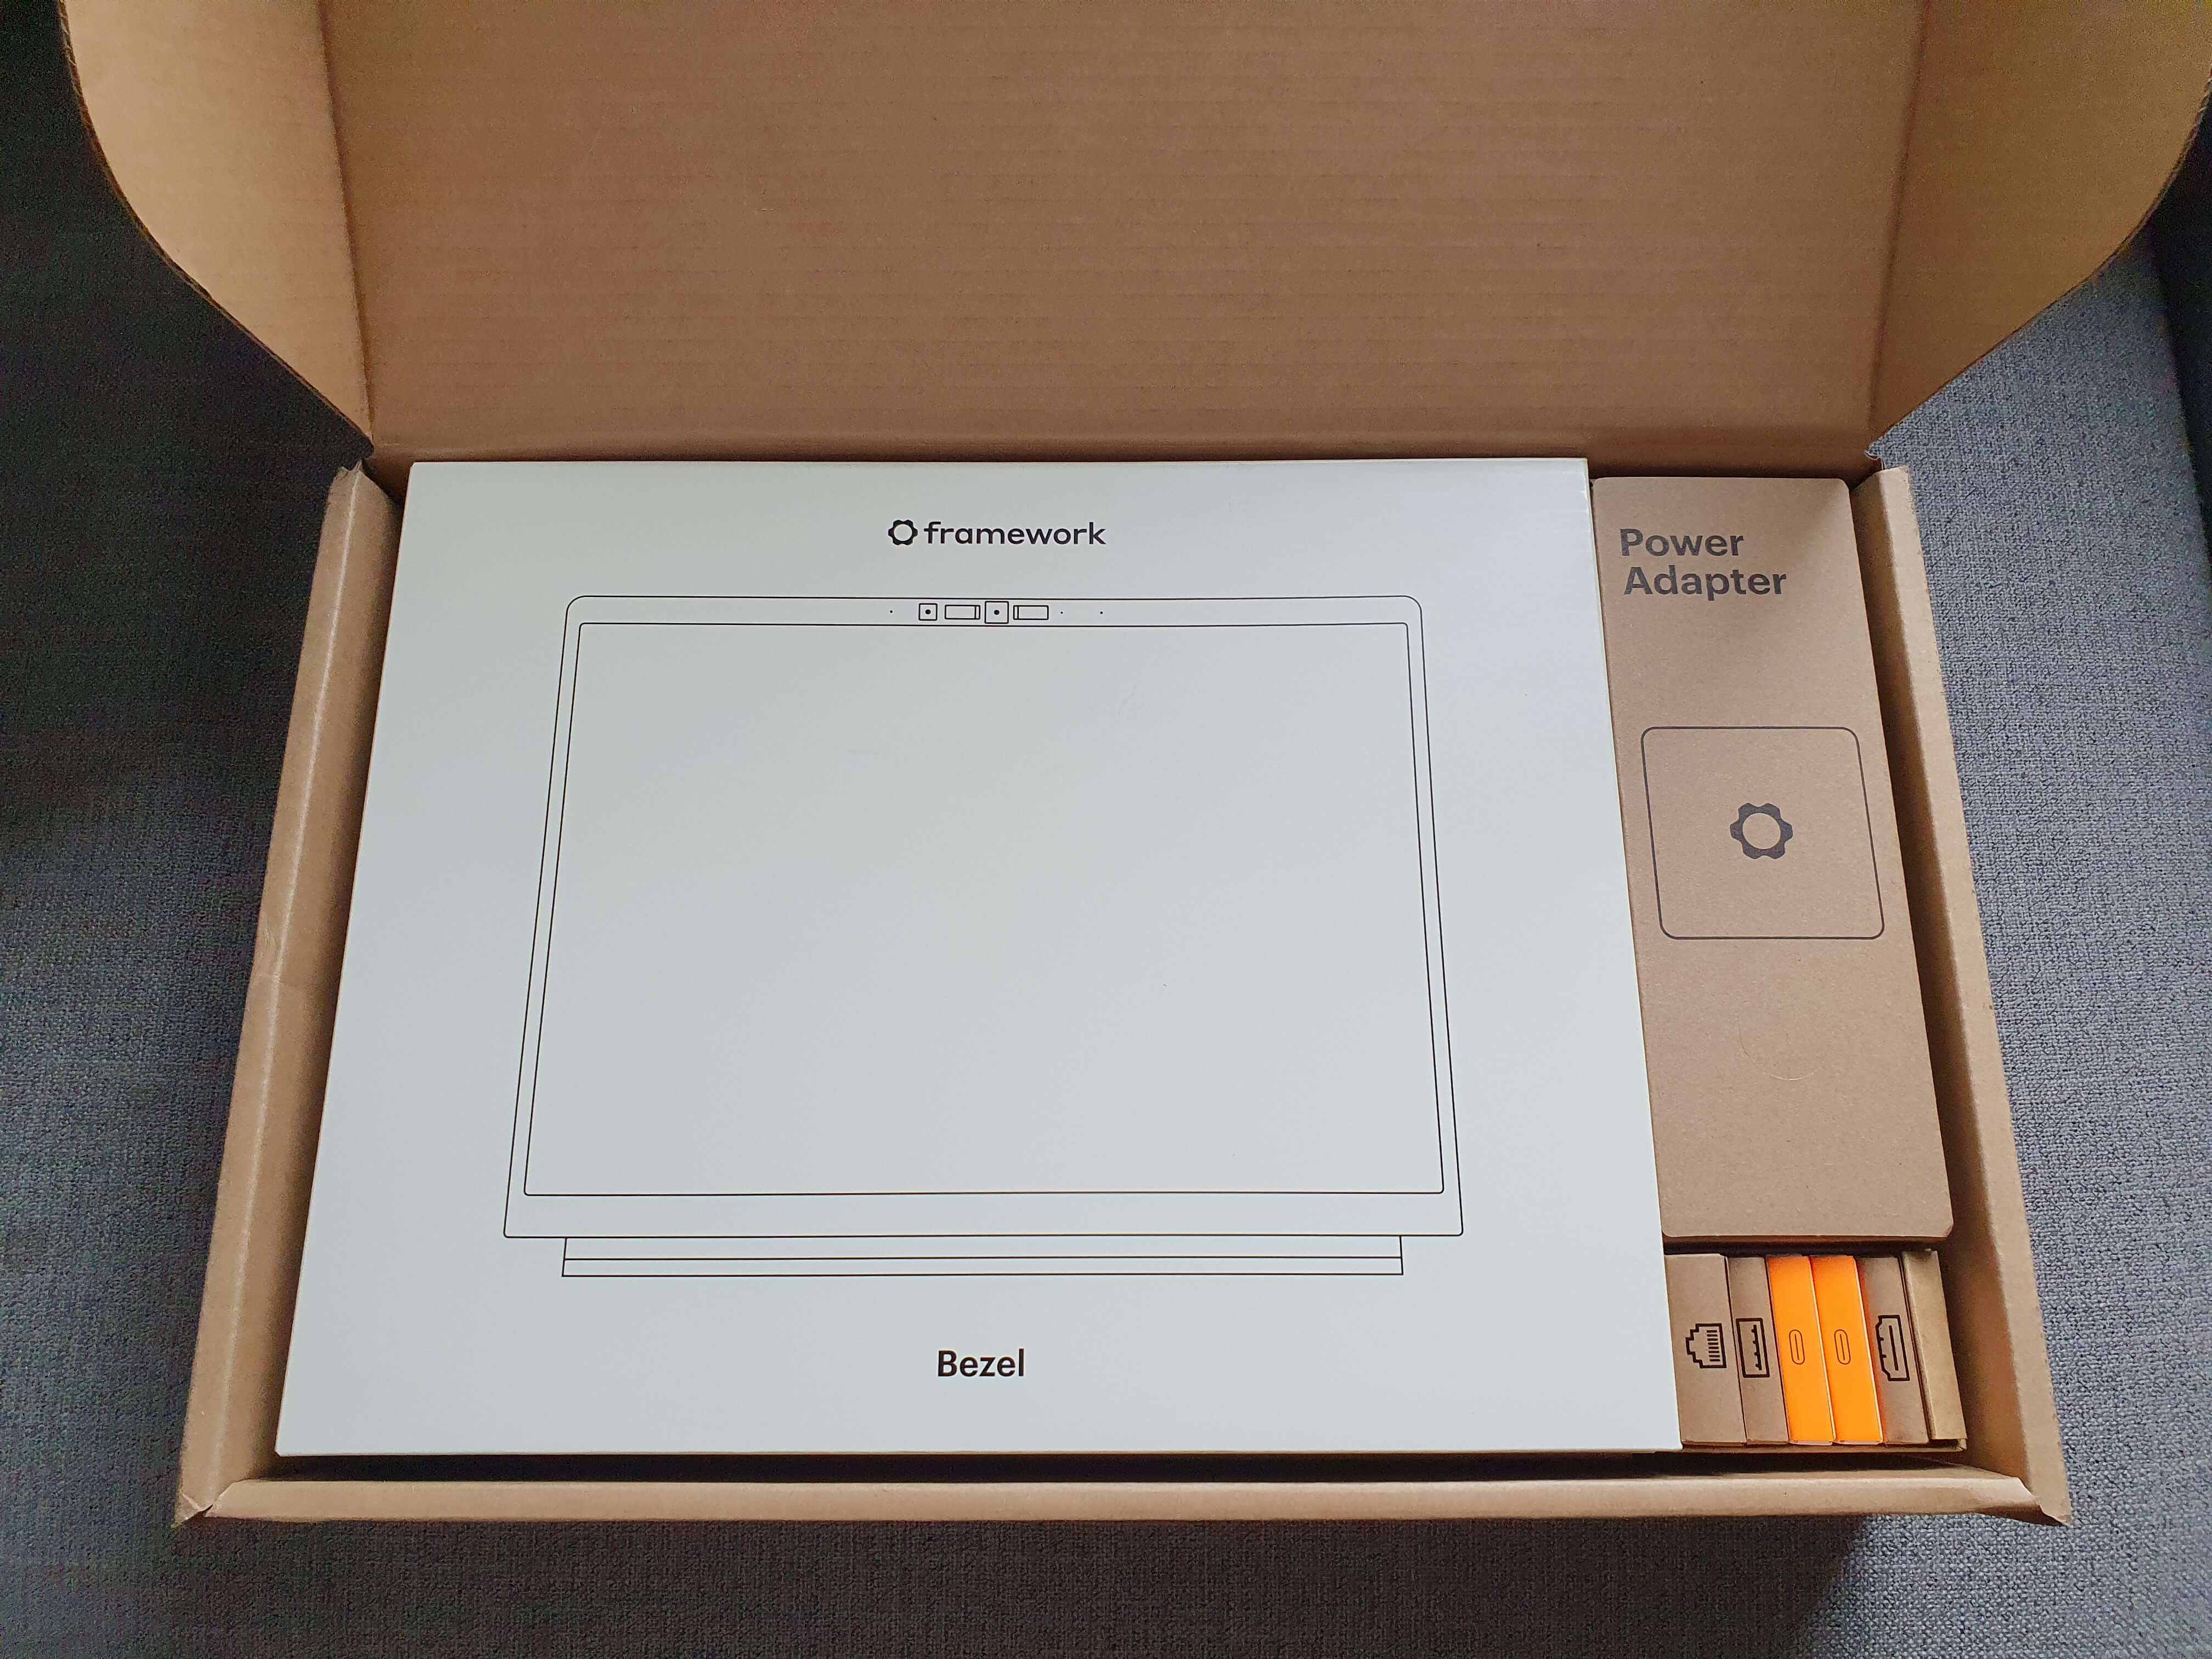
Opening the box, this is what we’re greeted with. Individually cardboard packaged components
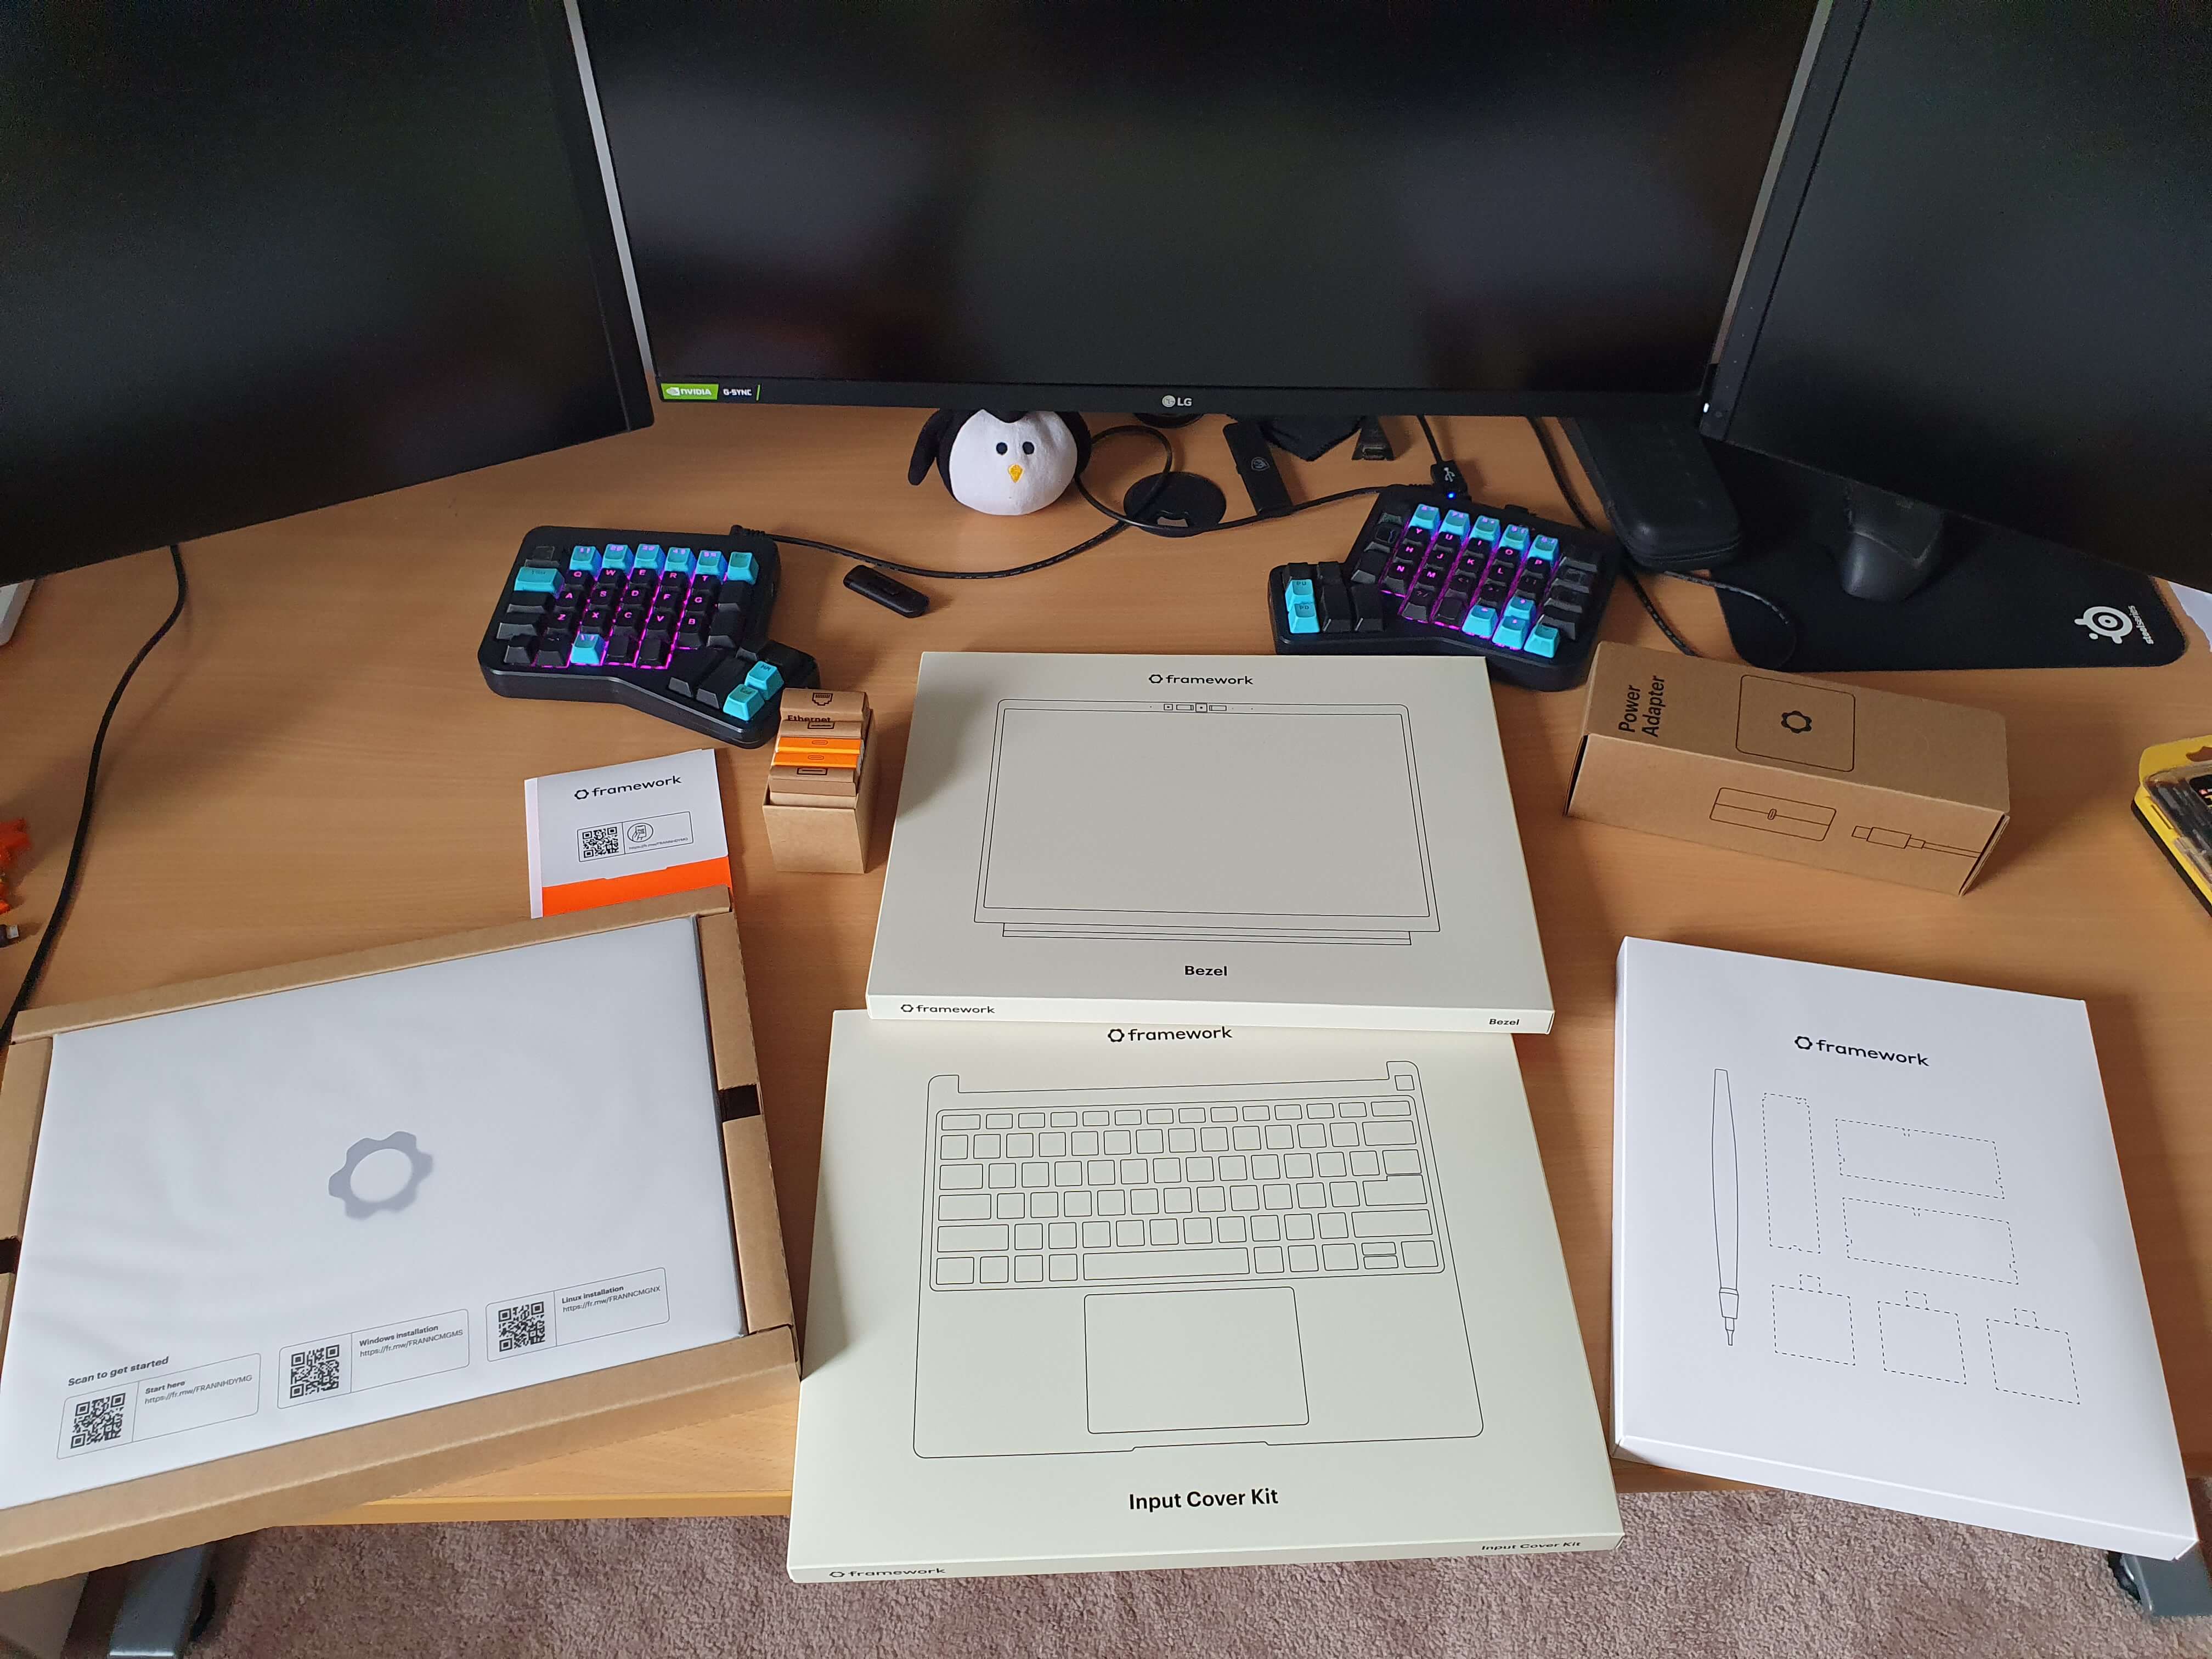
Unpacking, we’ve got the full spread. In frame peeking out from below the monitor, you can see Kevin. He’s a little plush penguin I swiped from a conference somewhere – I don’t quite remember where. Nevertheless, he’s an important co-worker. He helps me with debugging. Kevin says “Hi”
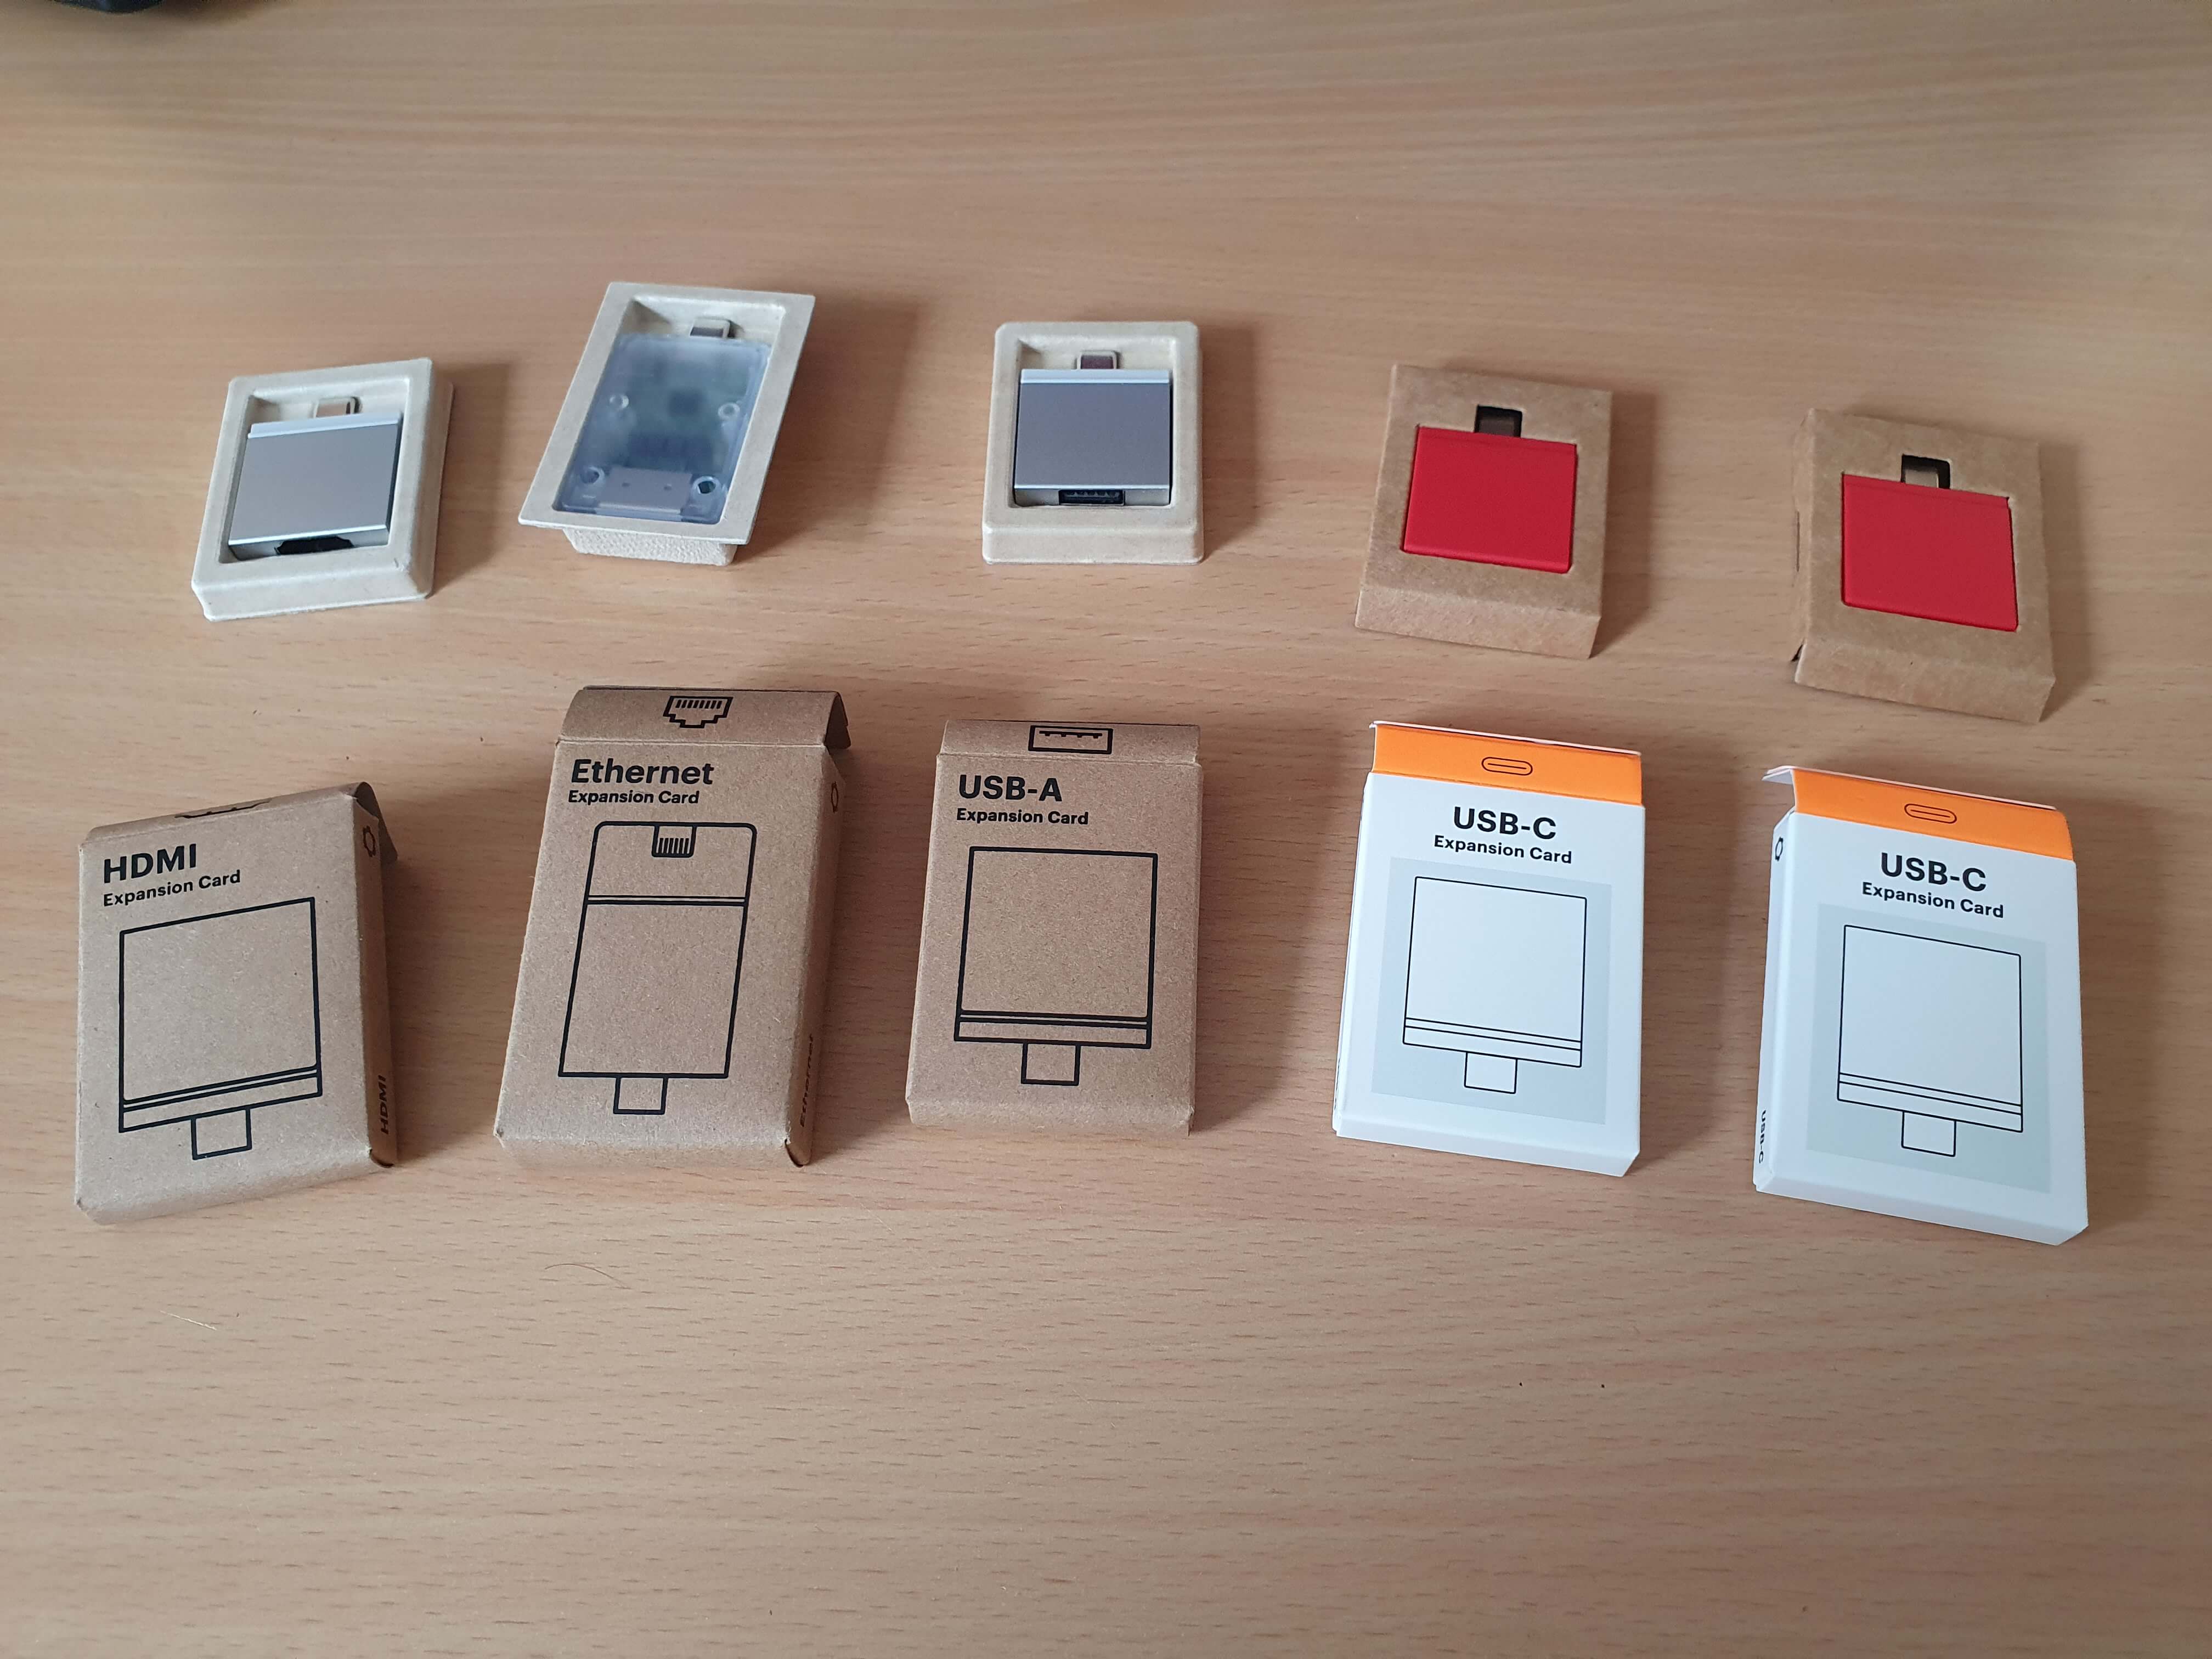
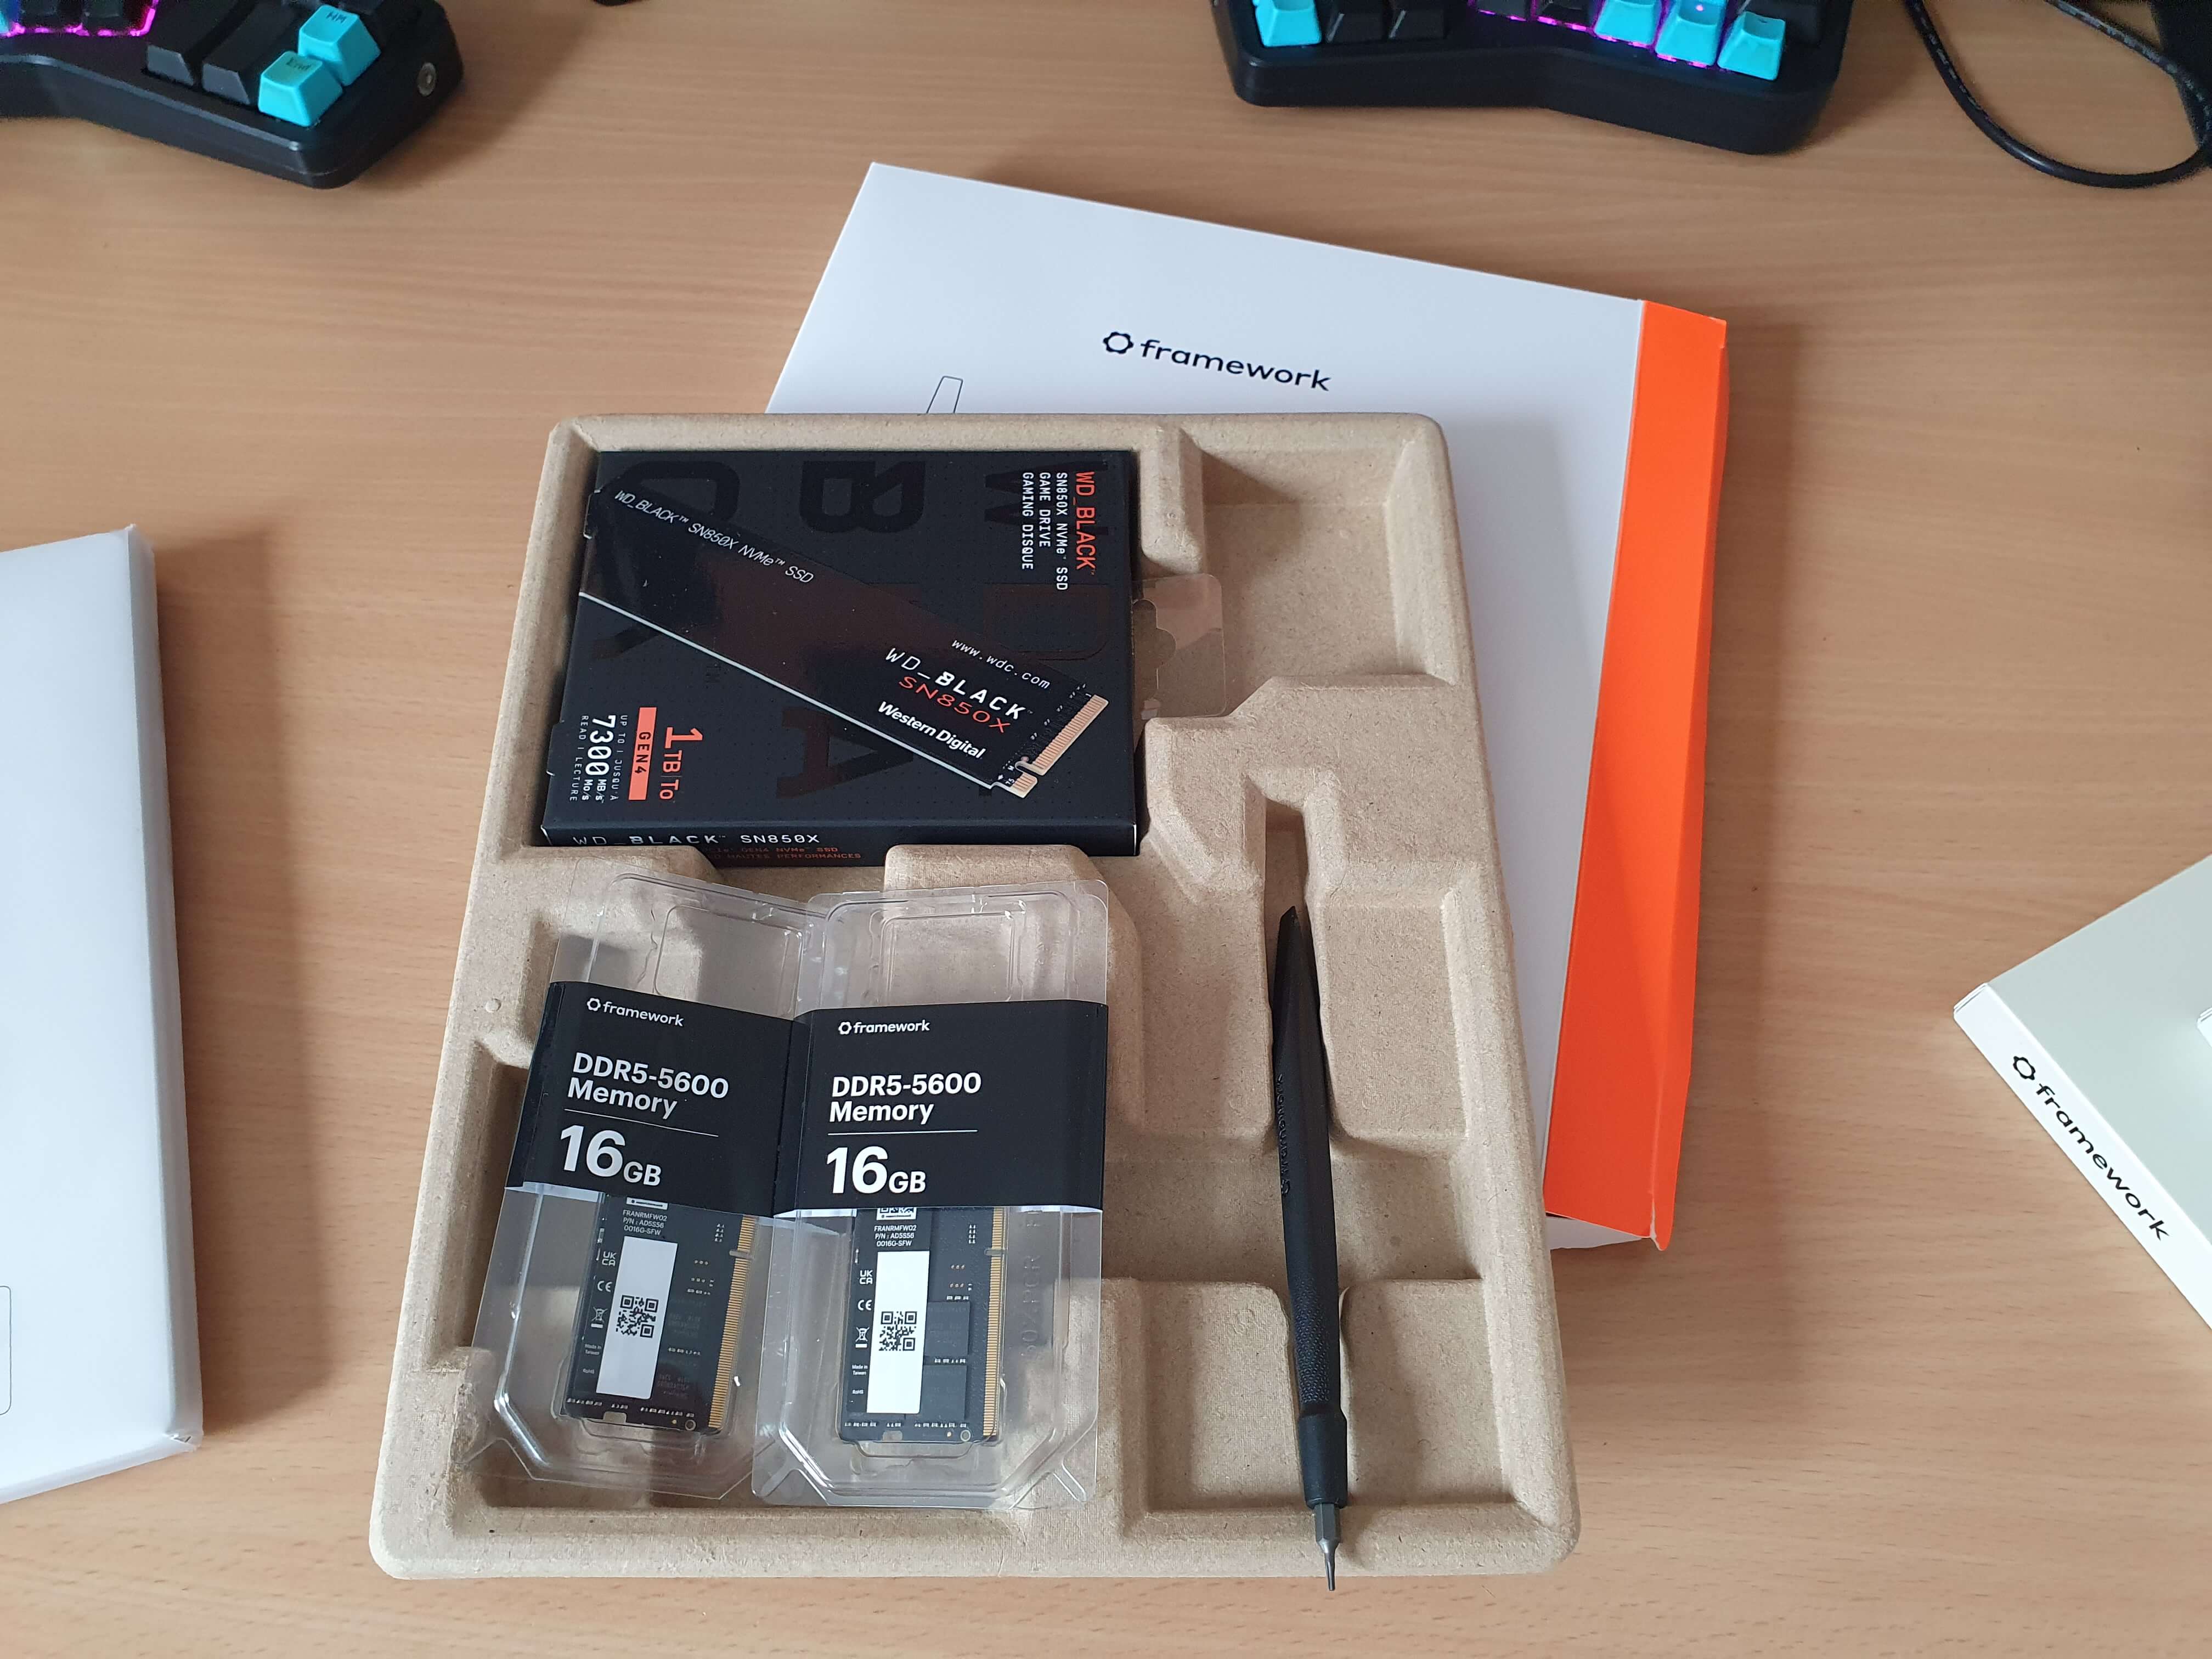
Unpacking some of the fun stuff, we’ve got the expansion cards on the left (you get to choose your spread), and the RAM, NVMe, and complimentary tool.
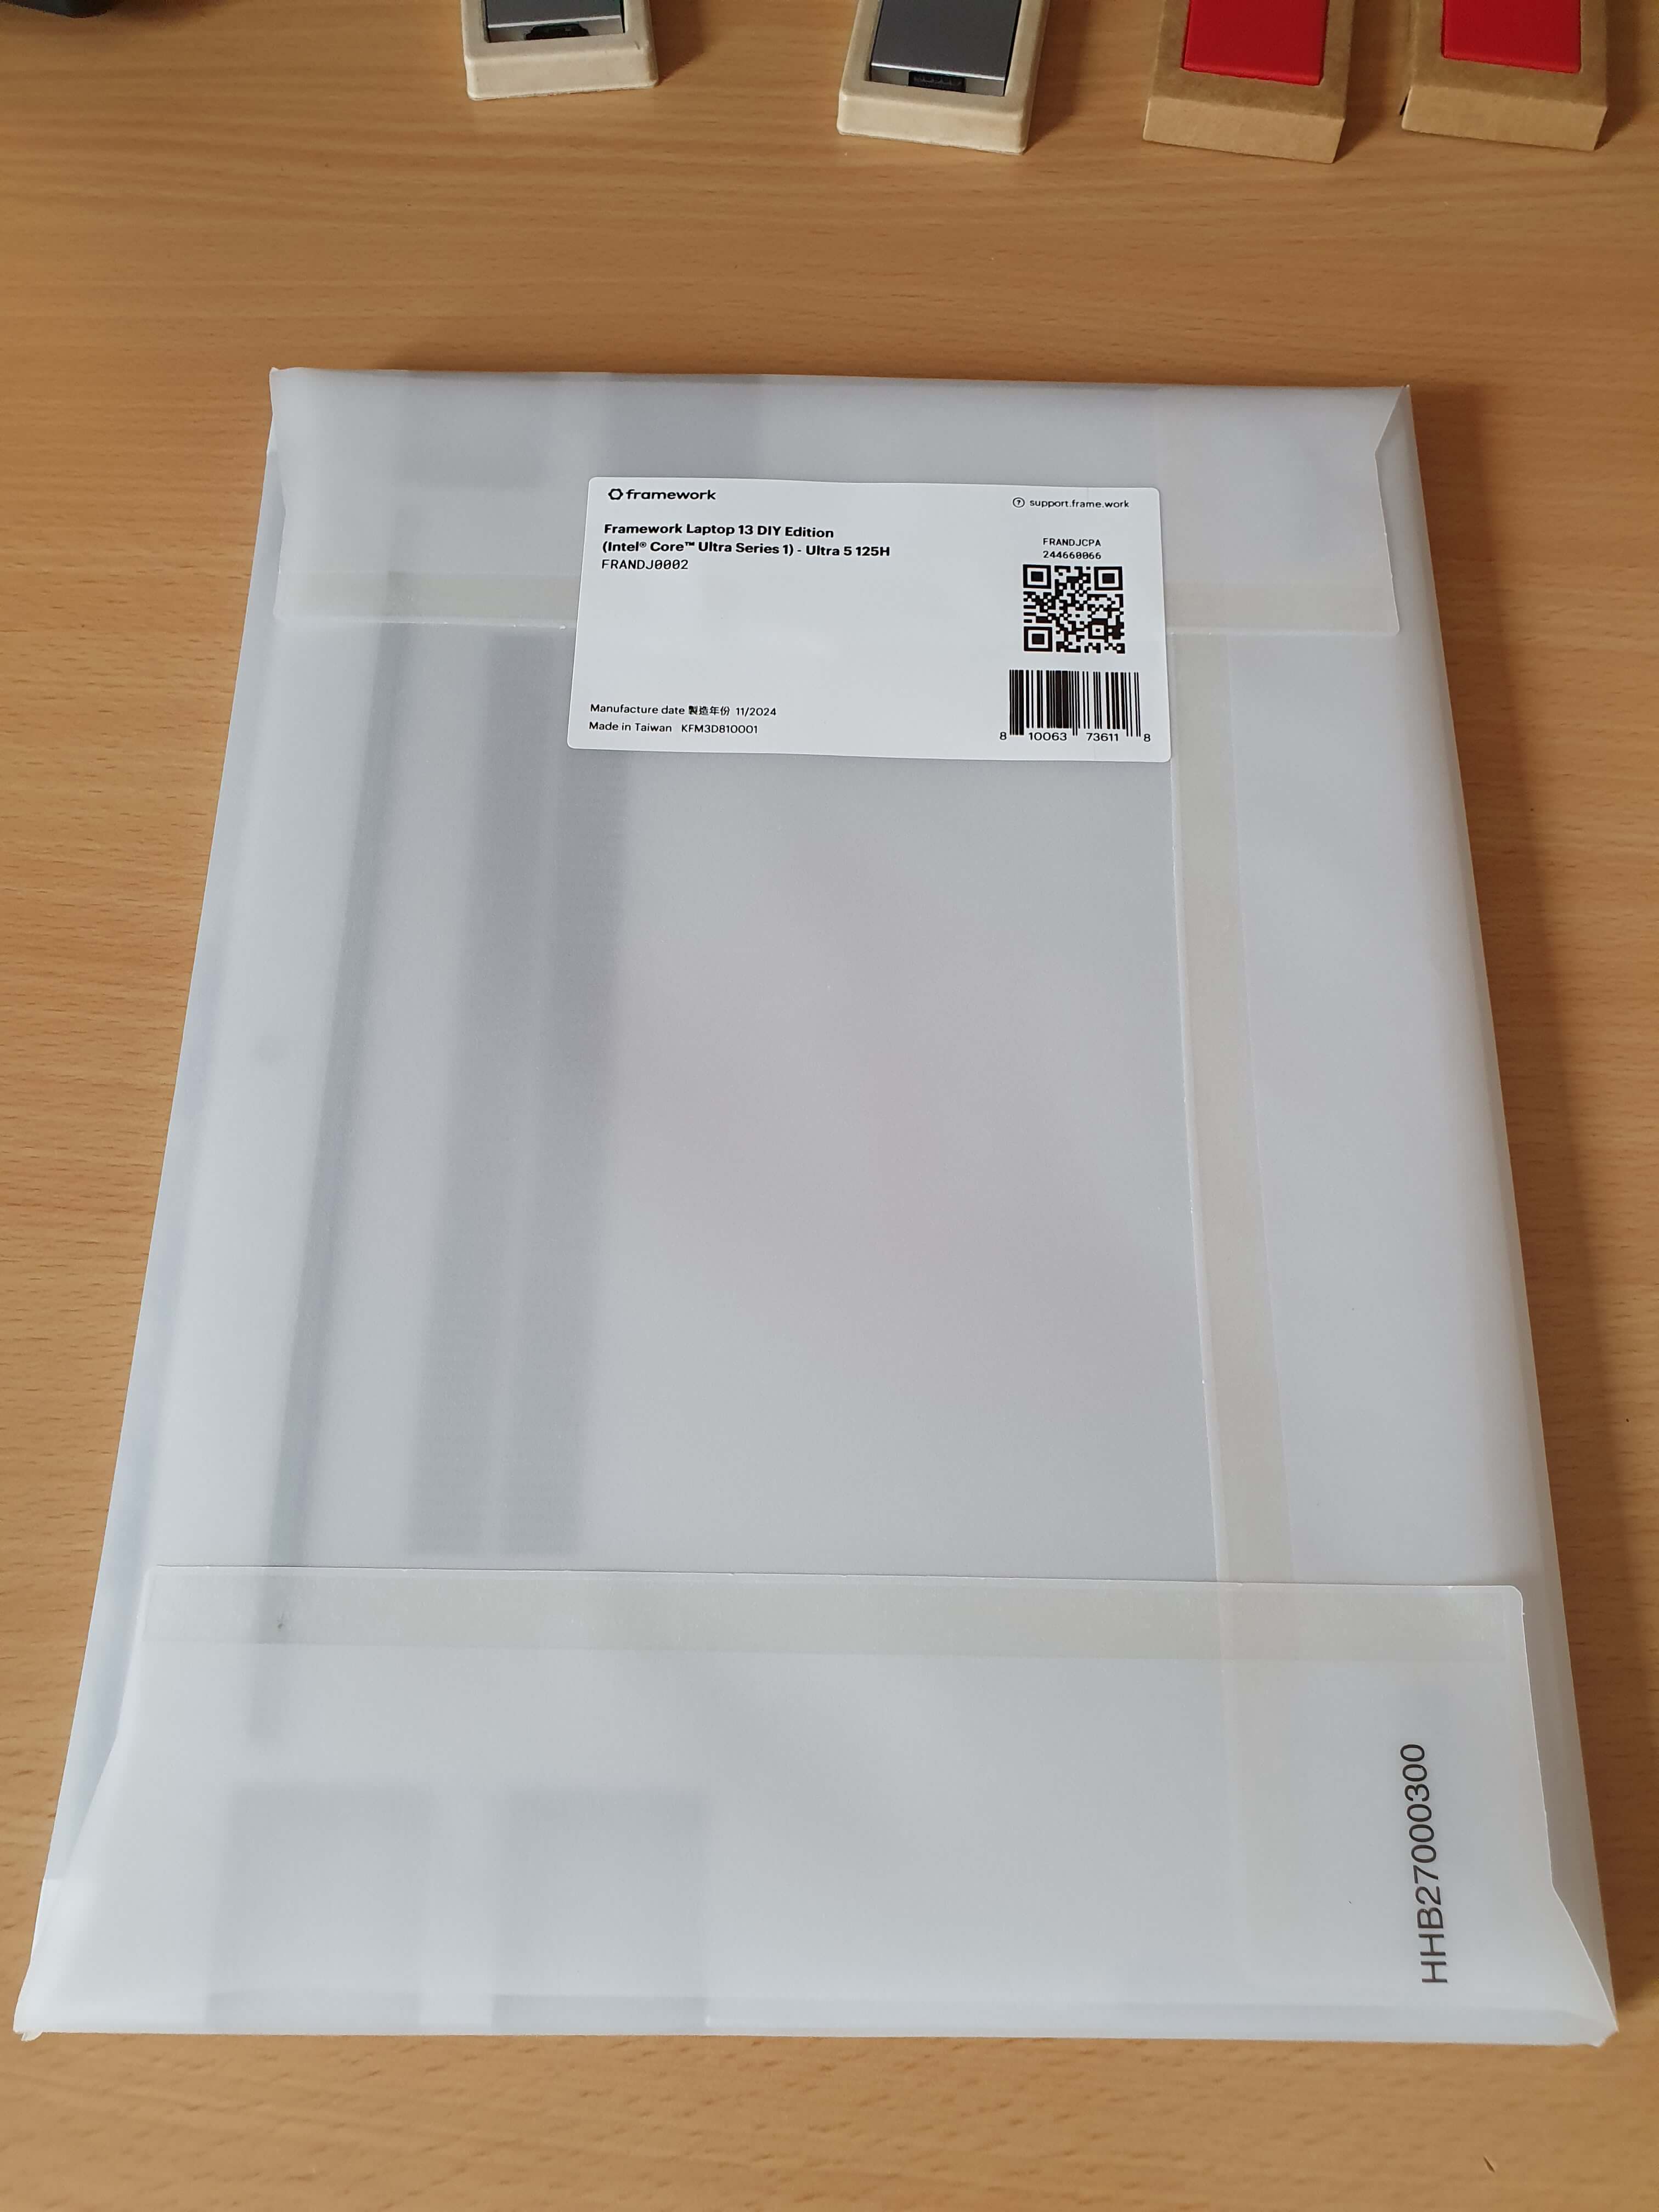
Ok, lets unpack the laptop itself. Very little plastic here. It’s actually waxed paper 🍃. You can also see the slots for the expansion cards. They’re hot-swappable. 🙂
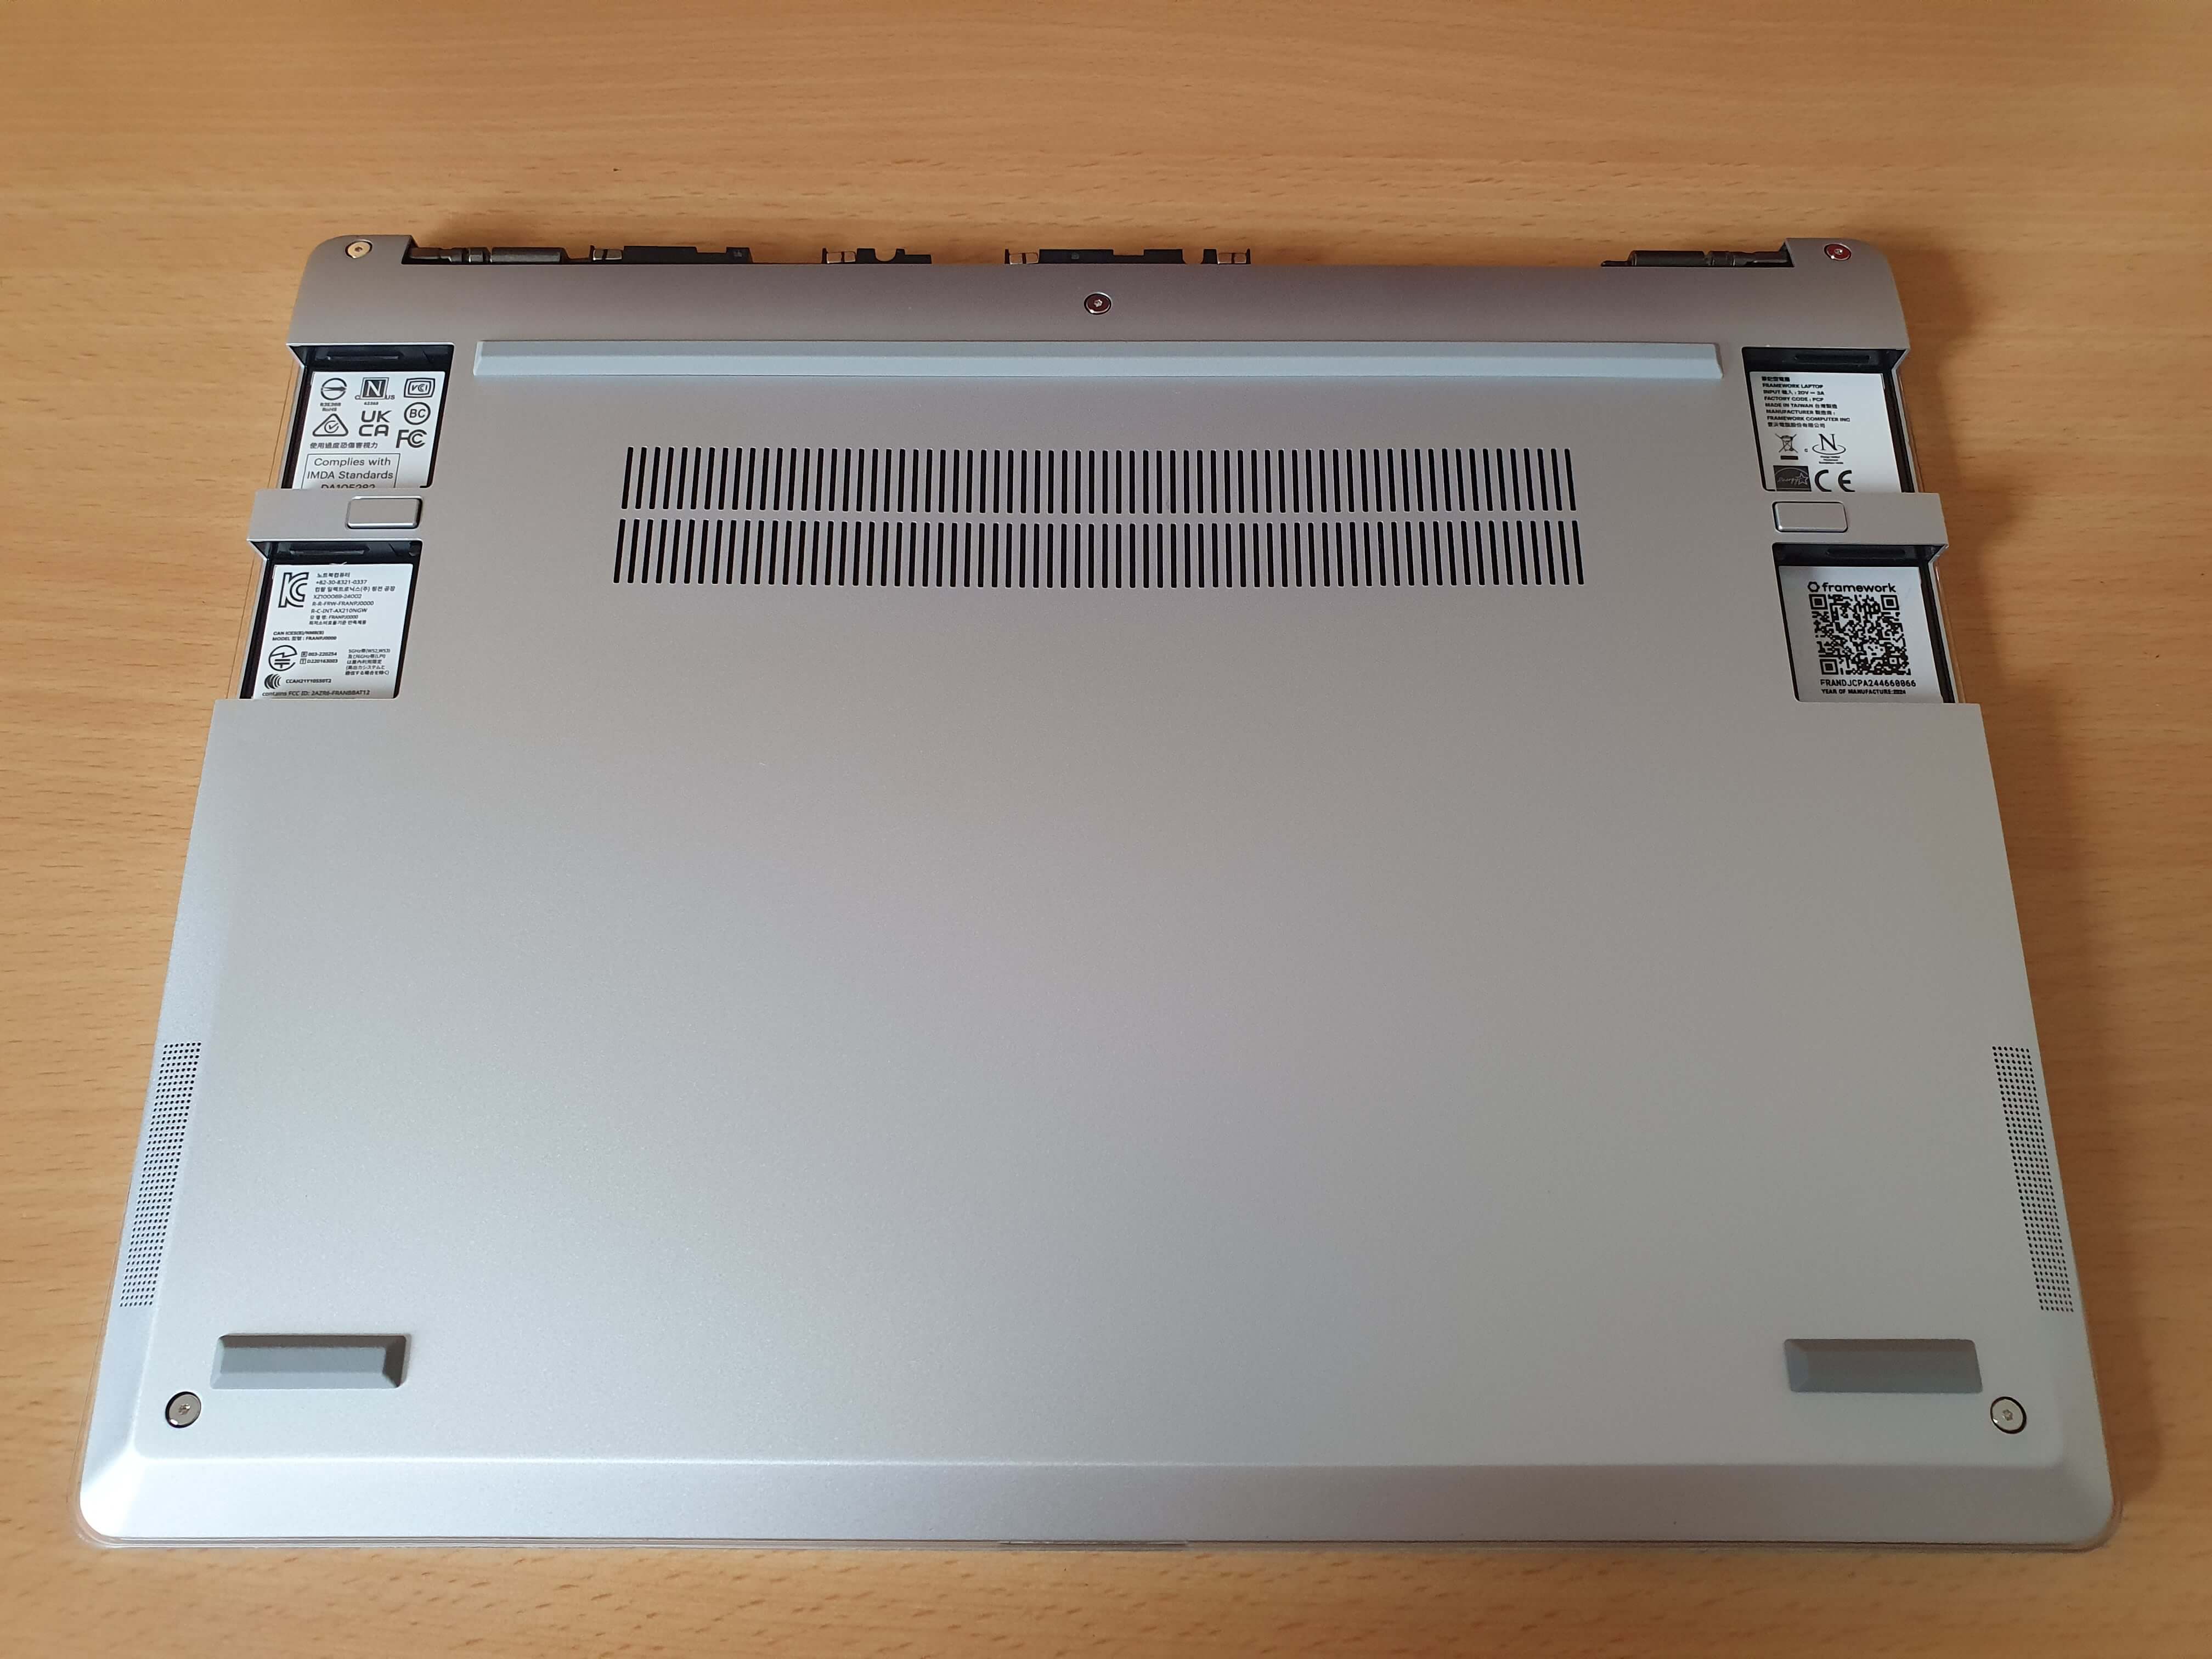
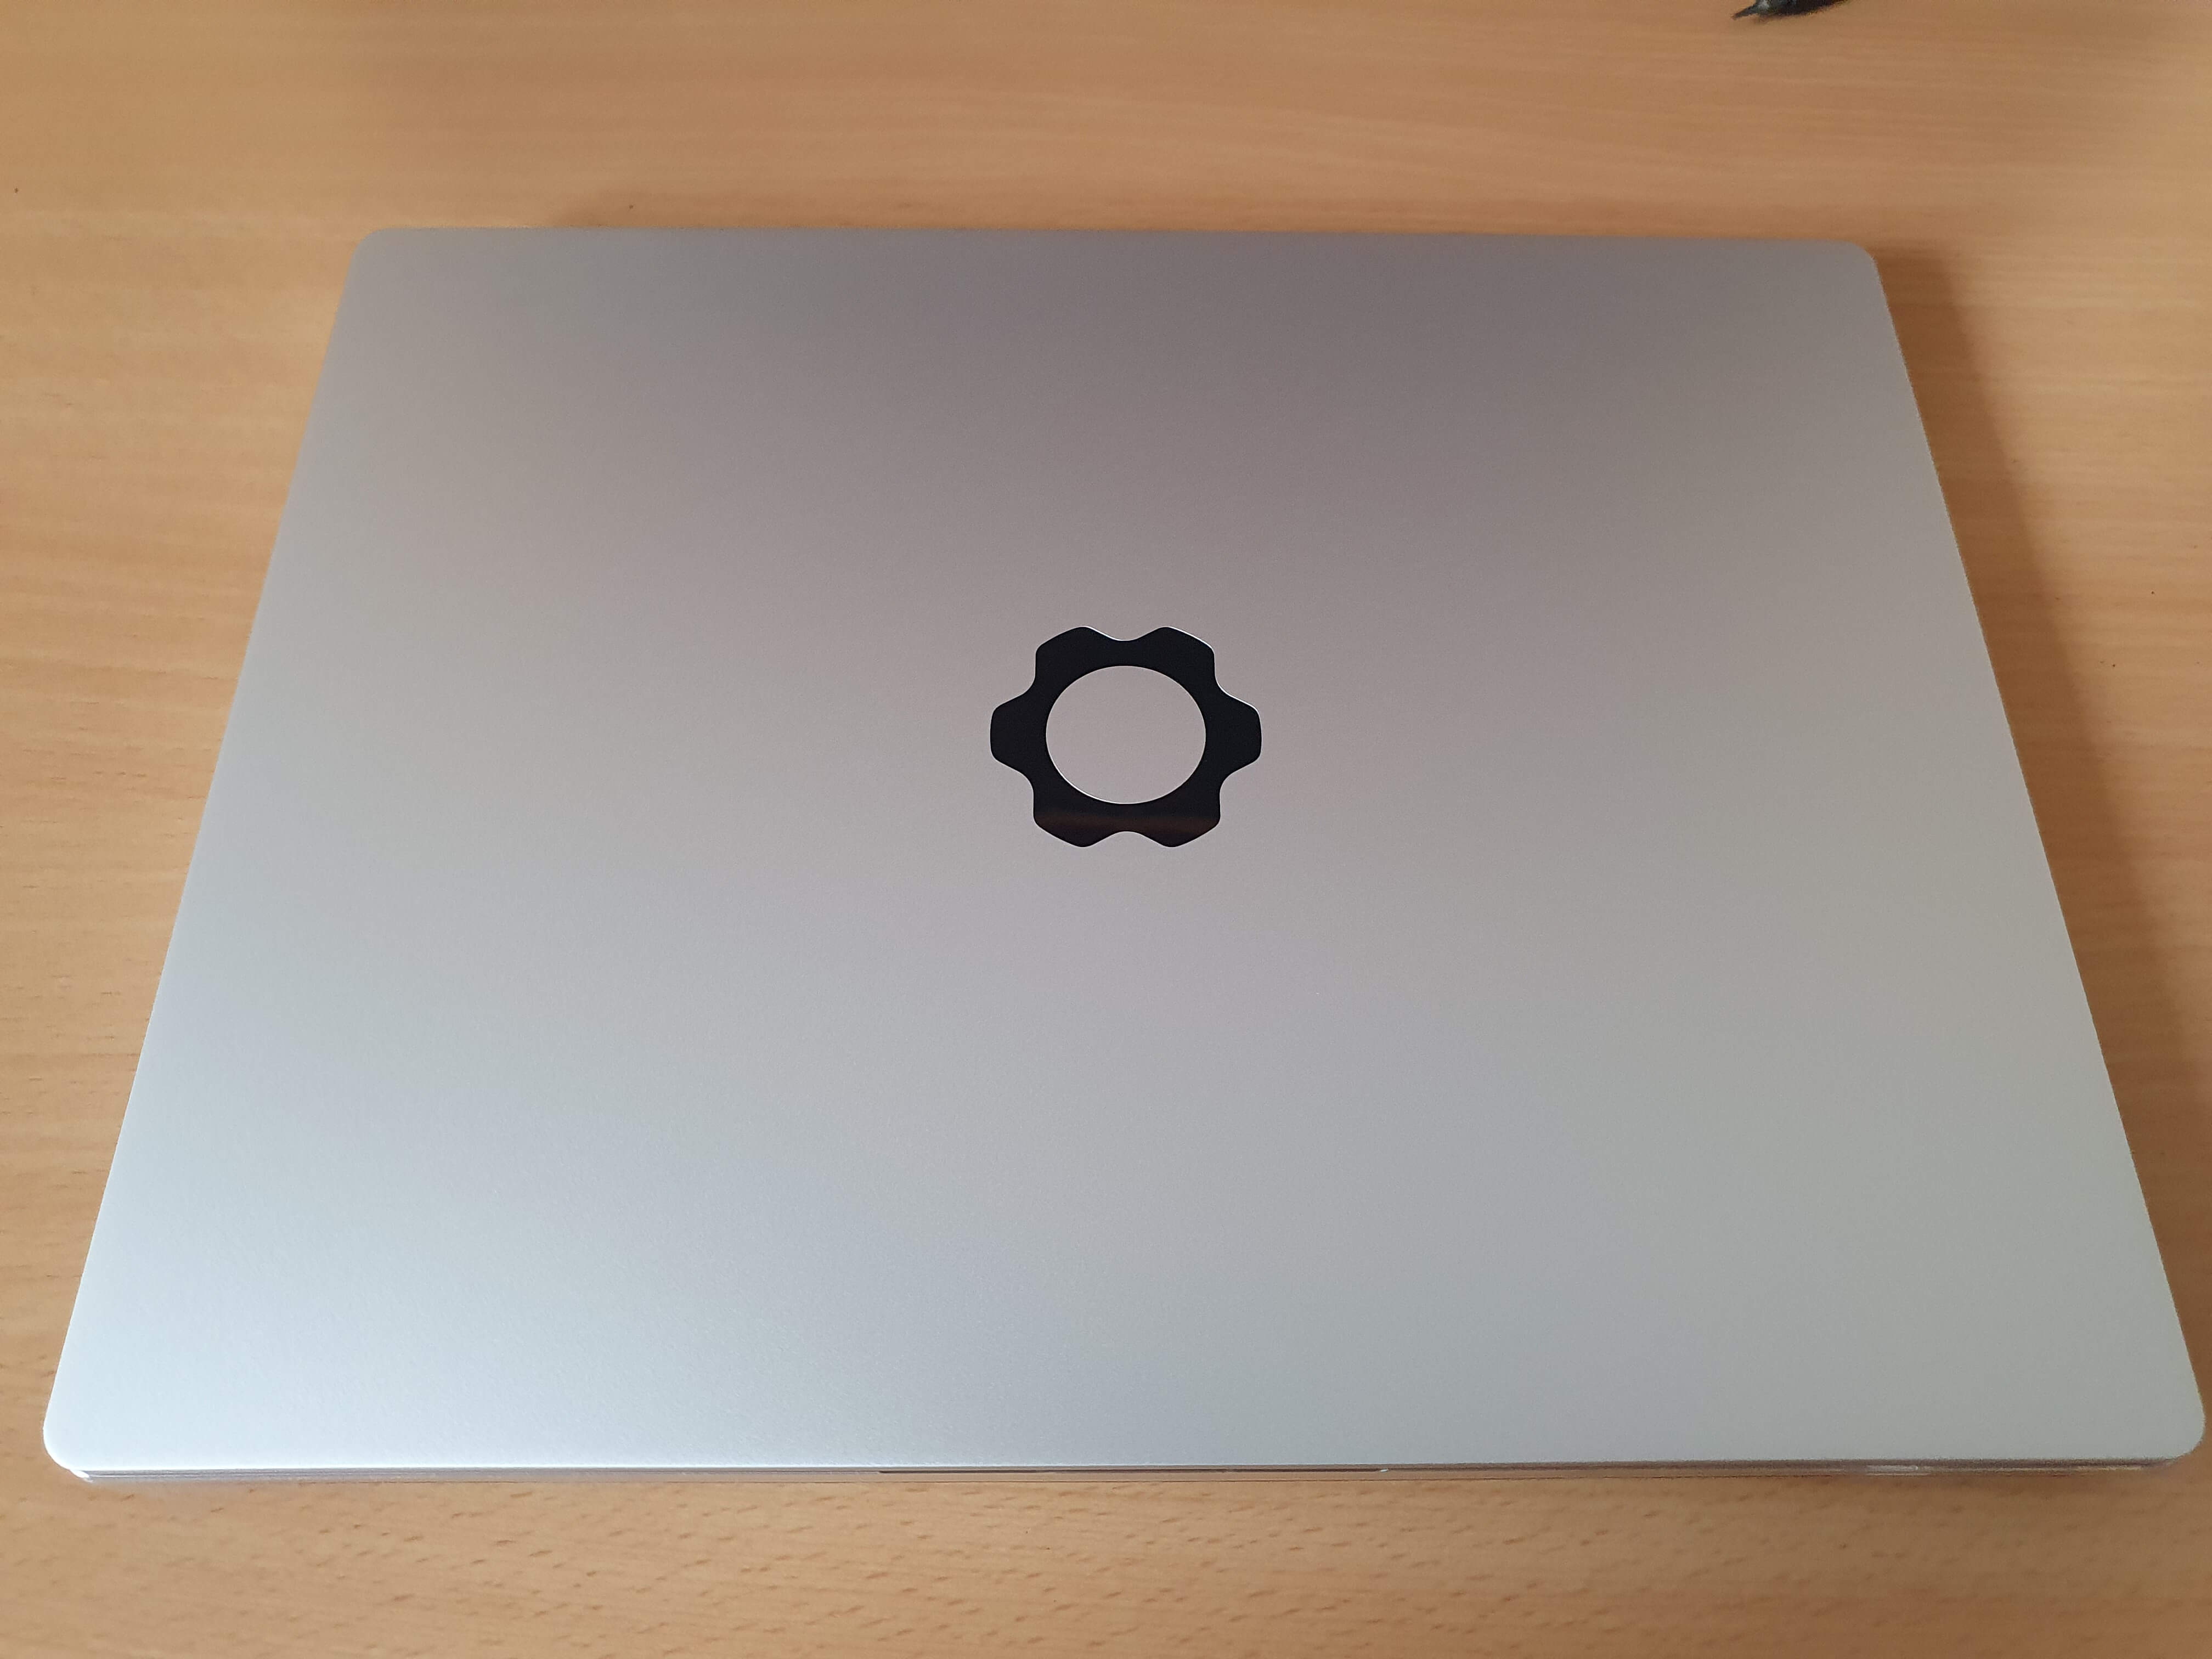
Opening the shell, you can see it’s naked! But it does have a hard plastic protective cover on.
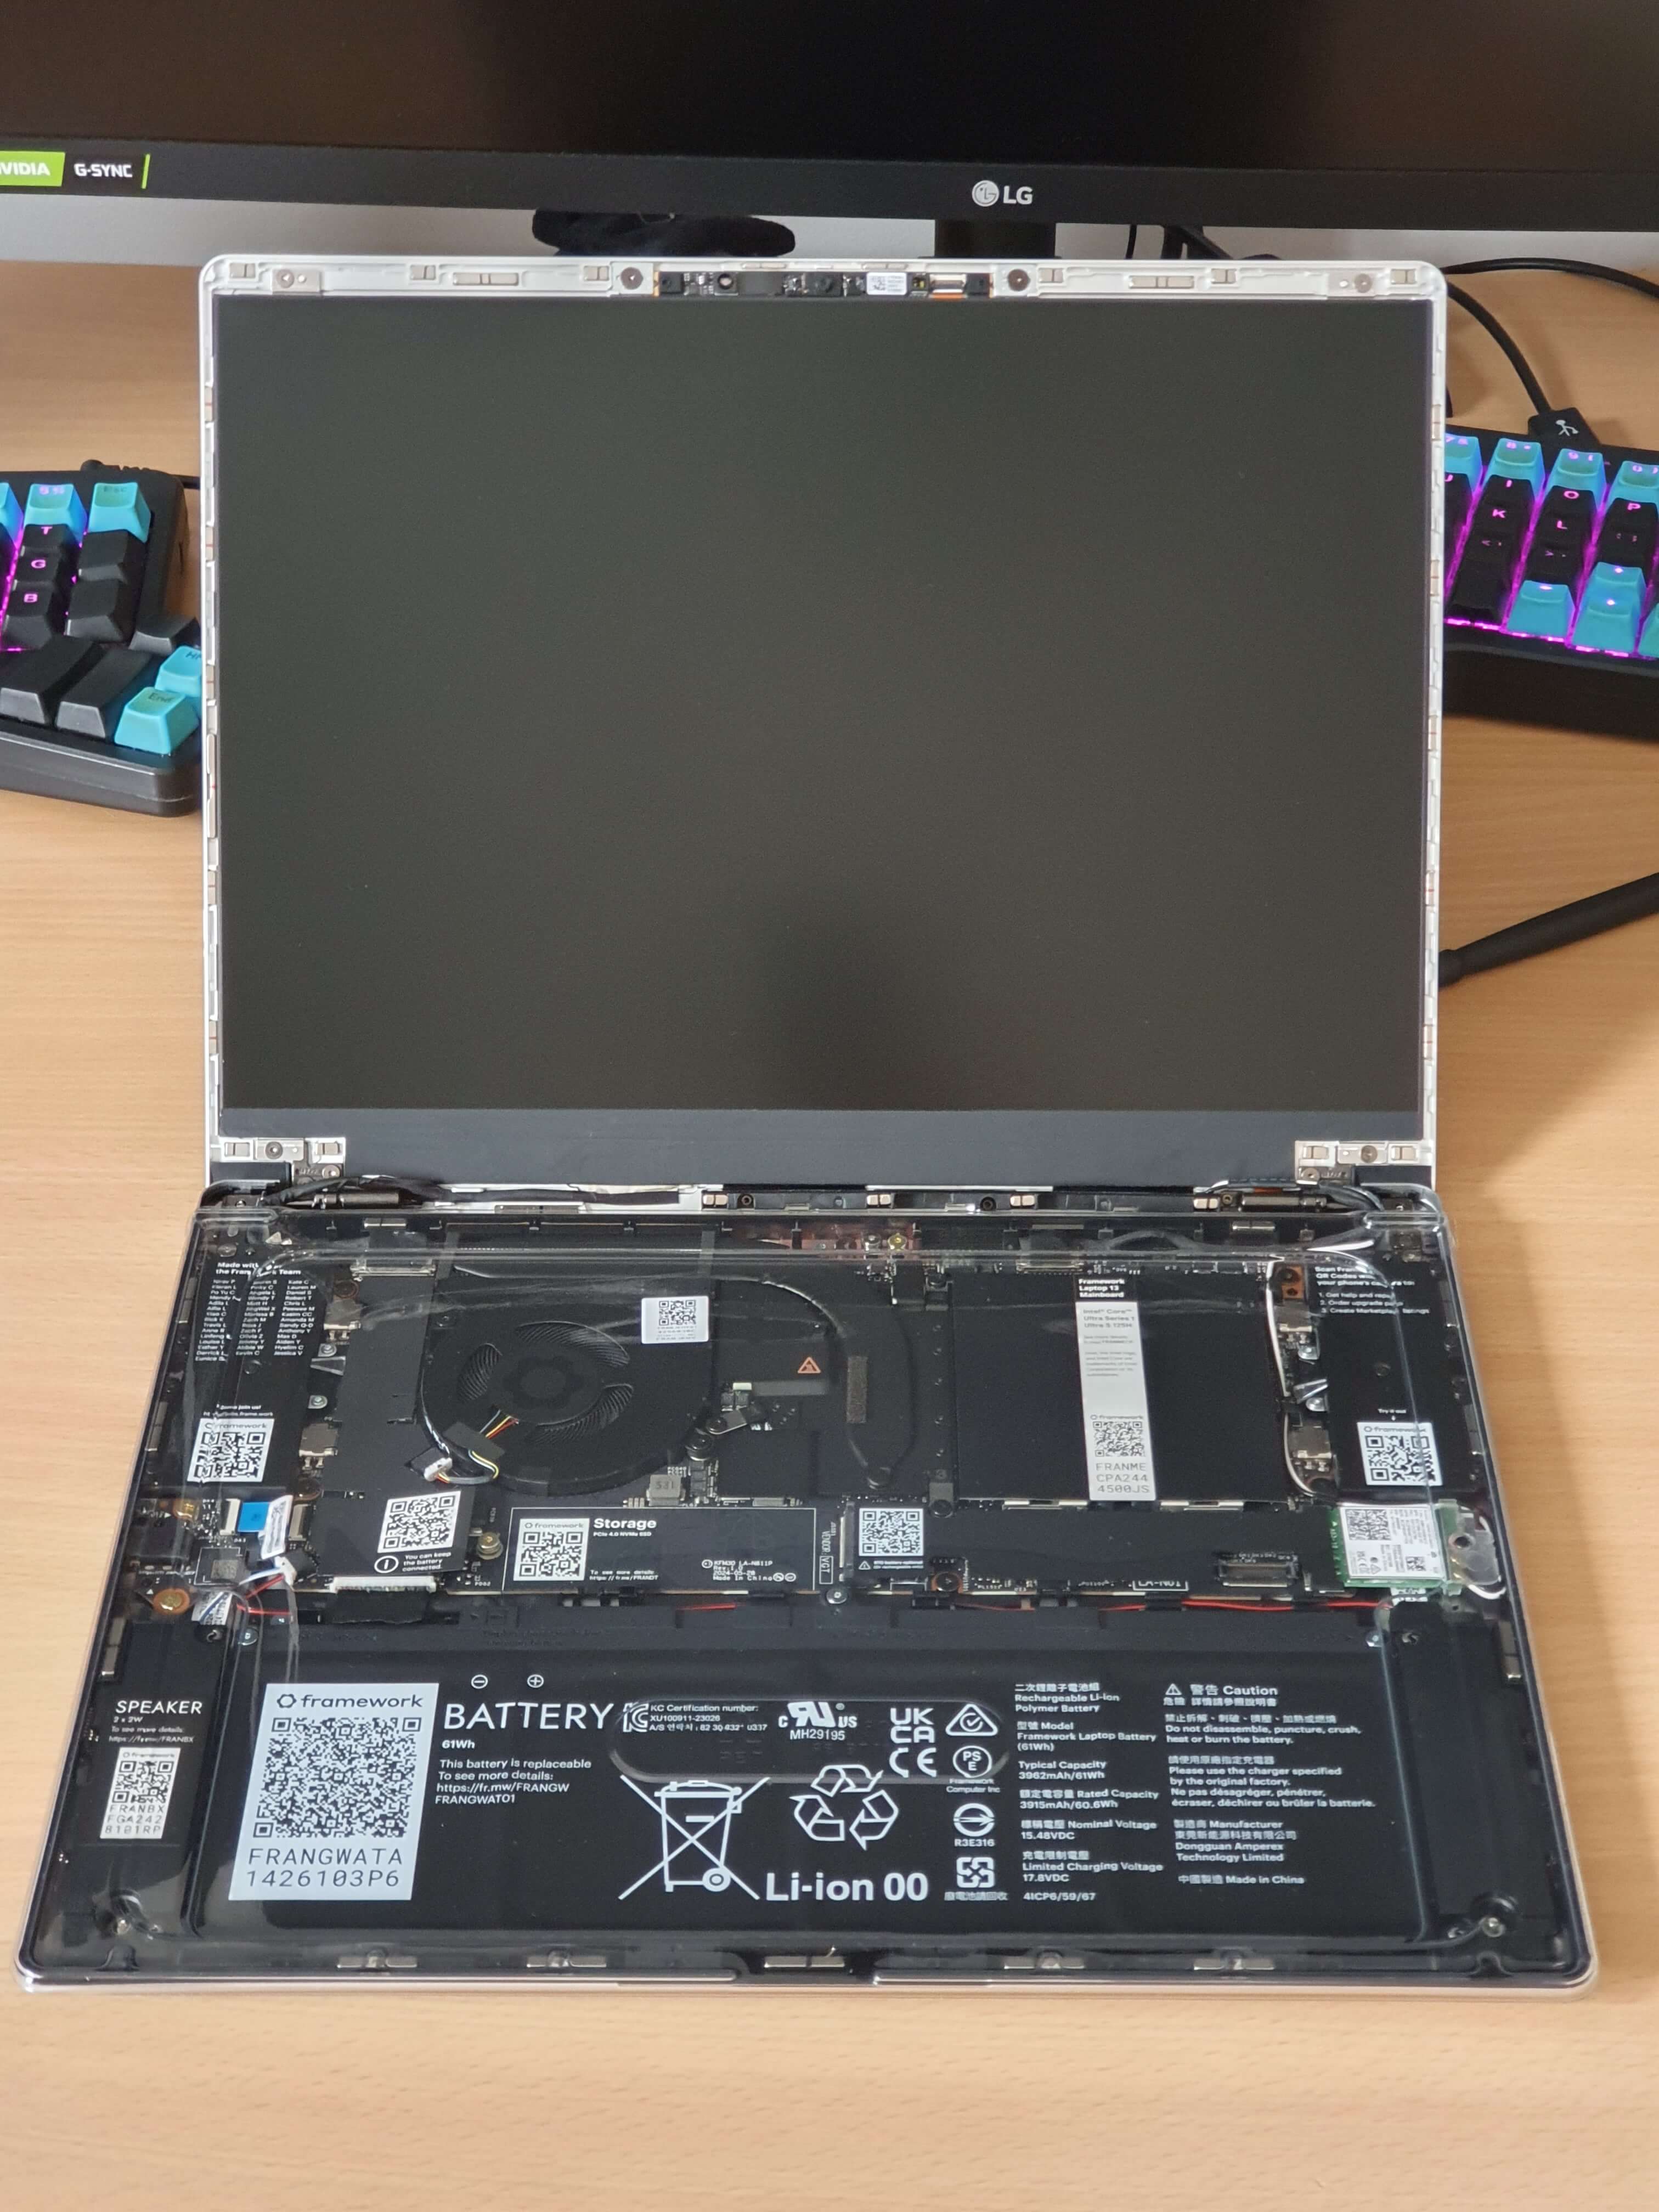
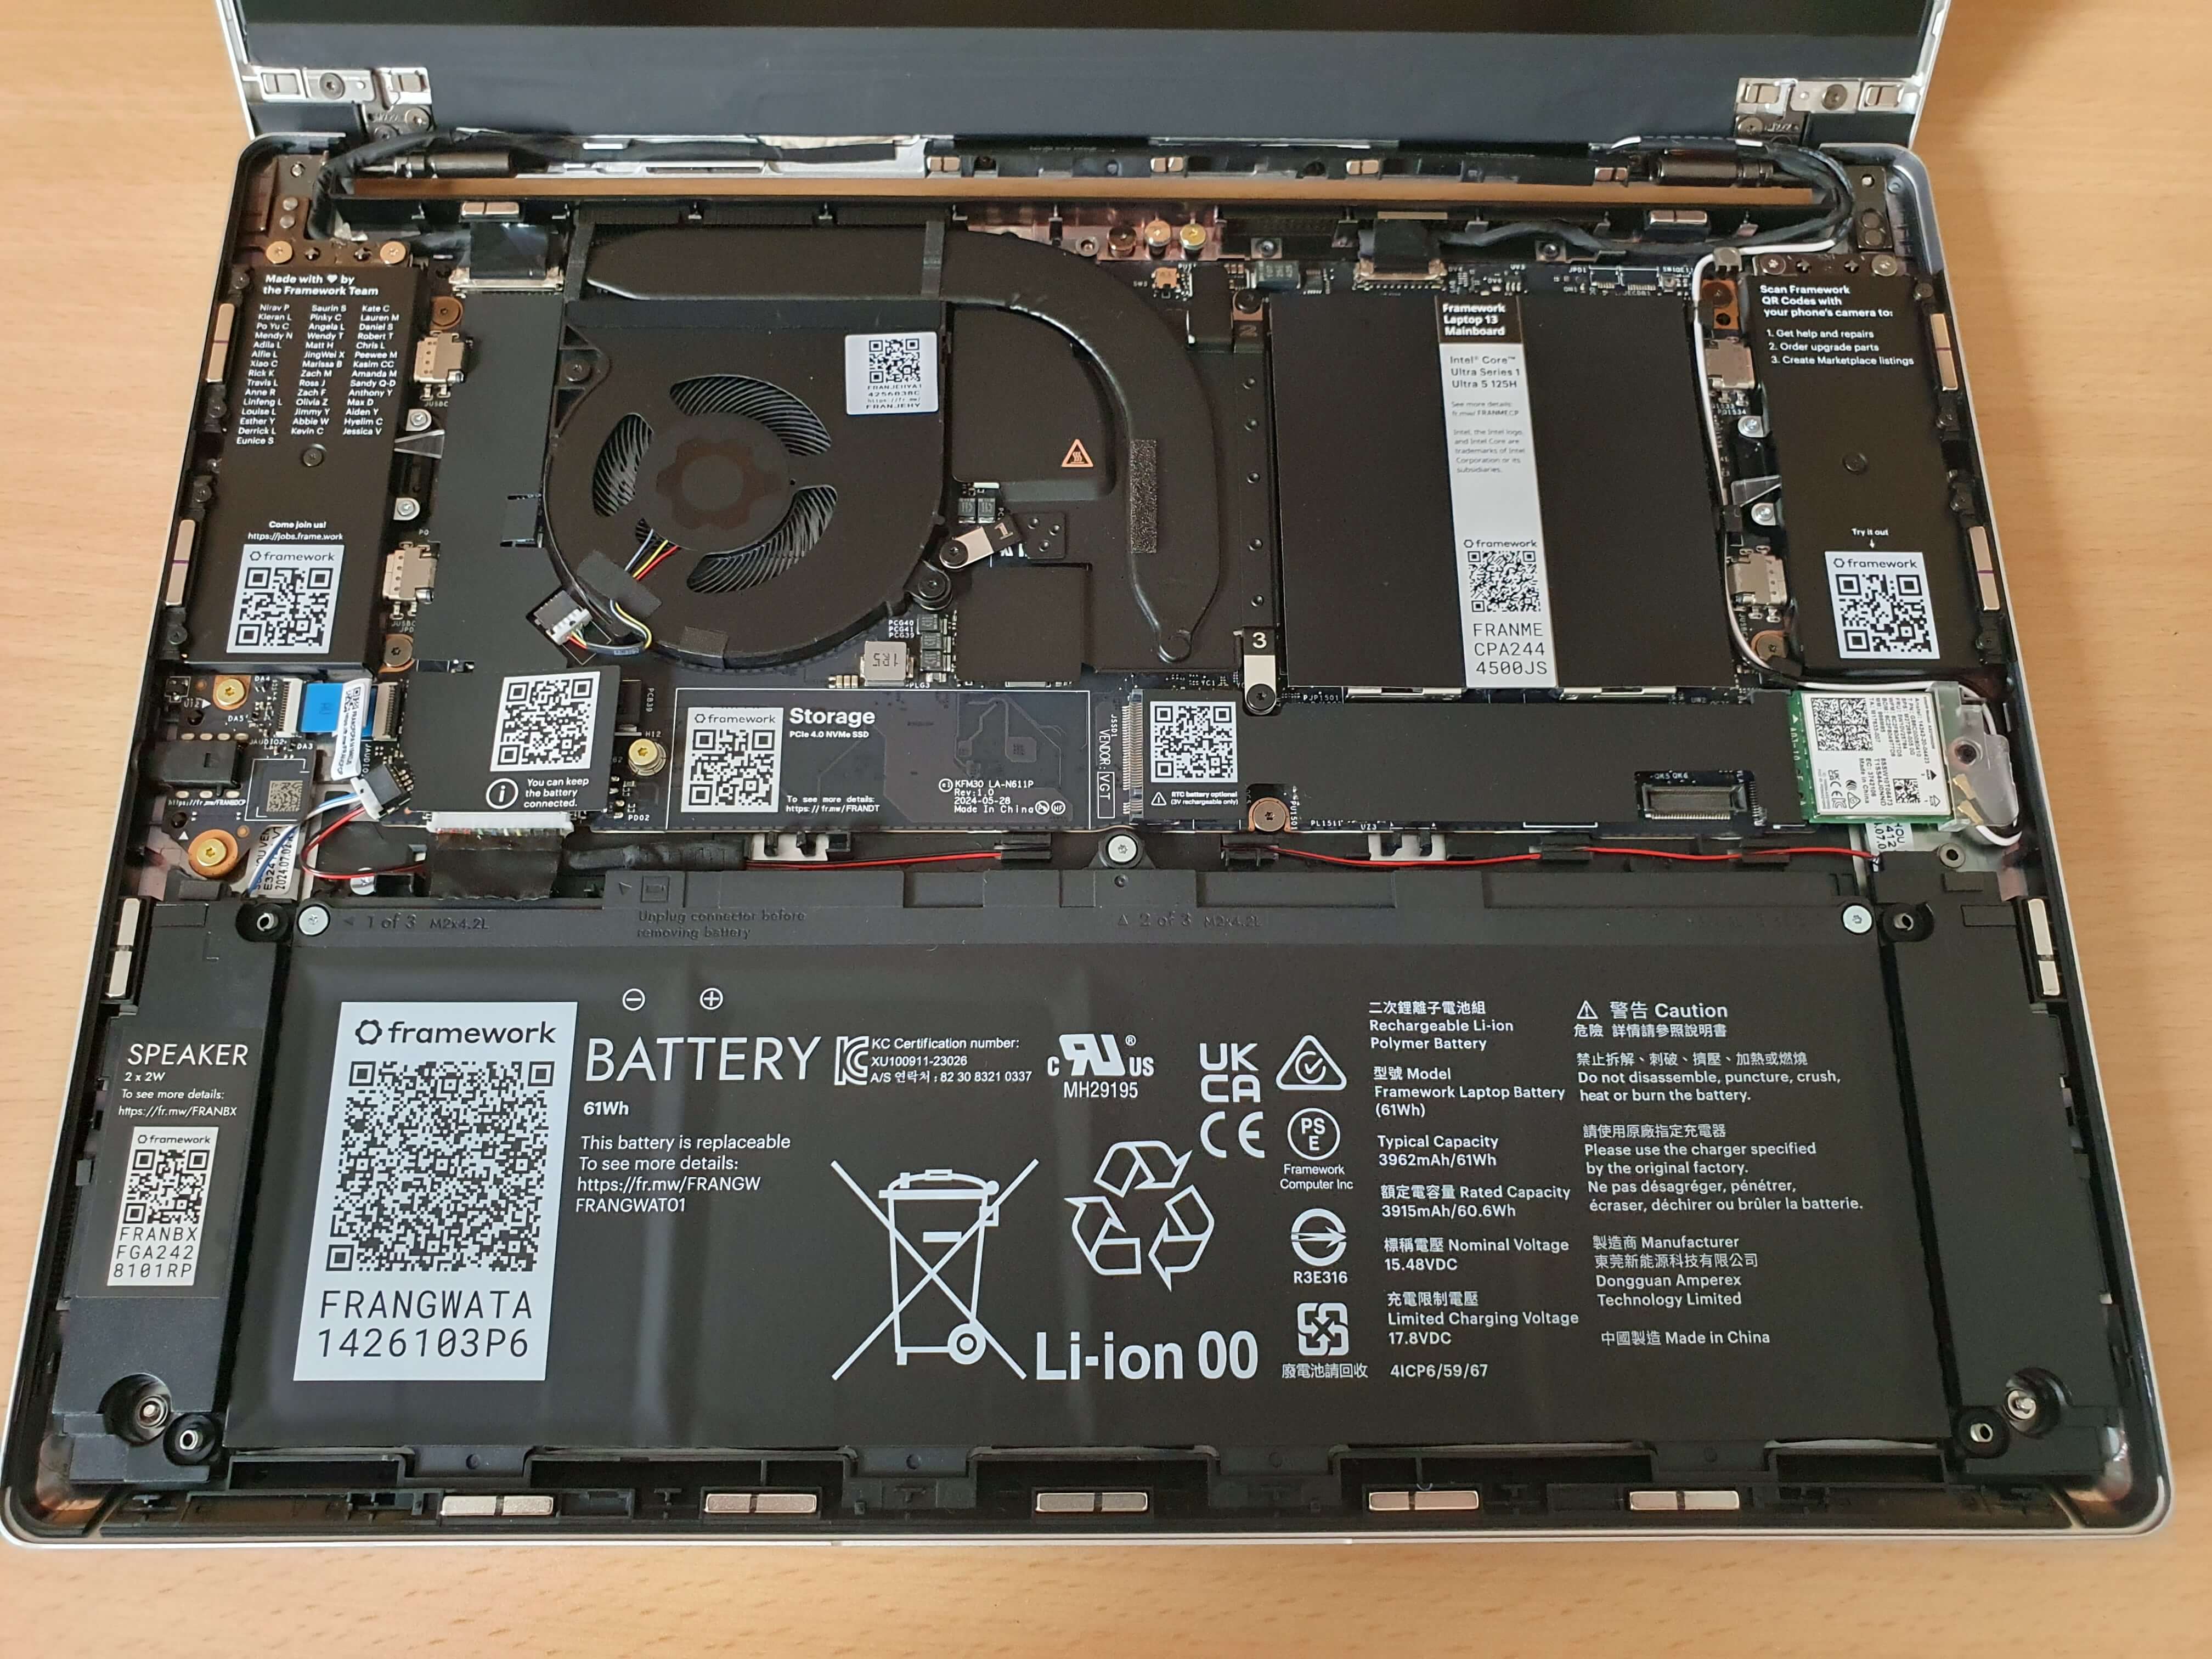
Removing it, and zooming in, you can see how there’s QR codes everywhere. Notice the easily accessible screws holding everything together.
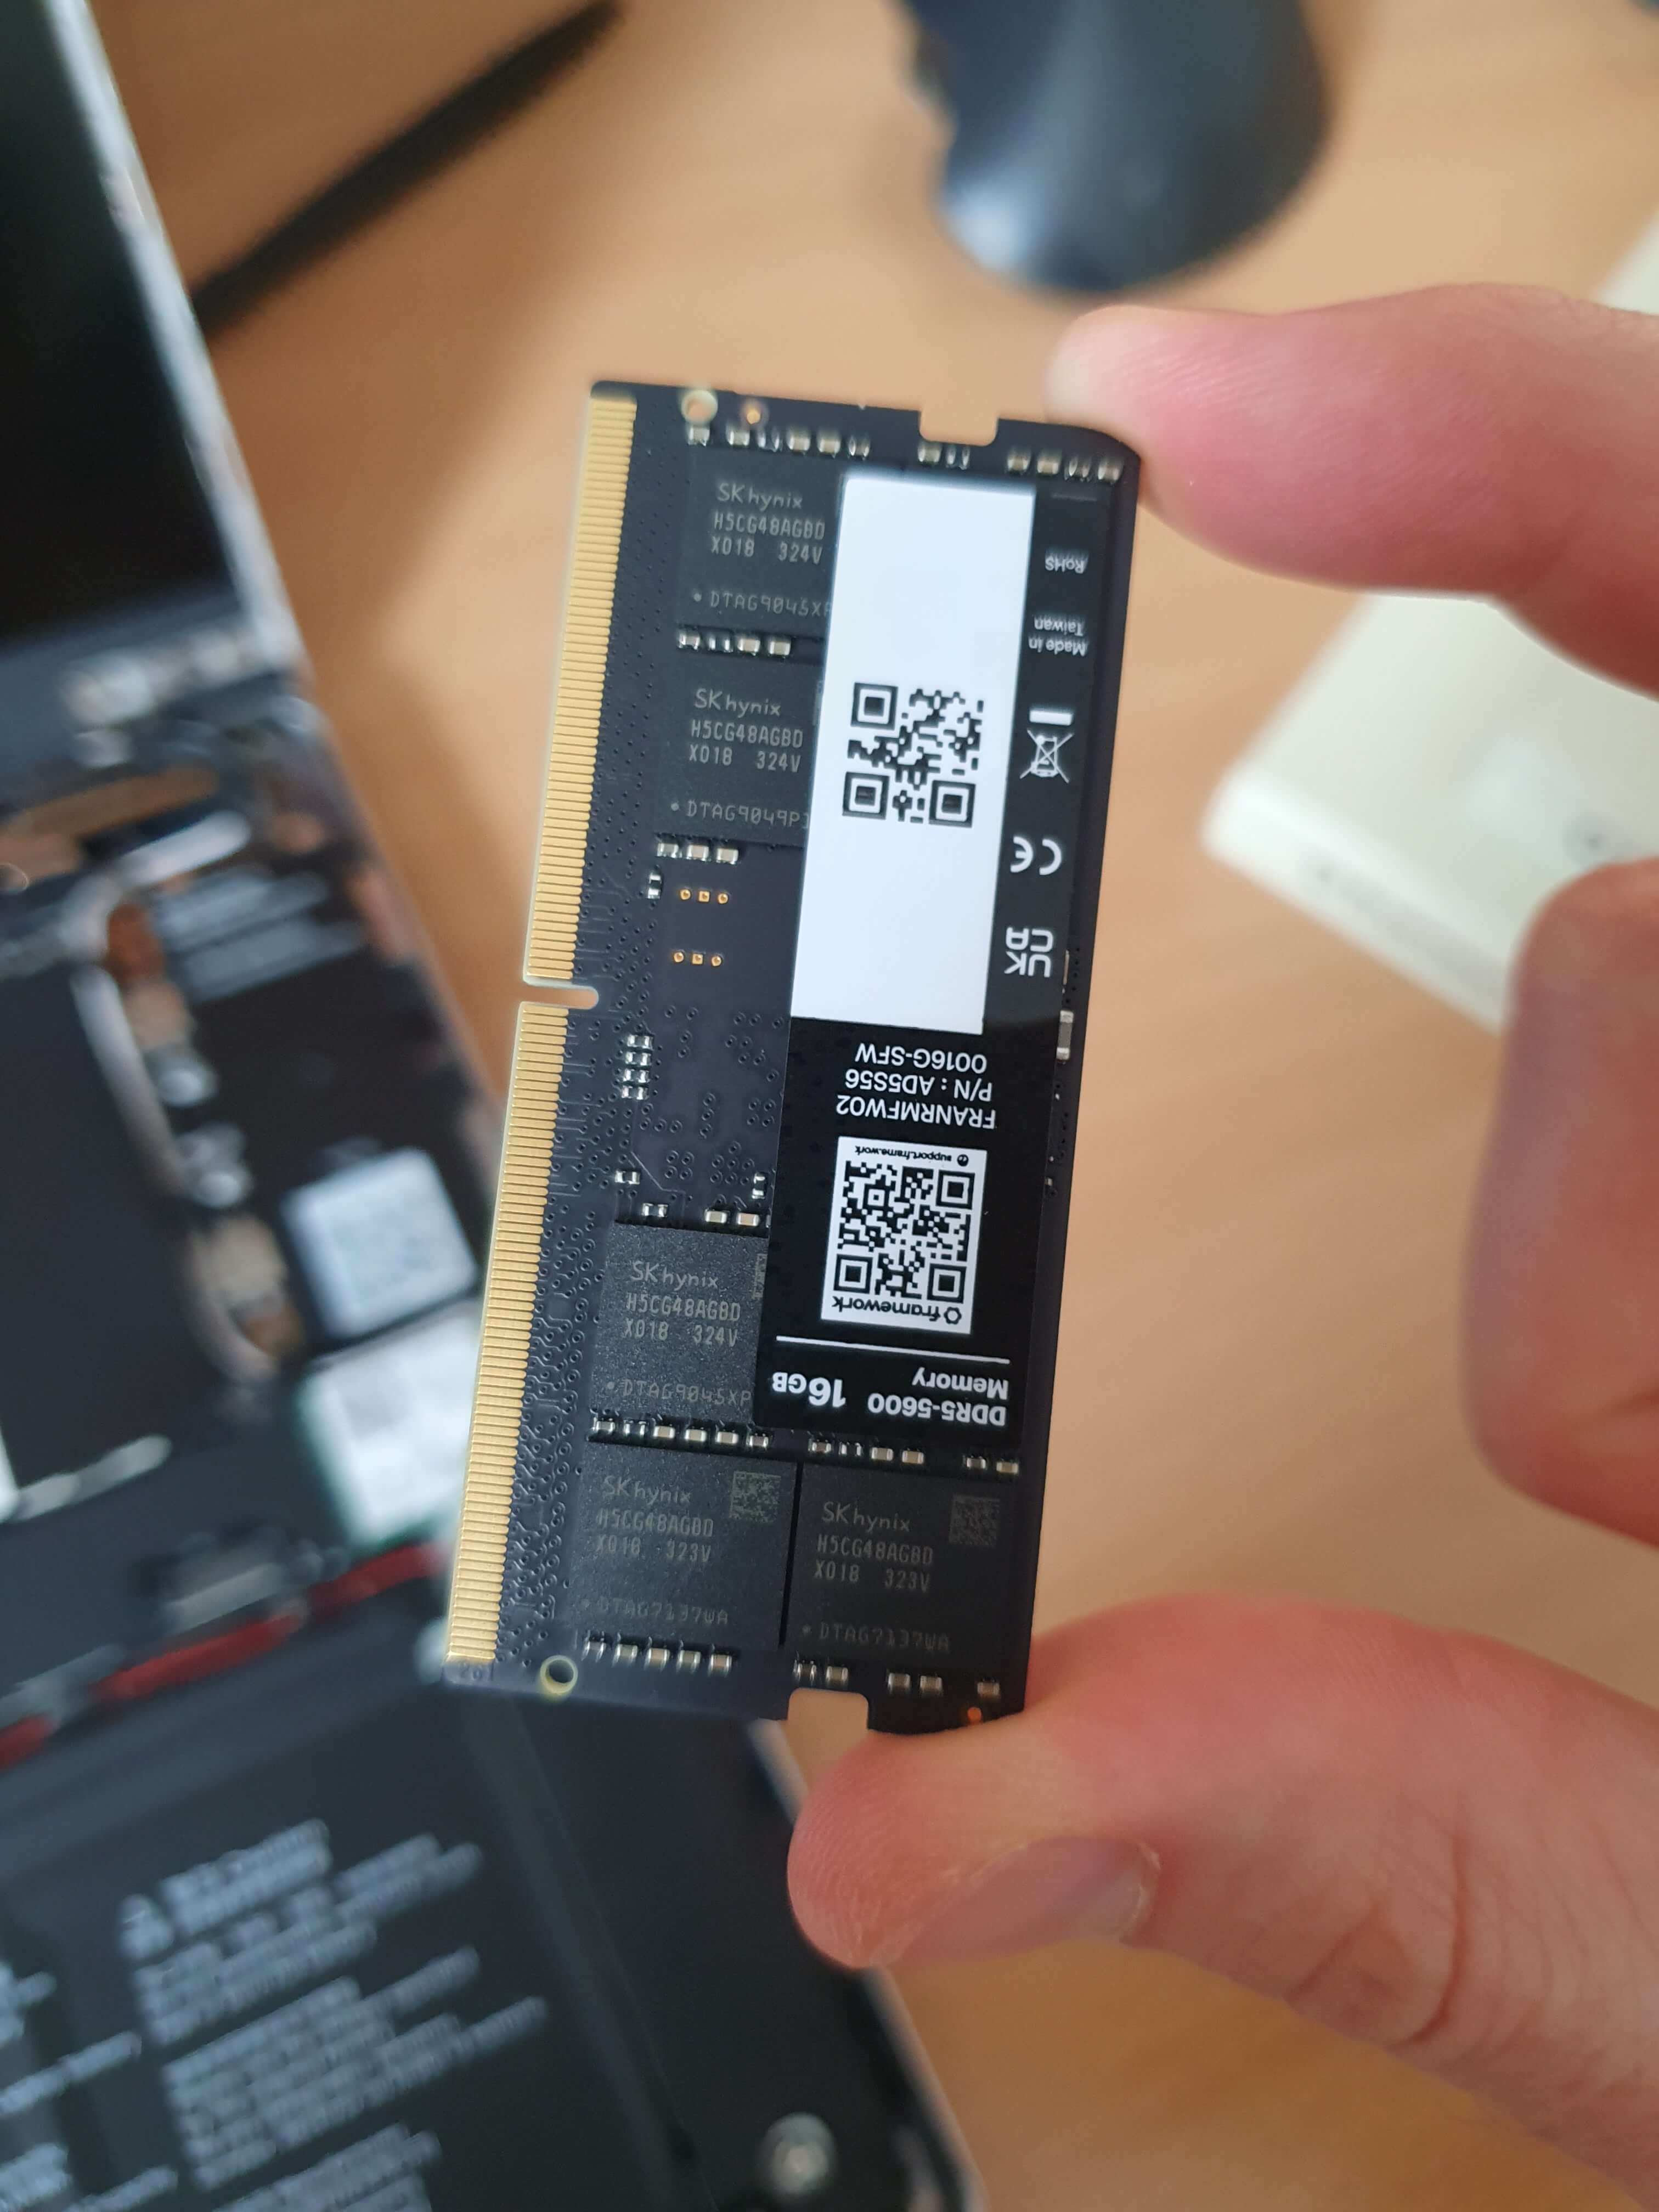
Time to add the RAM.
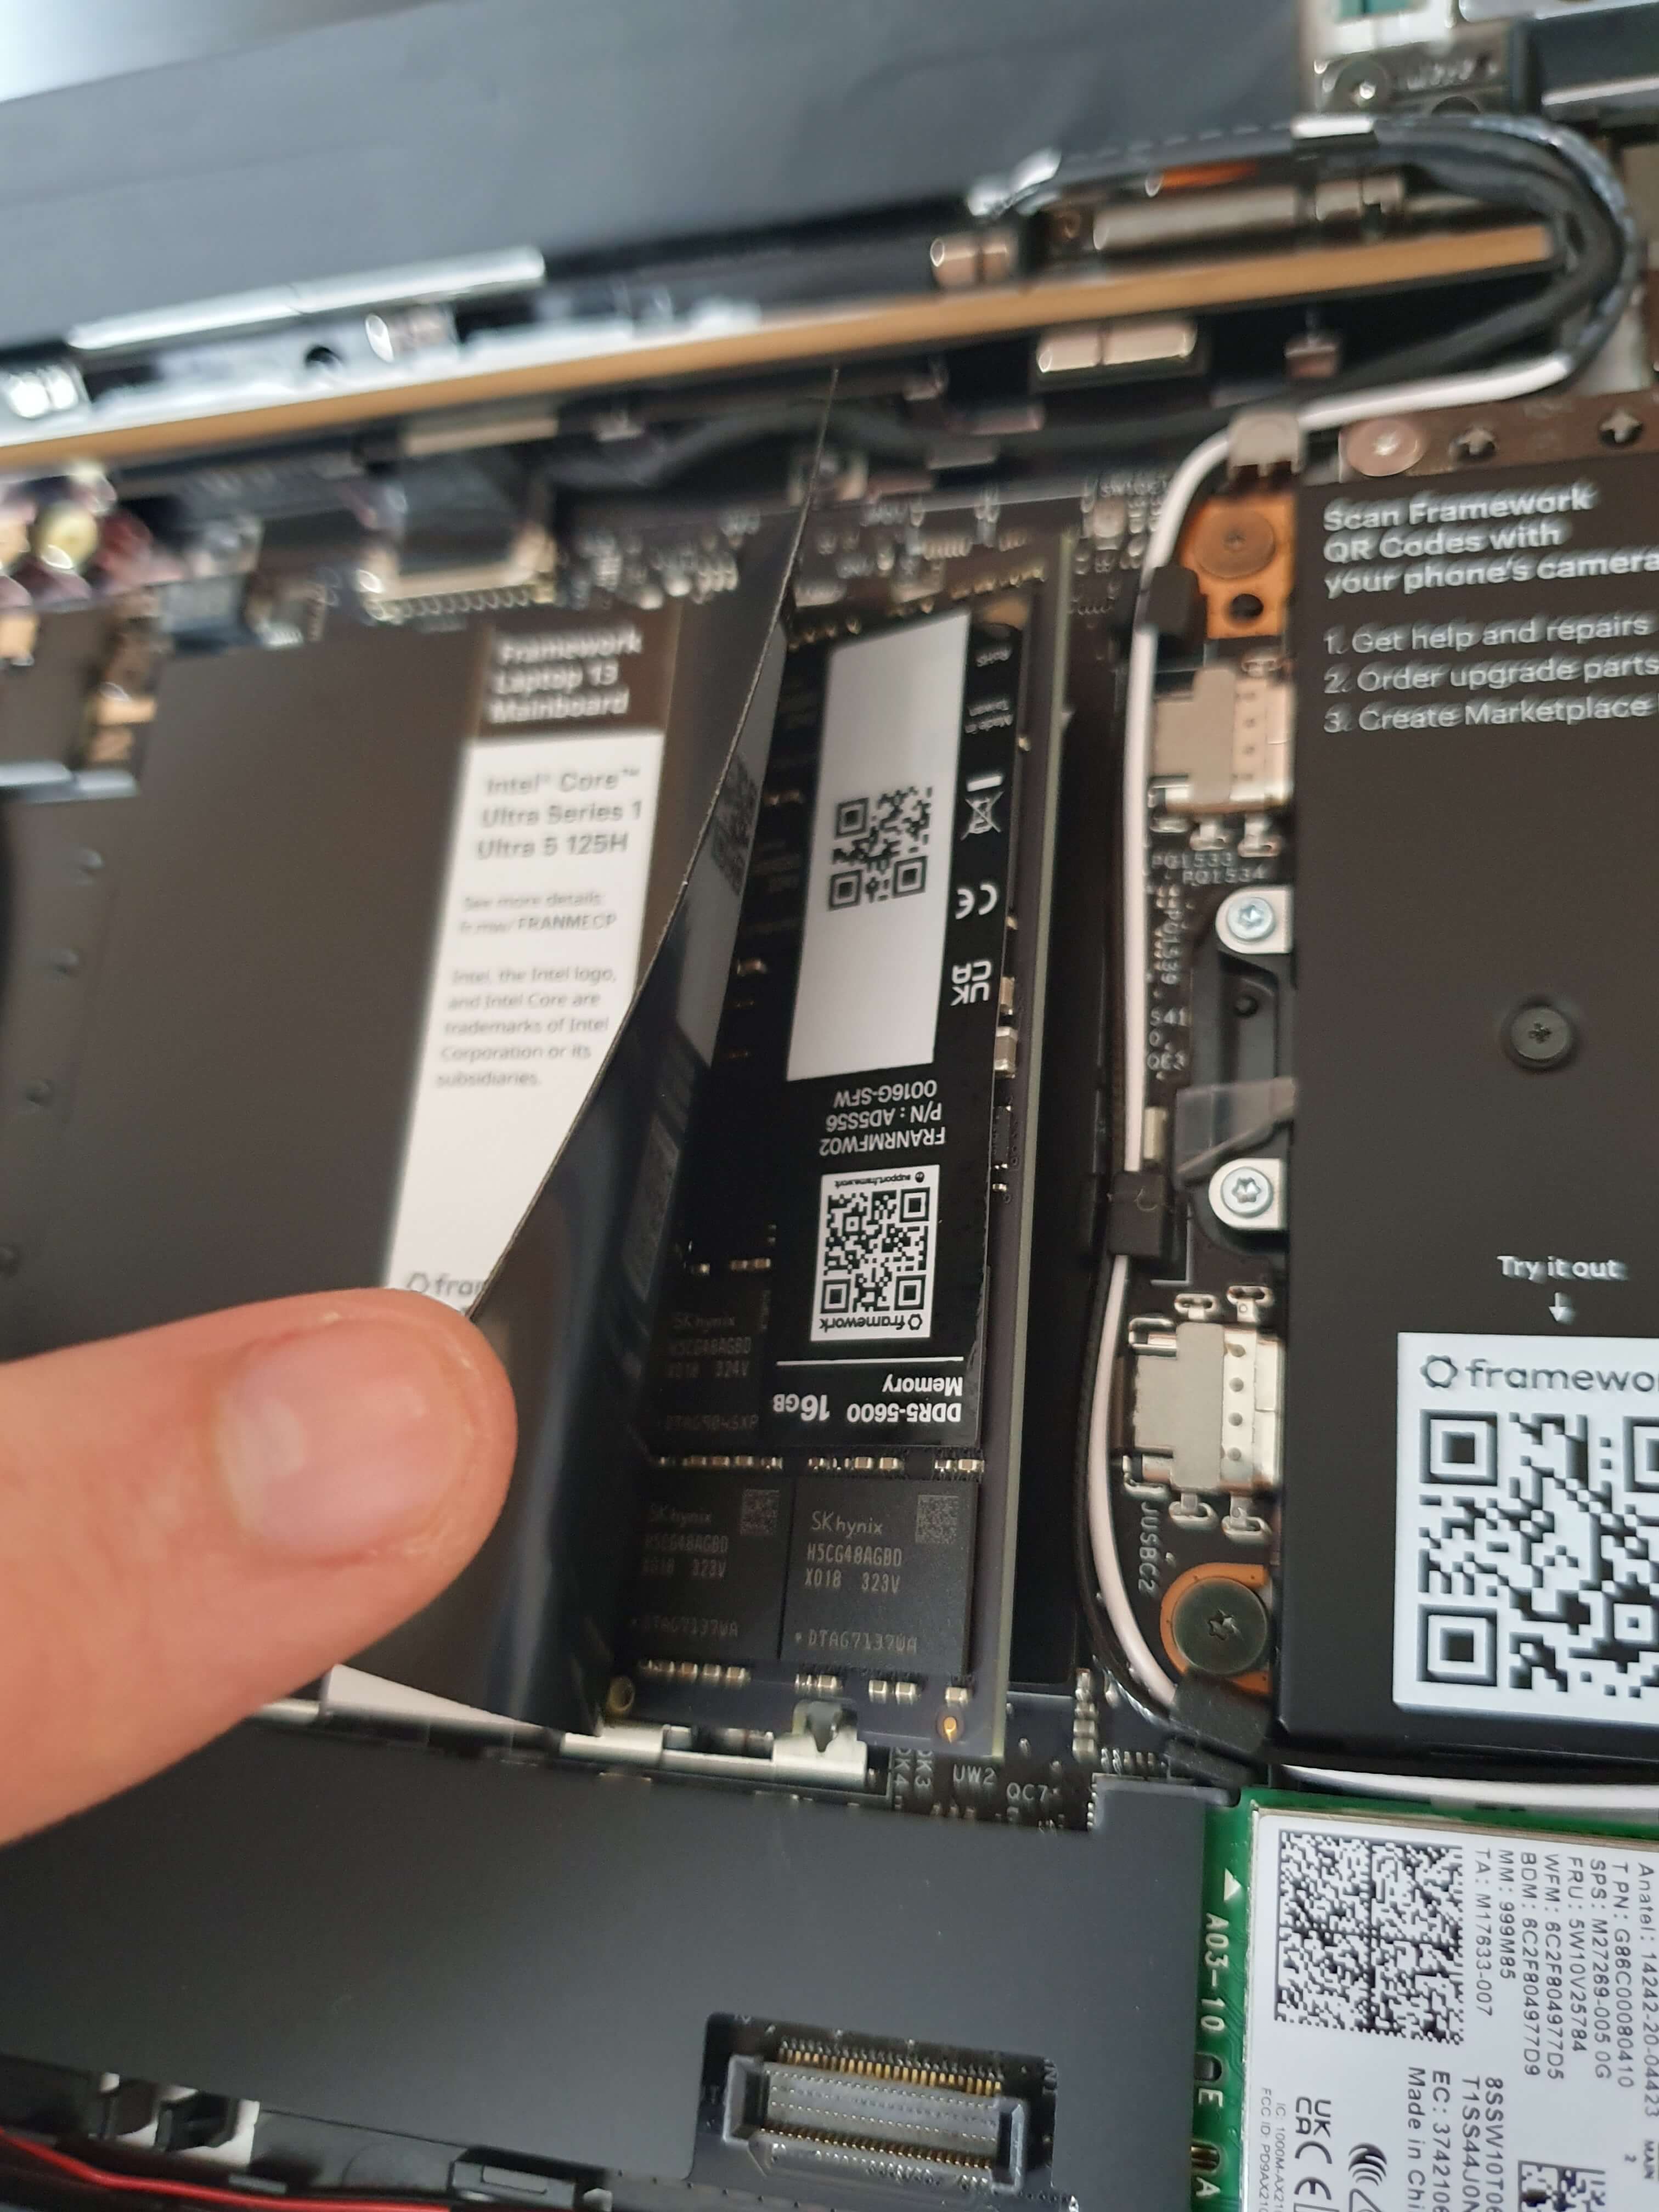
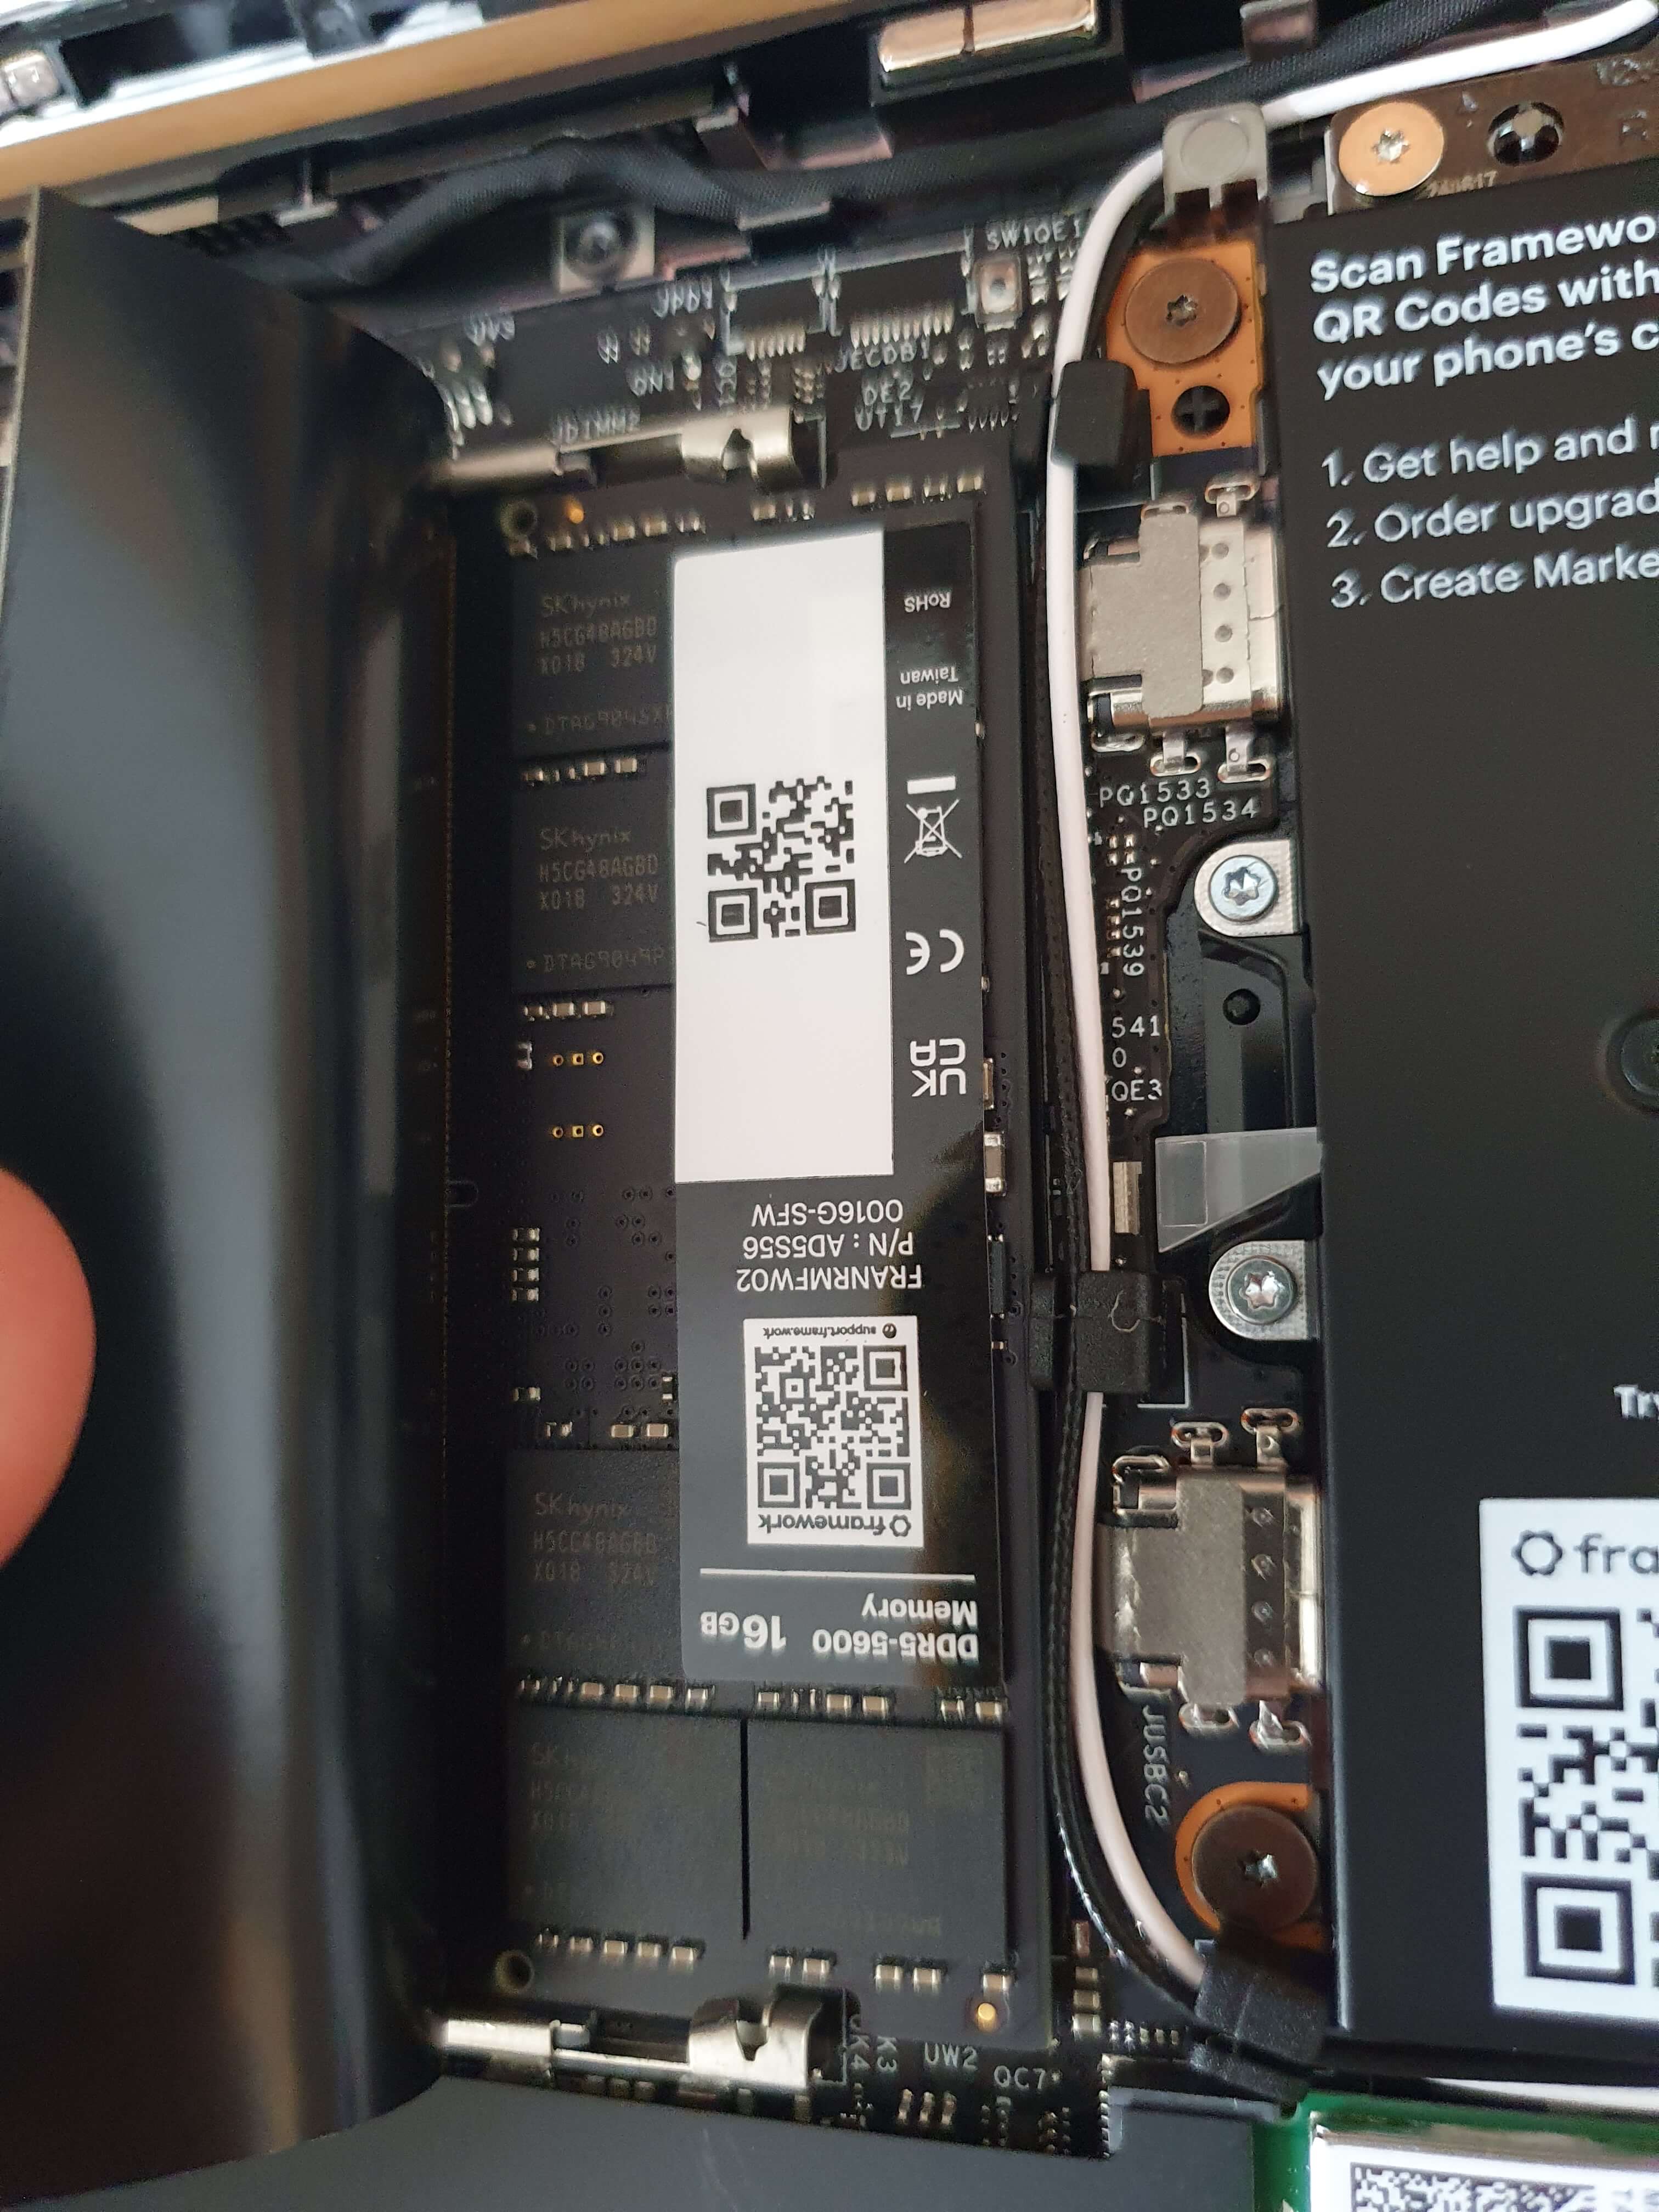
Pull back the mylar sheets, slide it in, then press down until it clicks into place. Repeat for the other side.
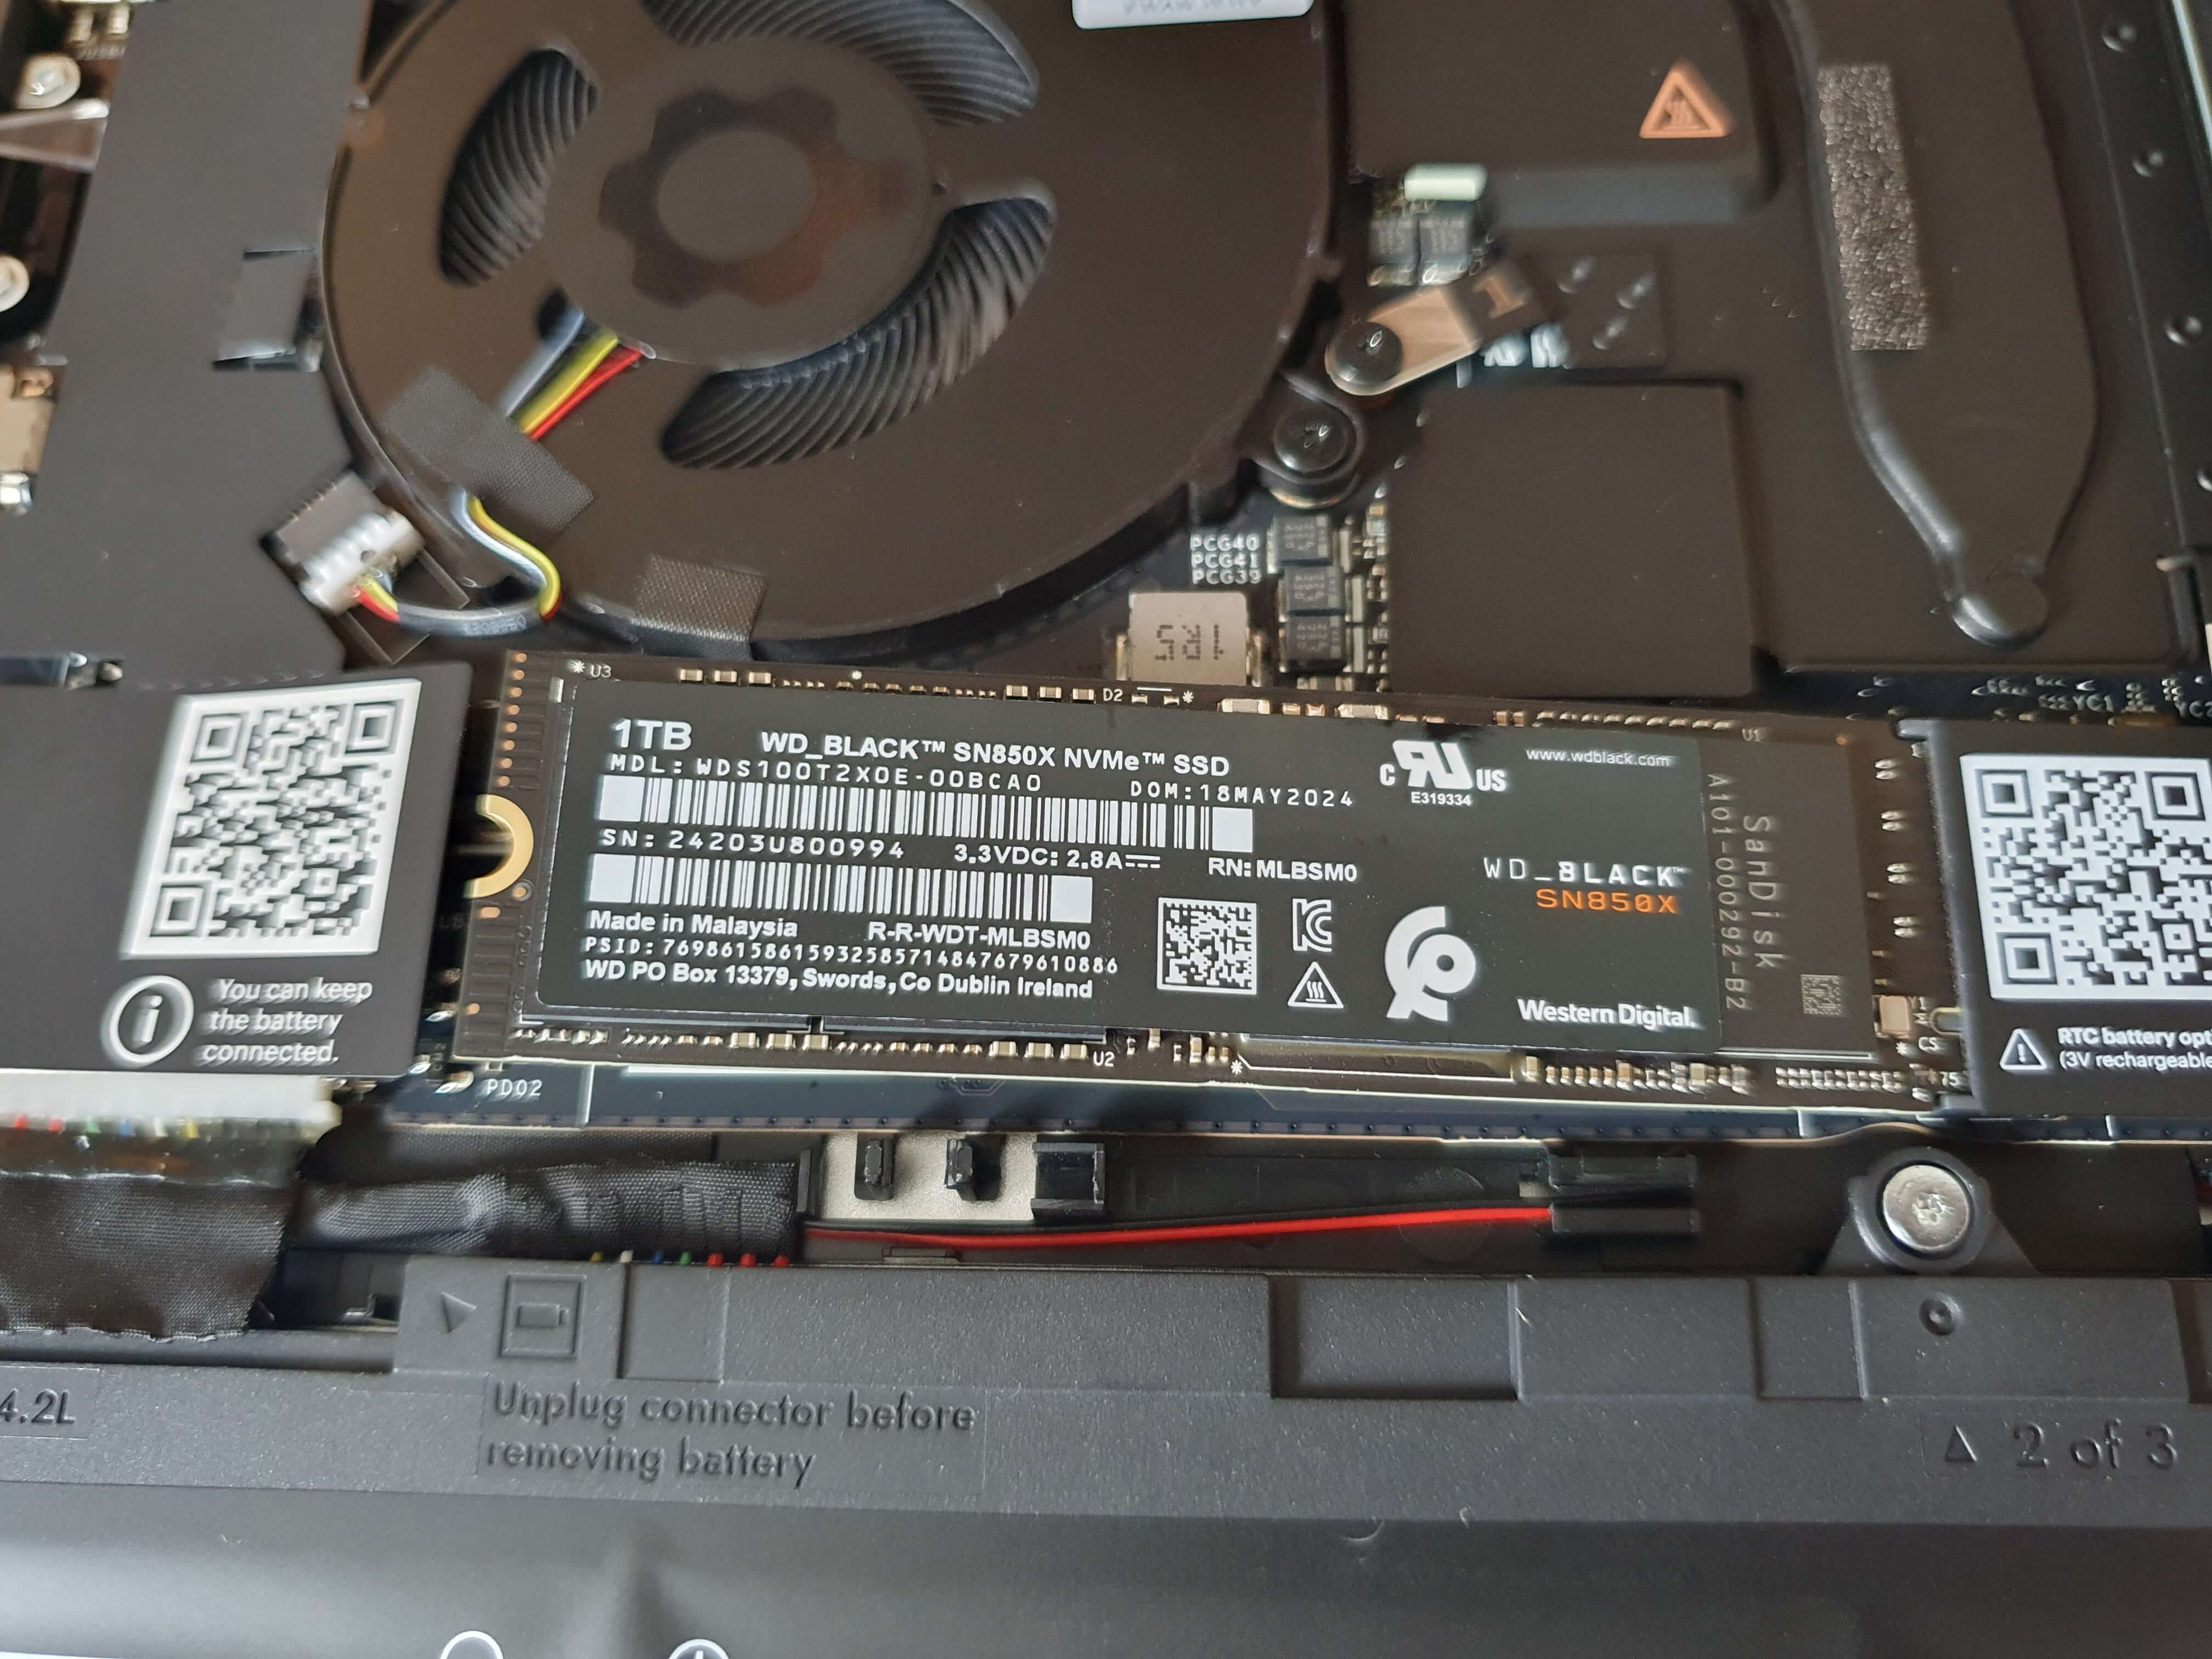
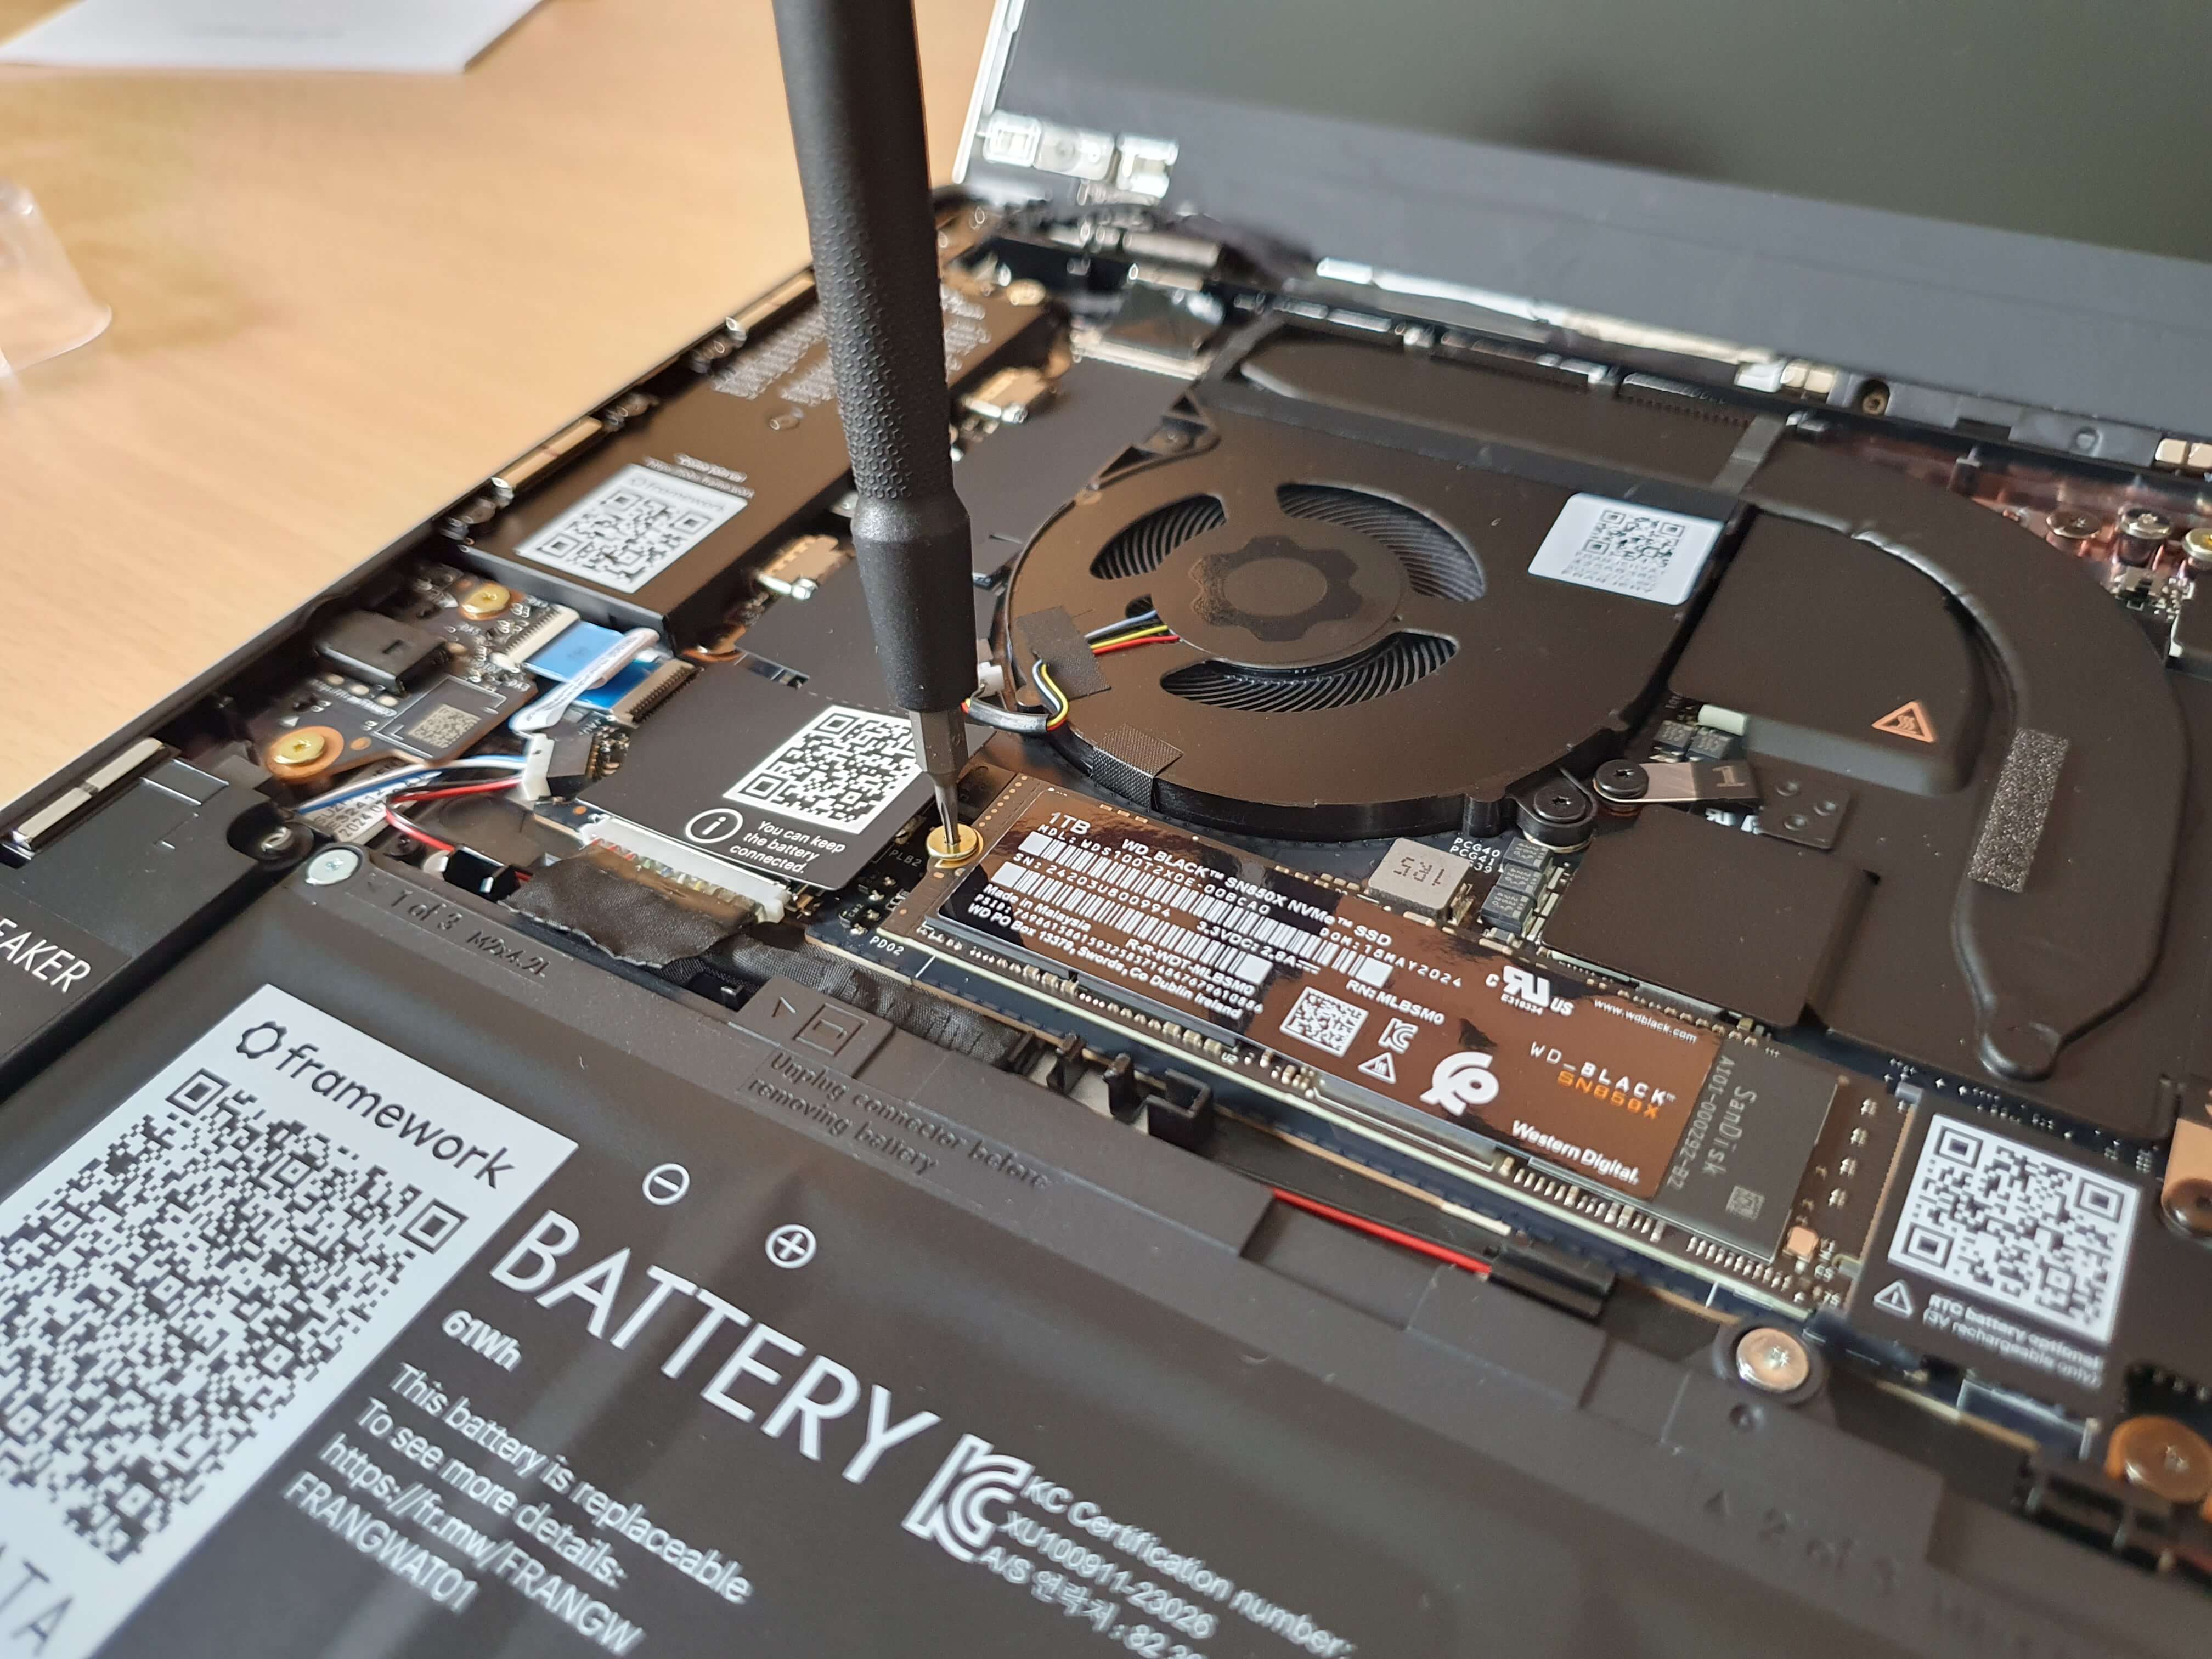
NVMe is pretty much the same. Slide in, press it down, and screw into place.
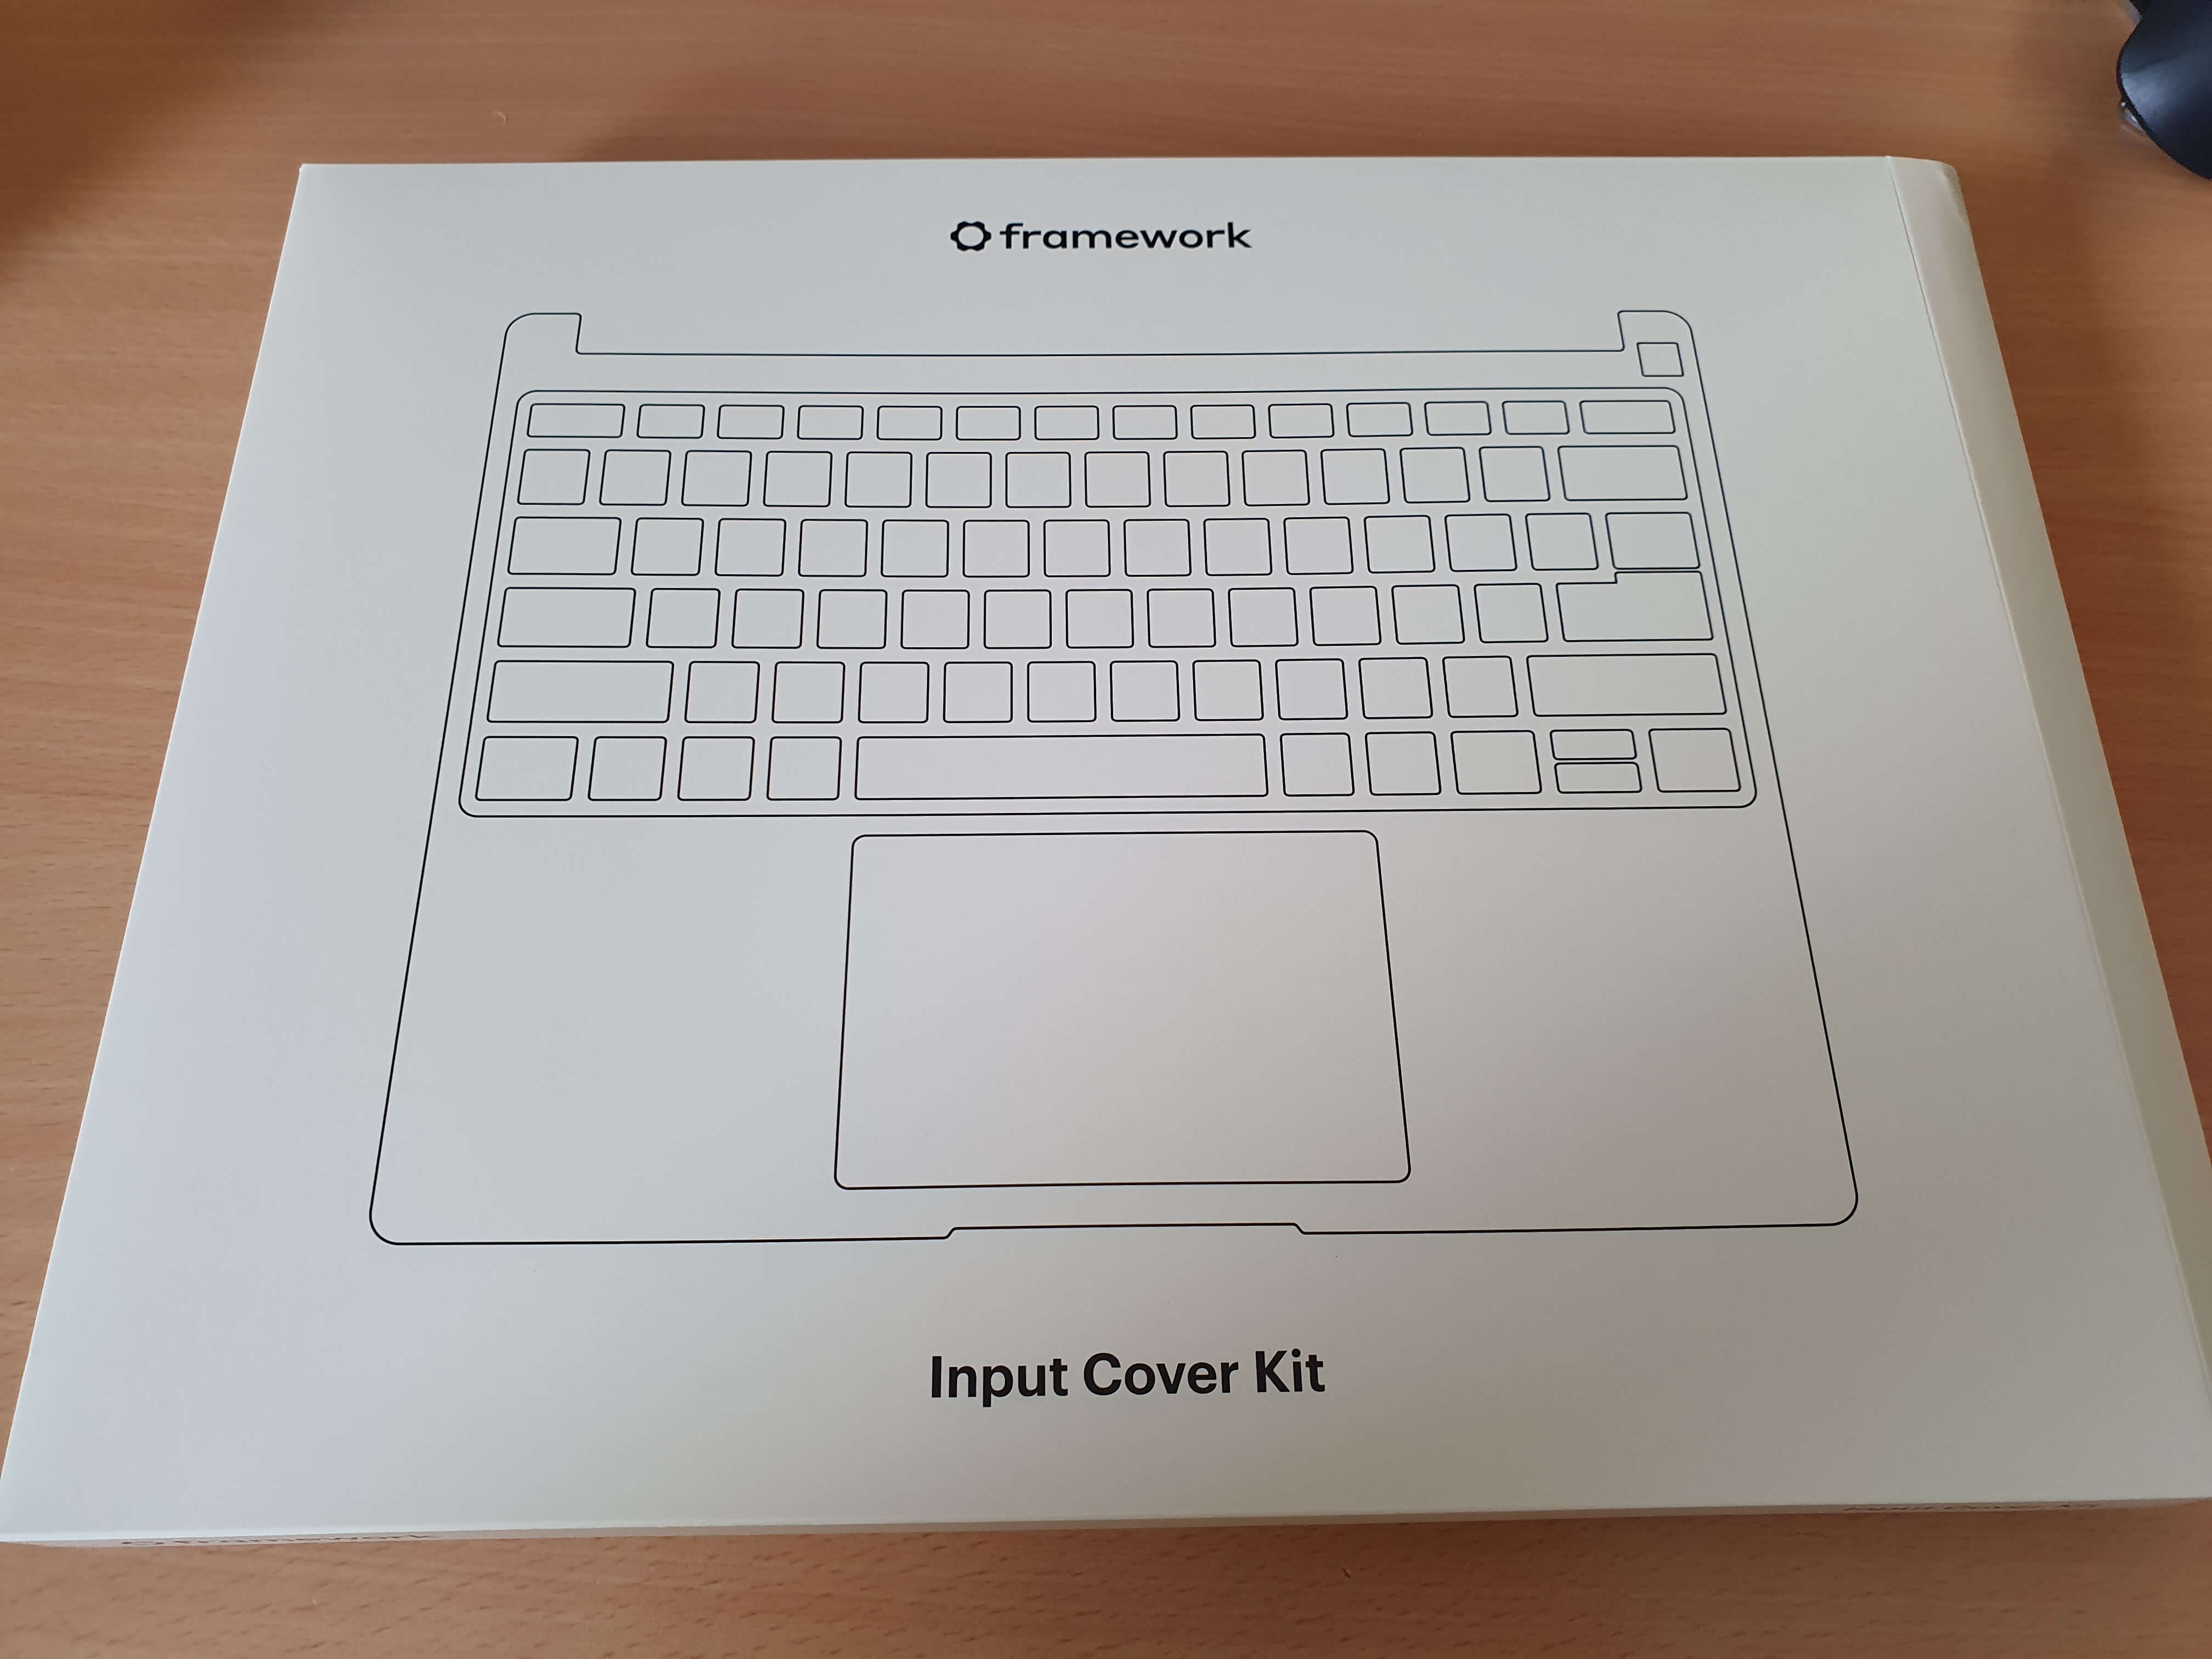
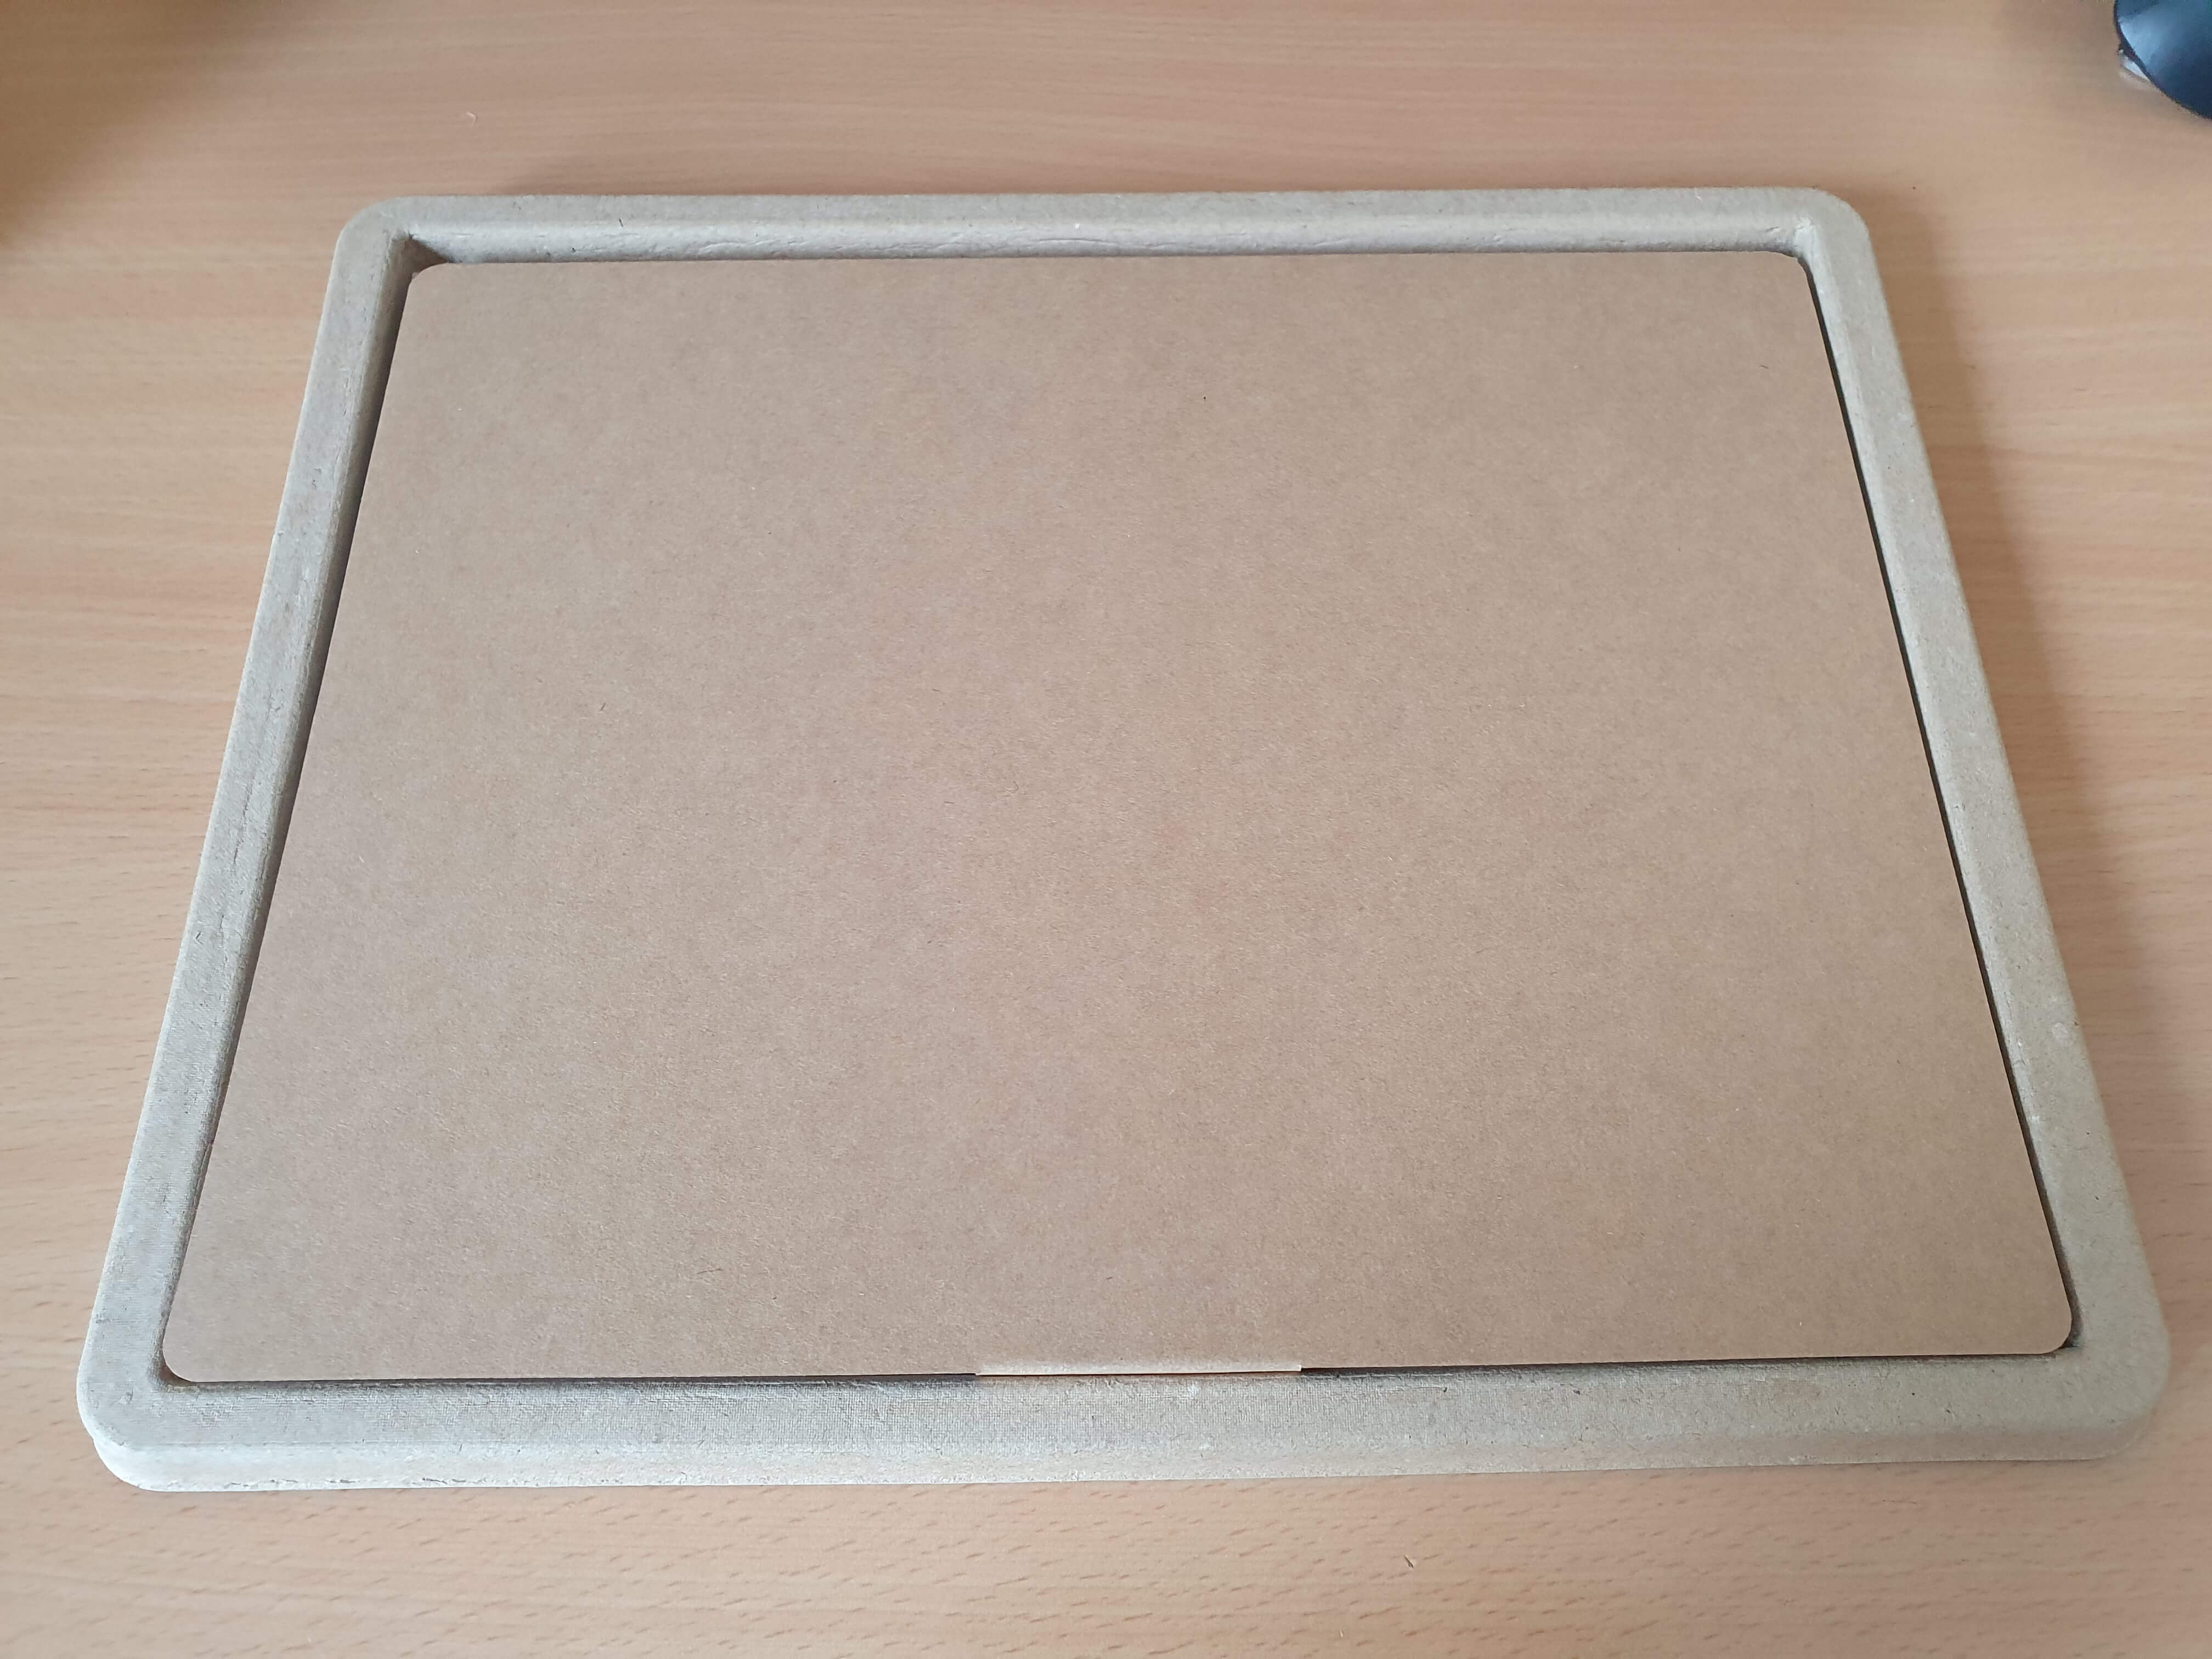
The keyboard is where it gets fun. Let’s take a look. Lots of cardboard and environmentally friendly packaging. Nice.
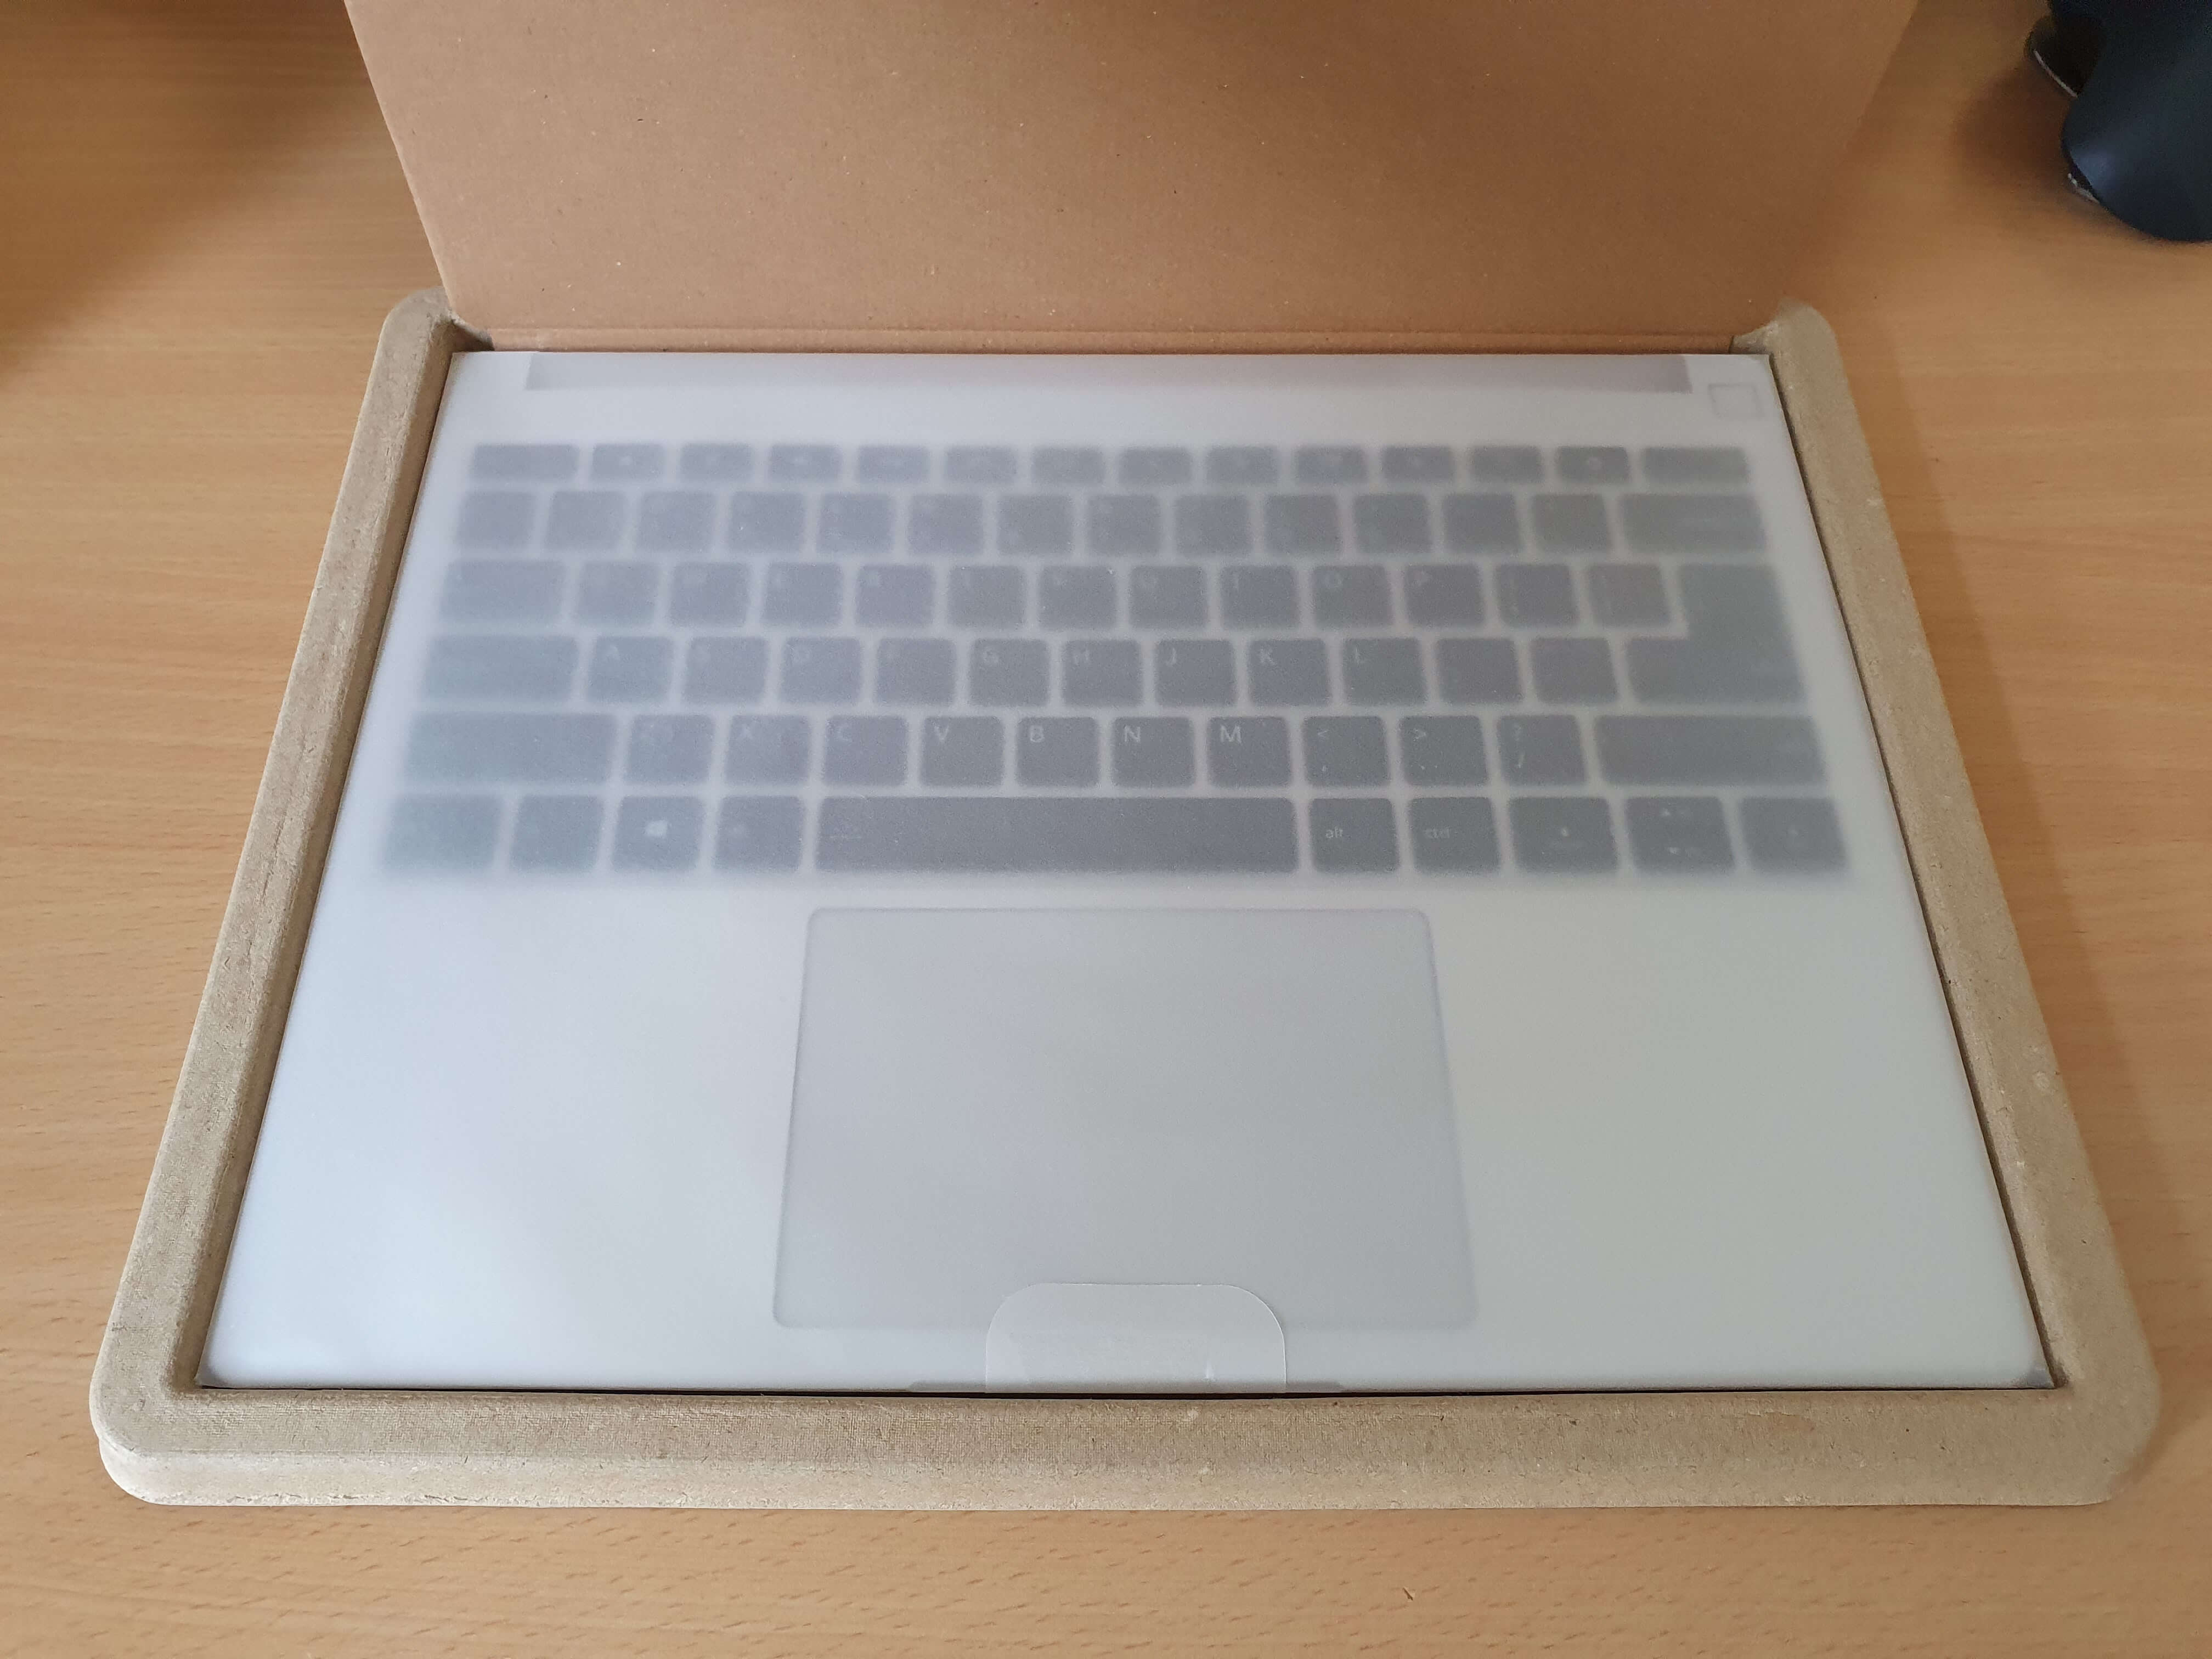
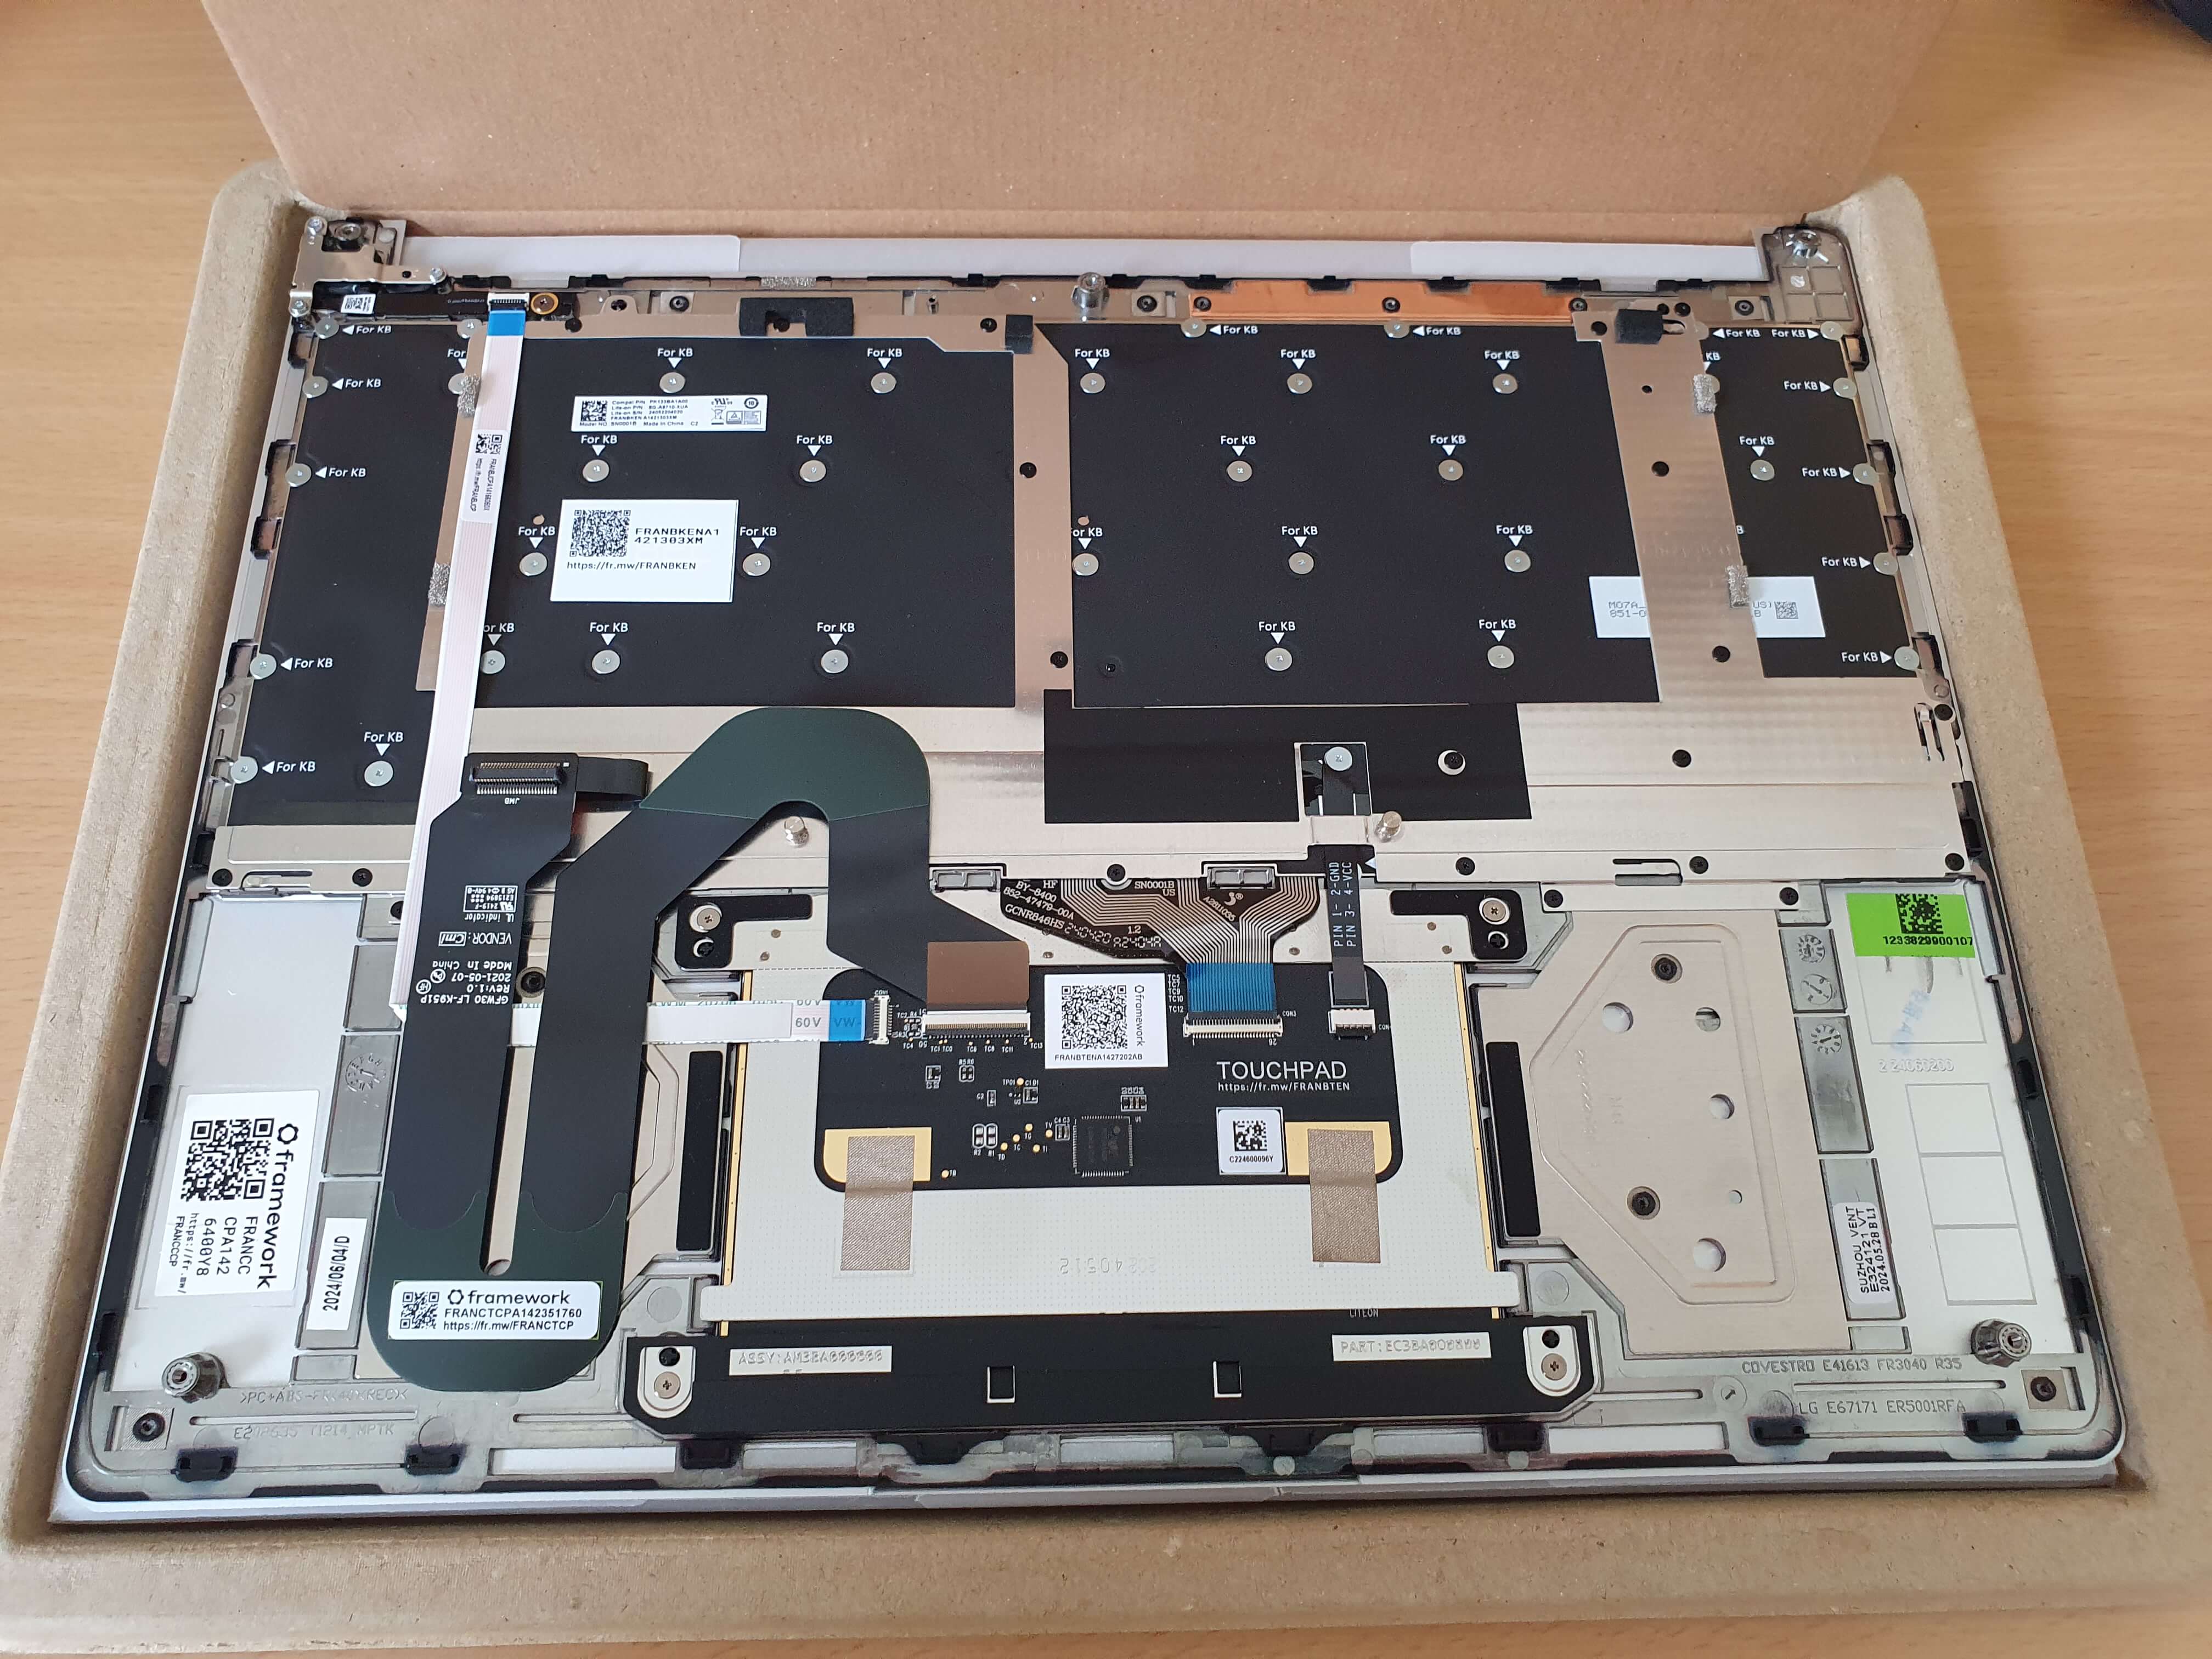
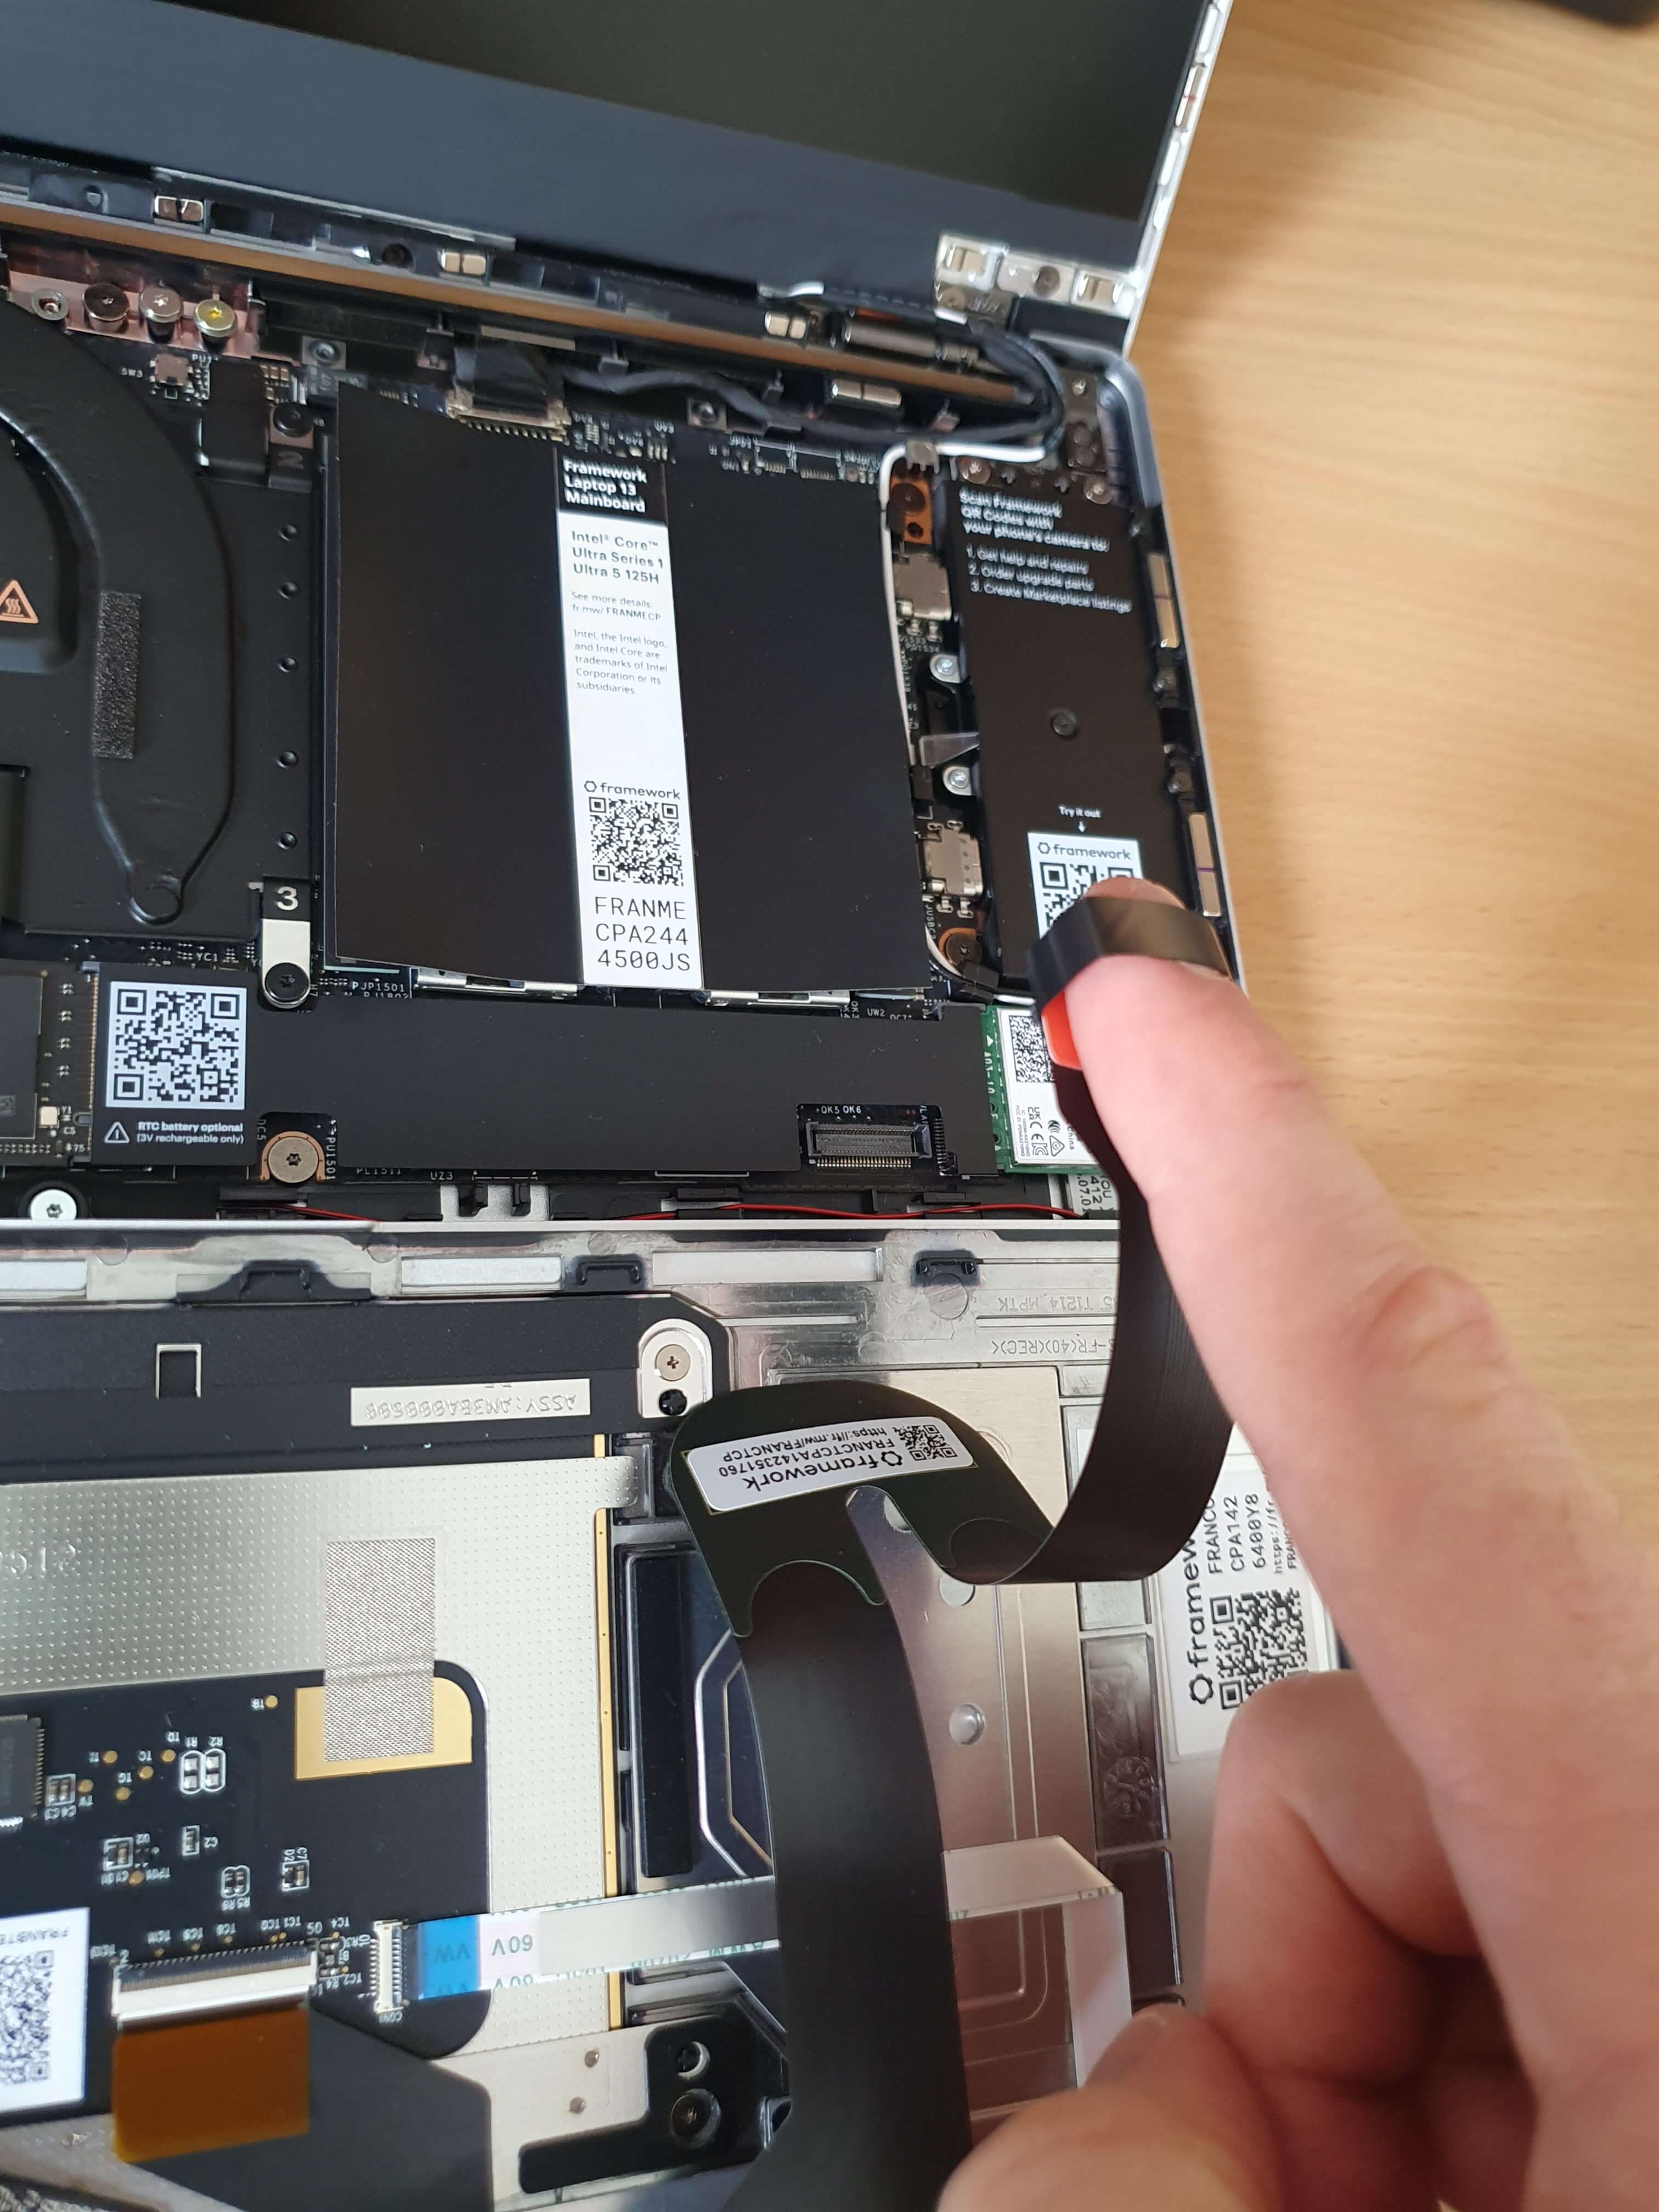
Attaching it to the rest of the laptop is the spicy part. That big fat squiggly black ribbon? That’s for the touchpad. It’s surprisingly robust, but we still need to be careful. First let’s flip it over and then line it up.
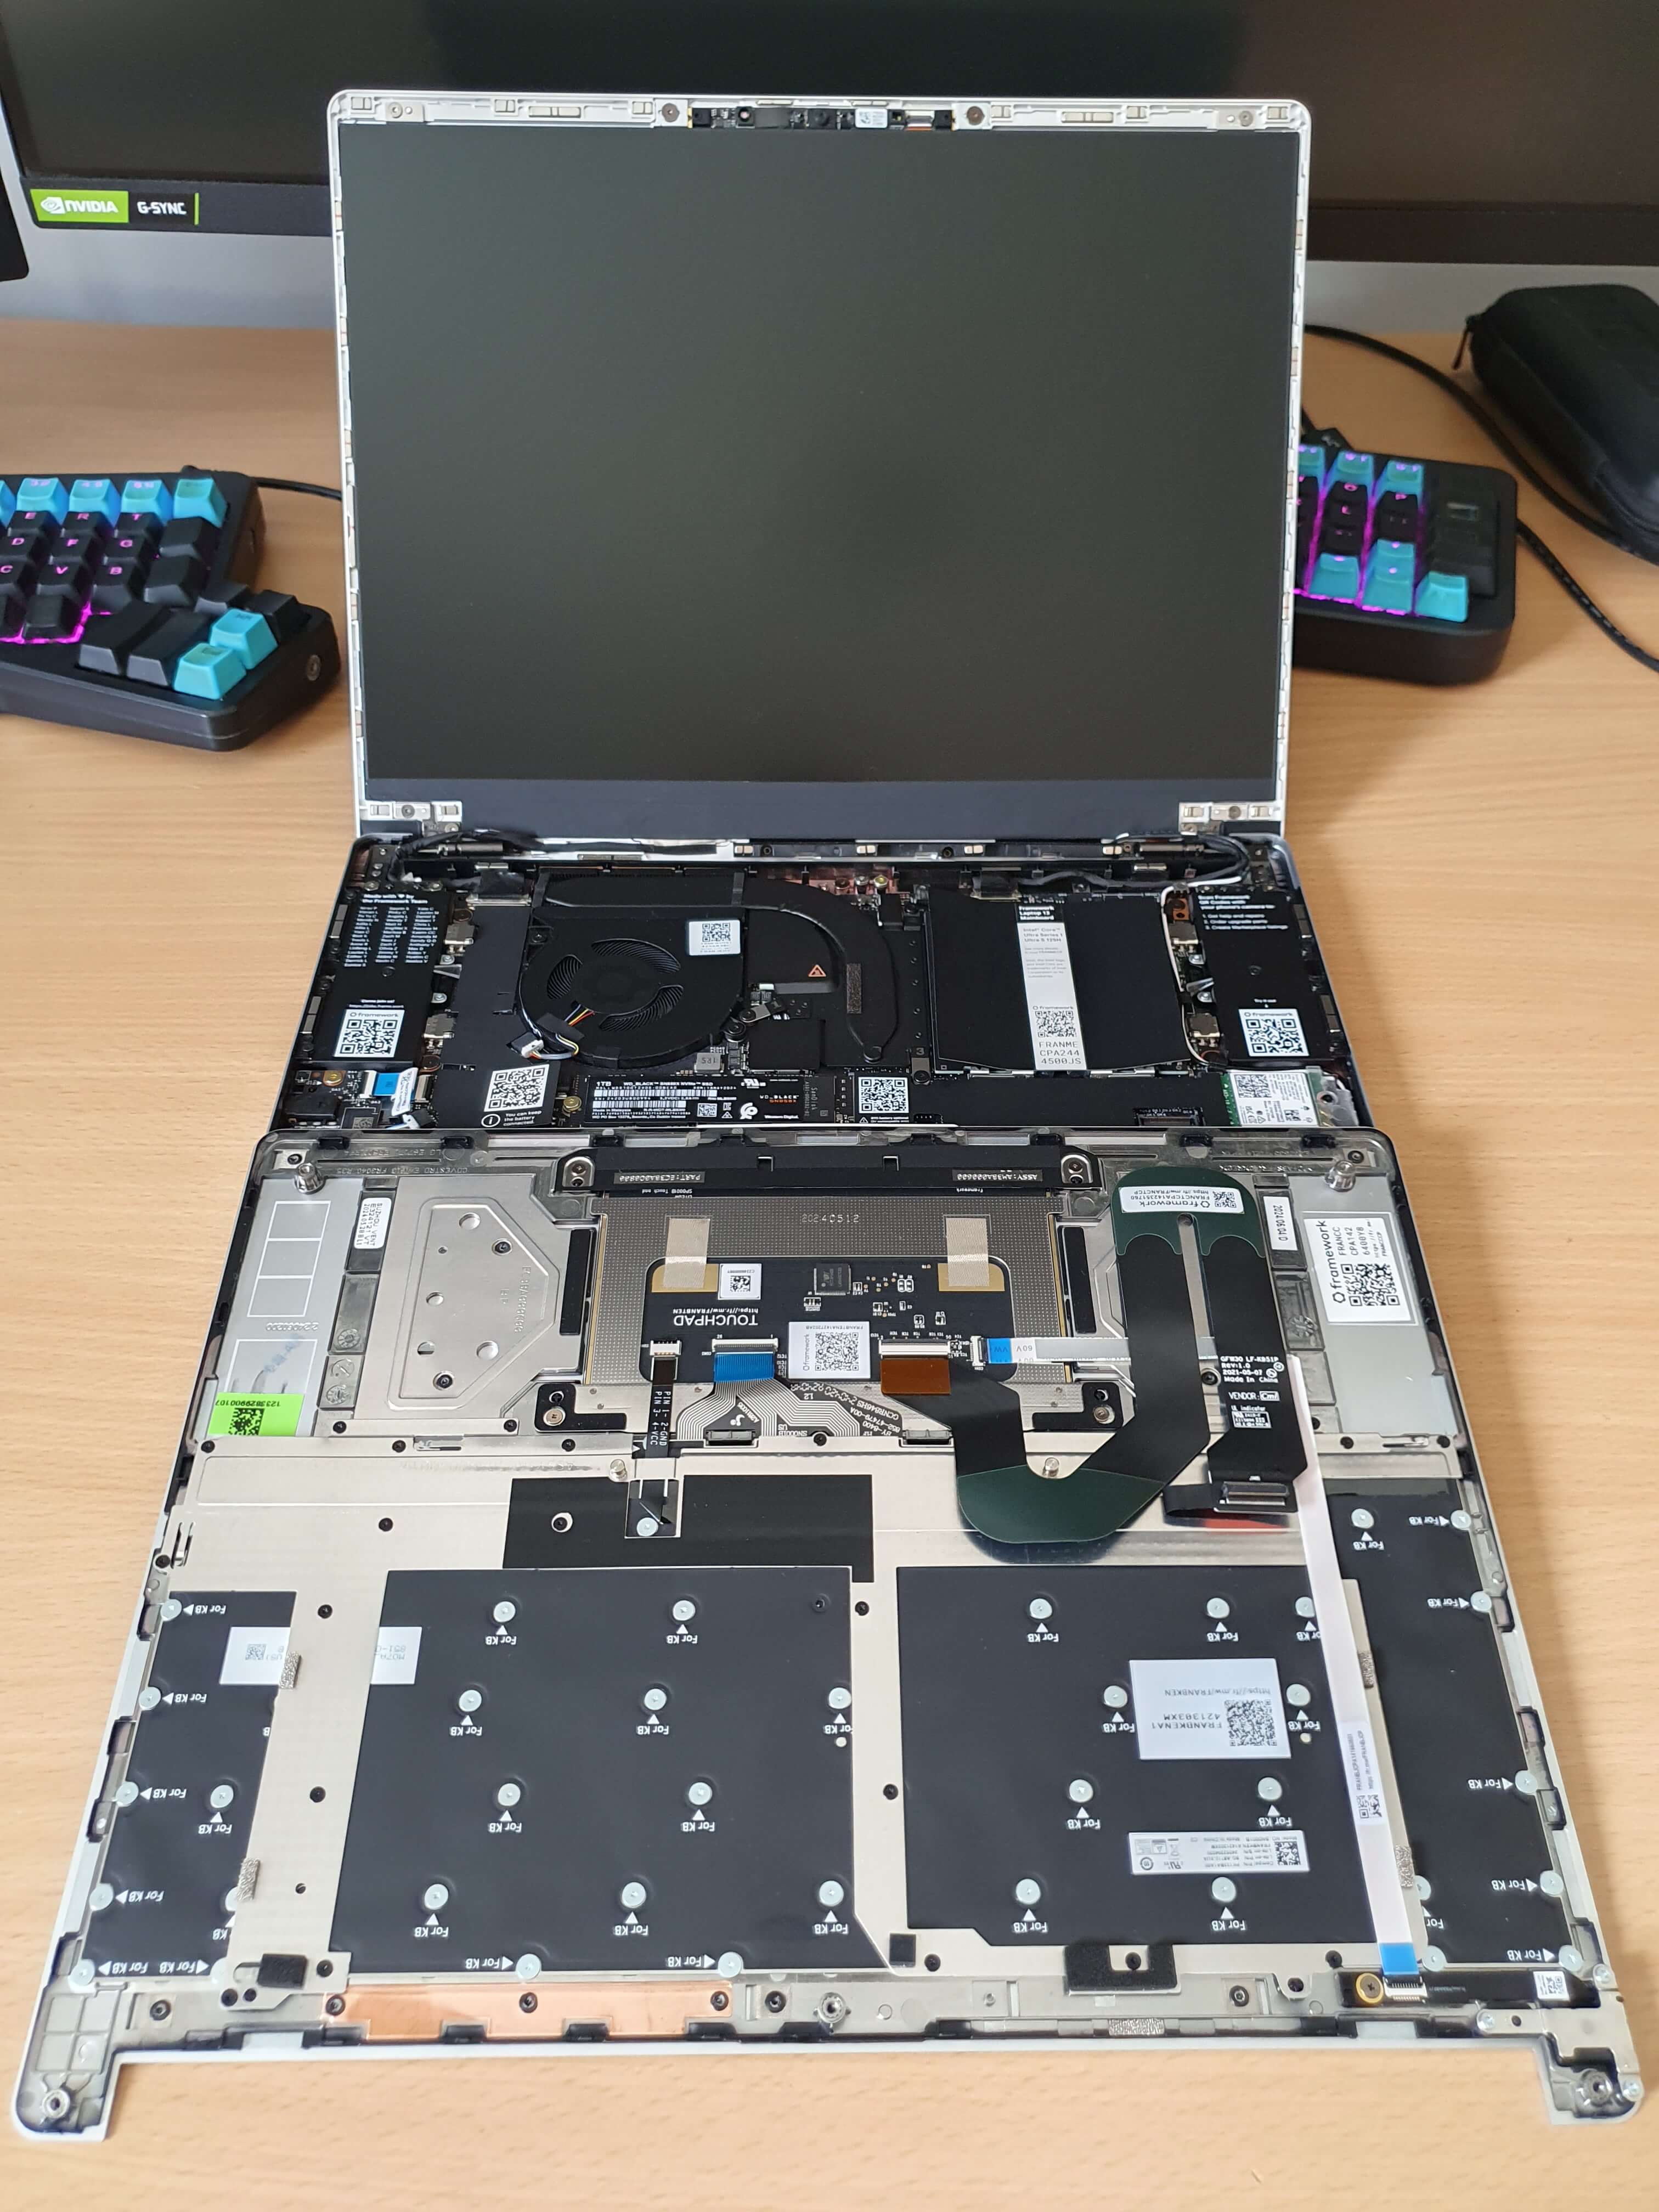
This bit needs to go into the socket on the motherboard
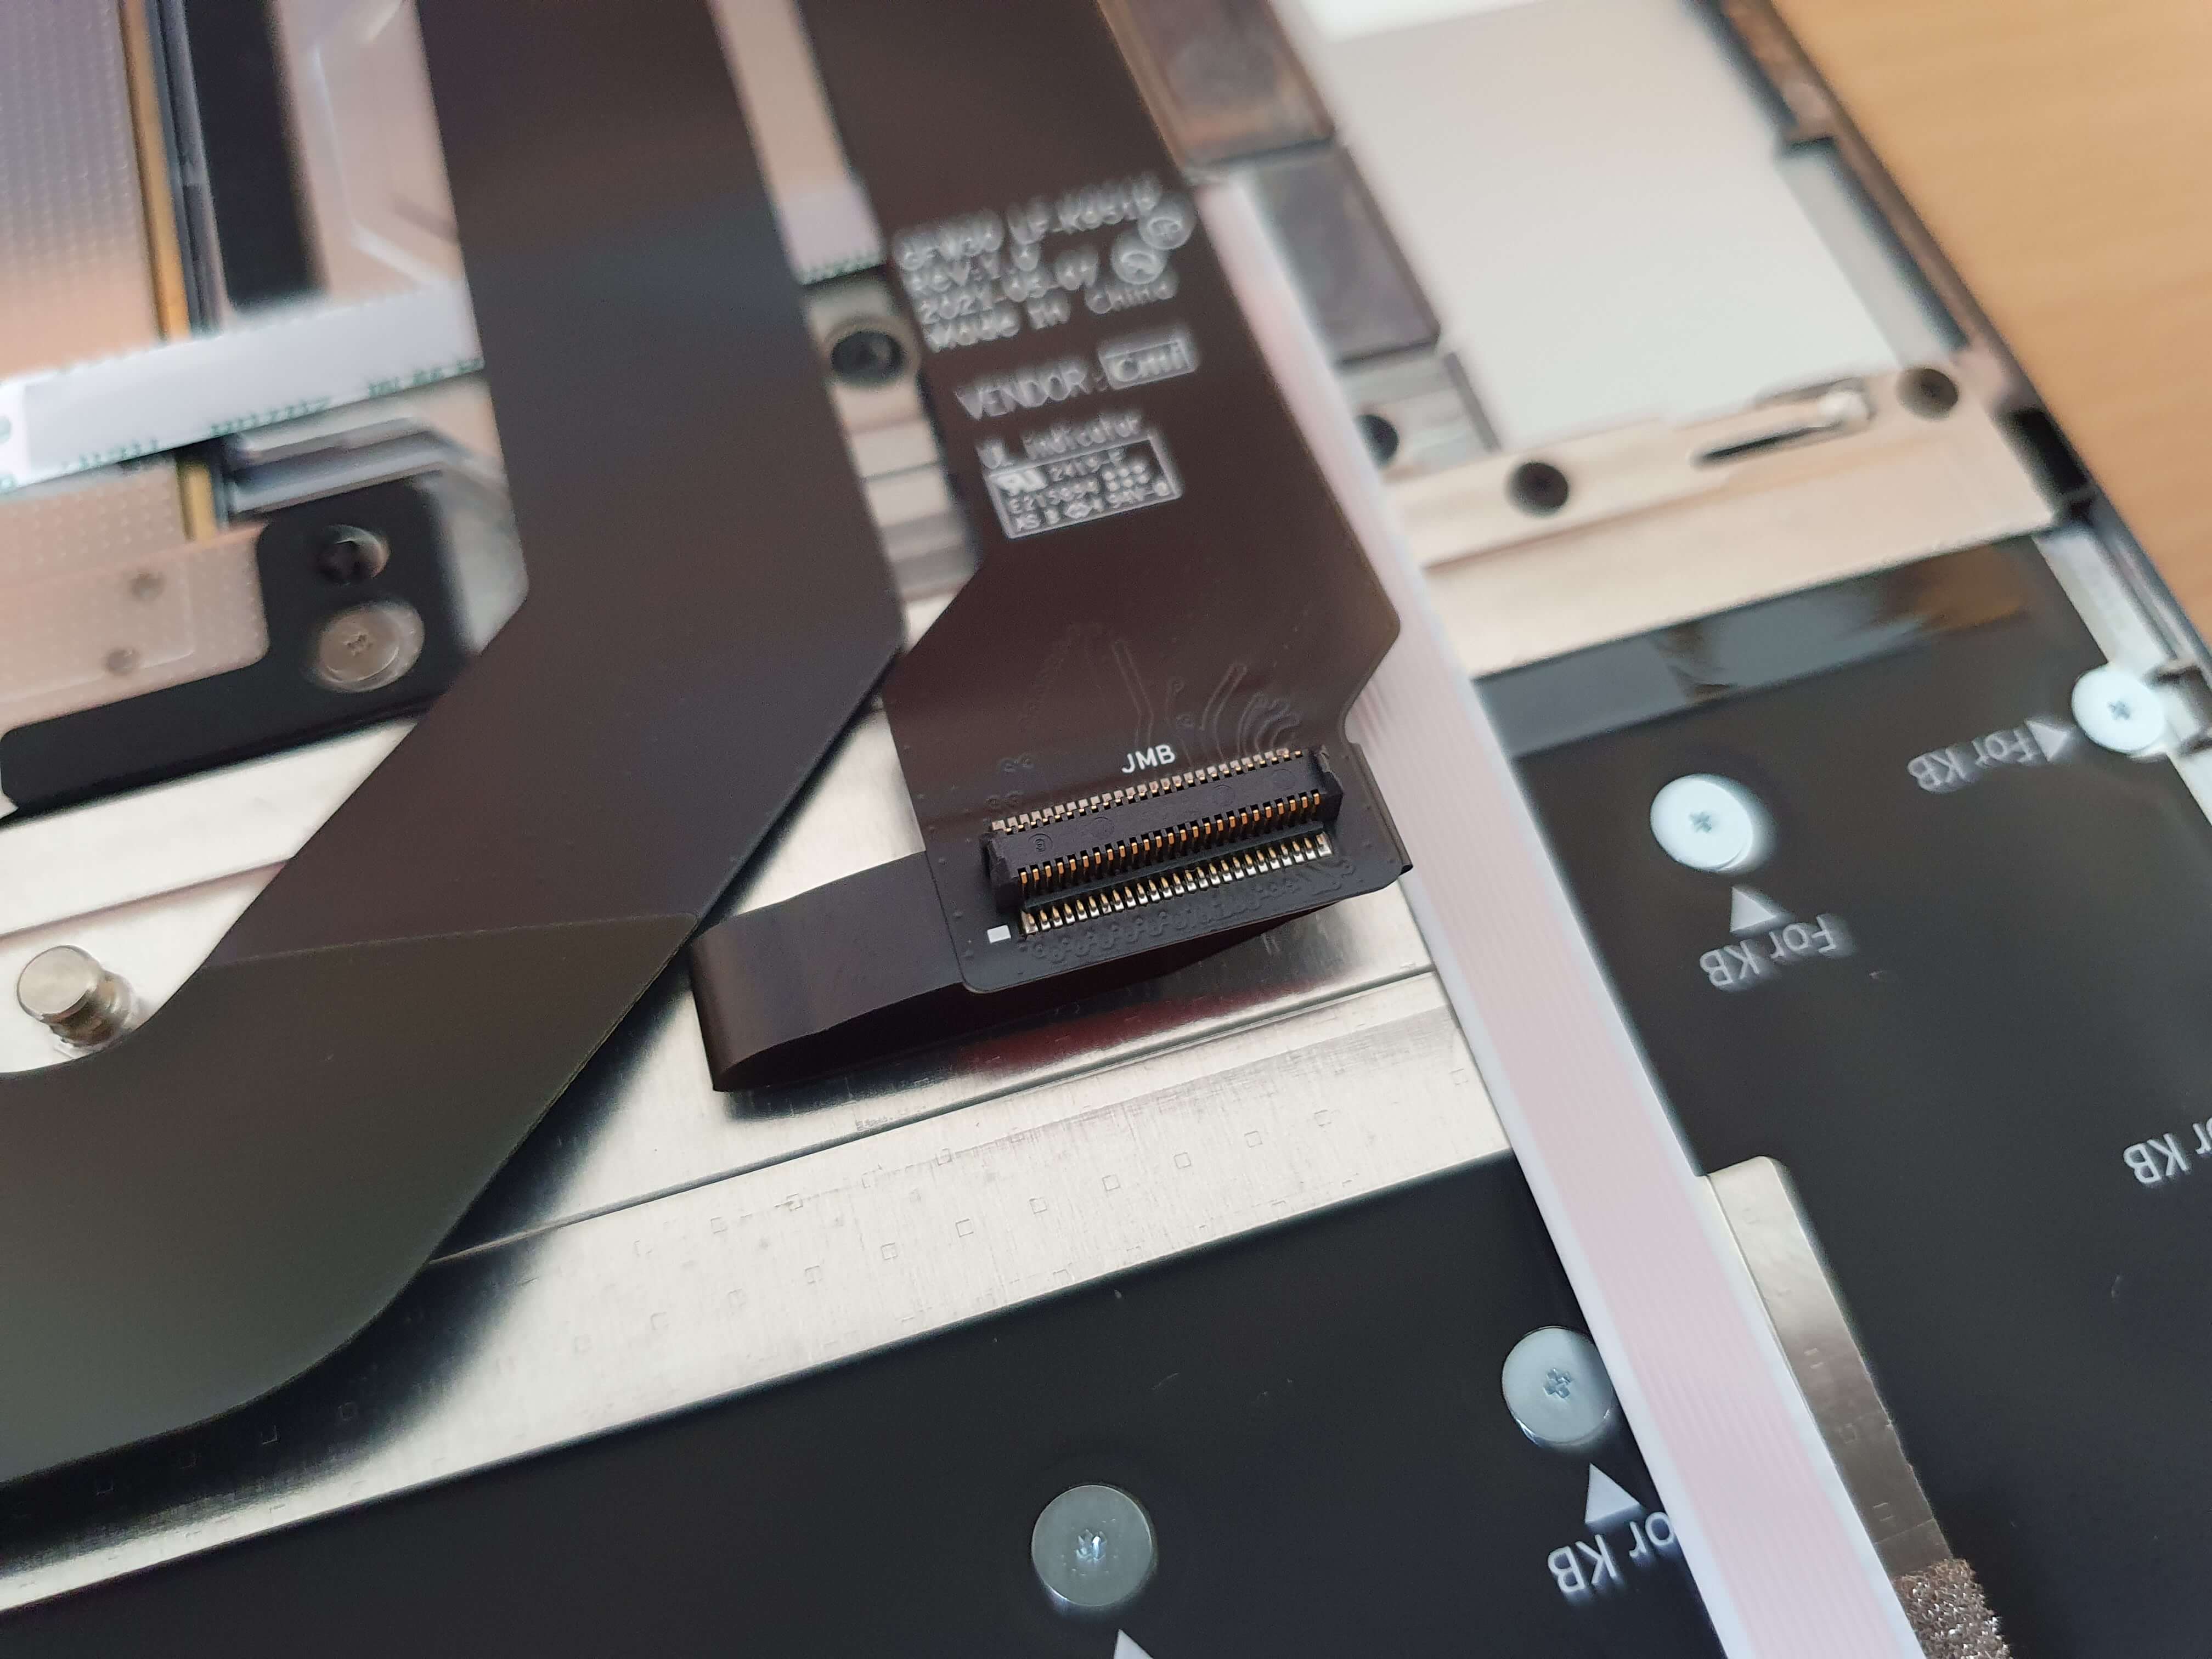
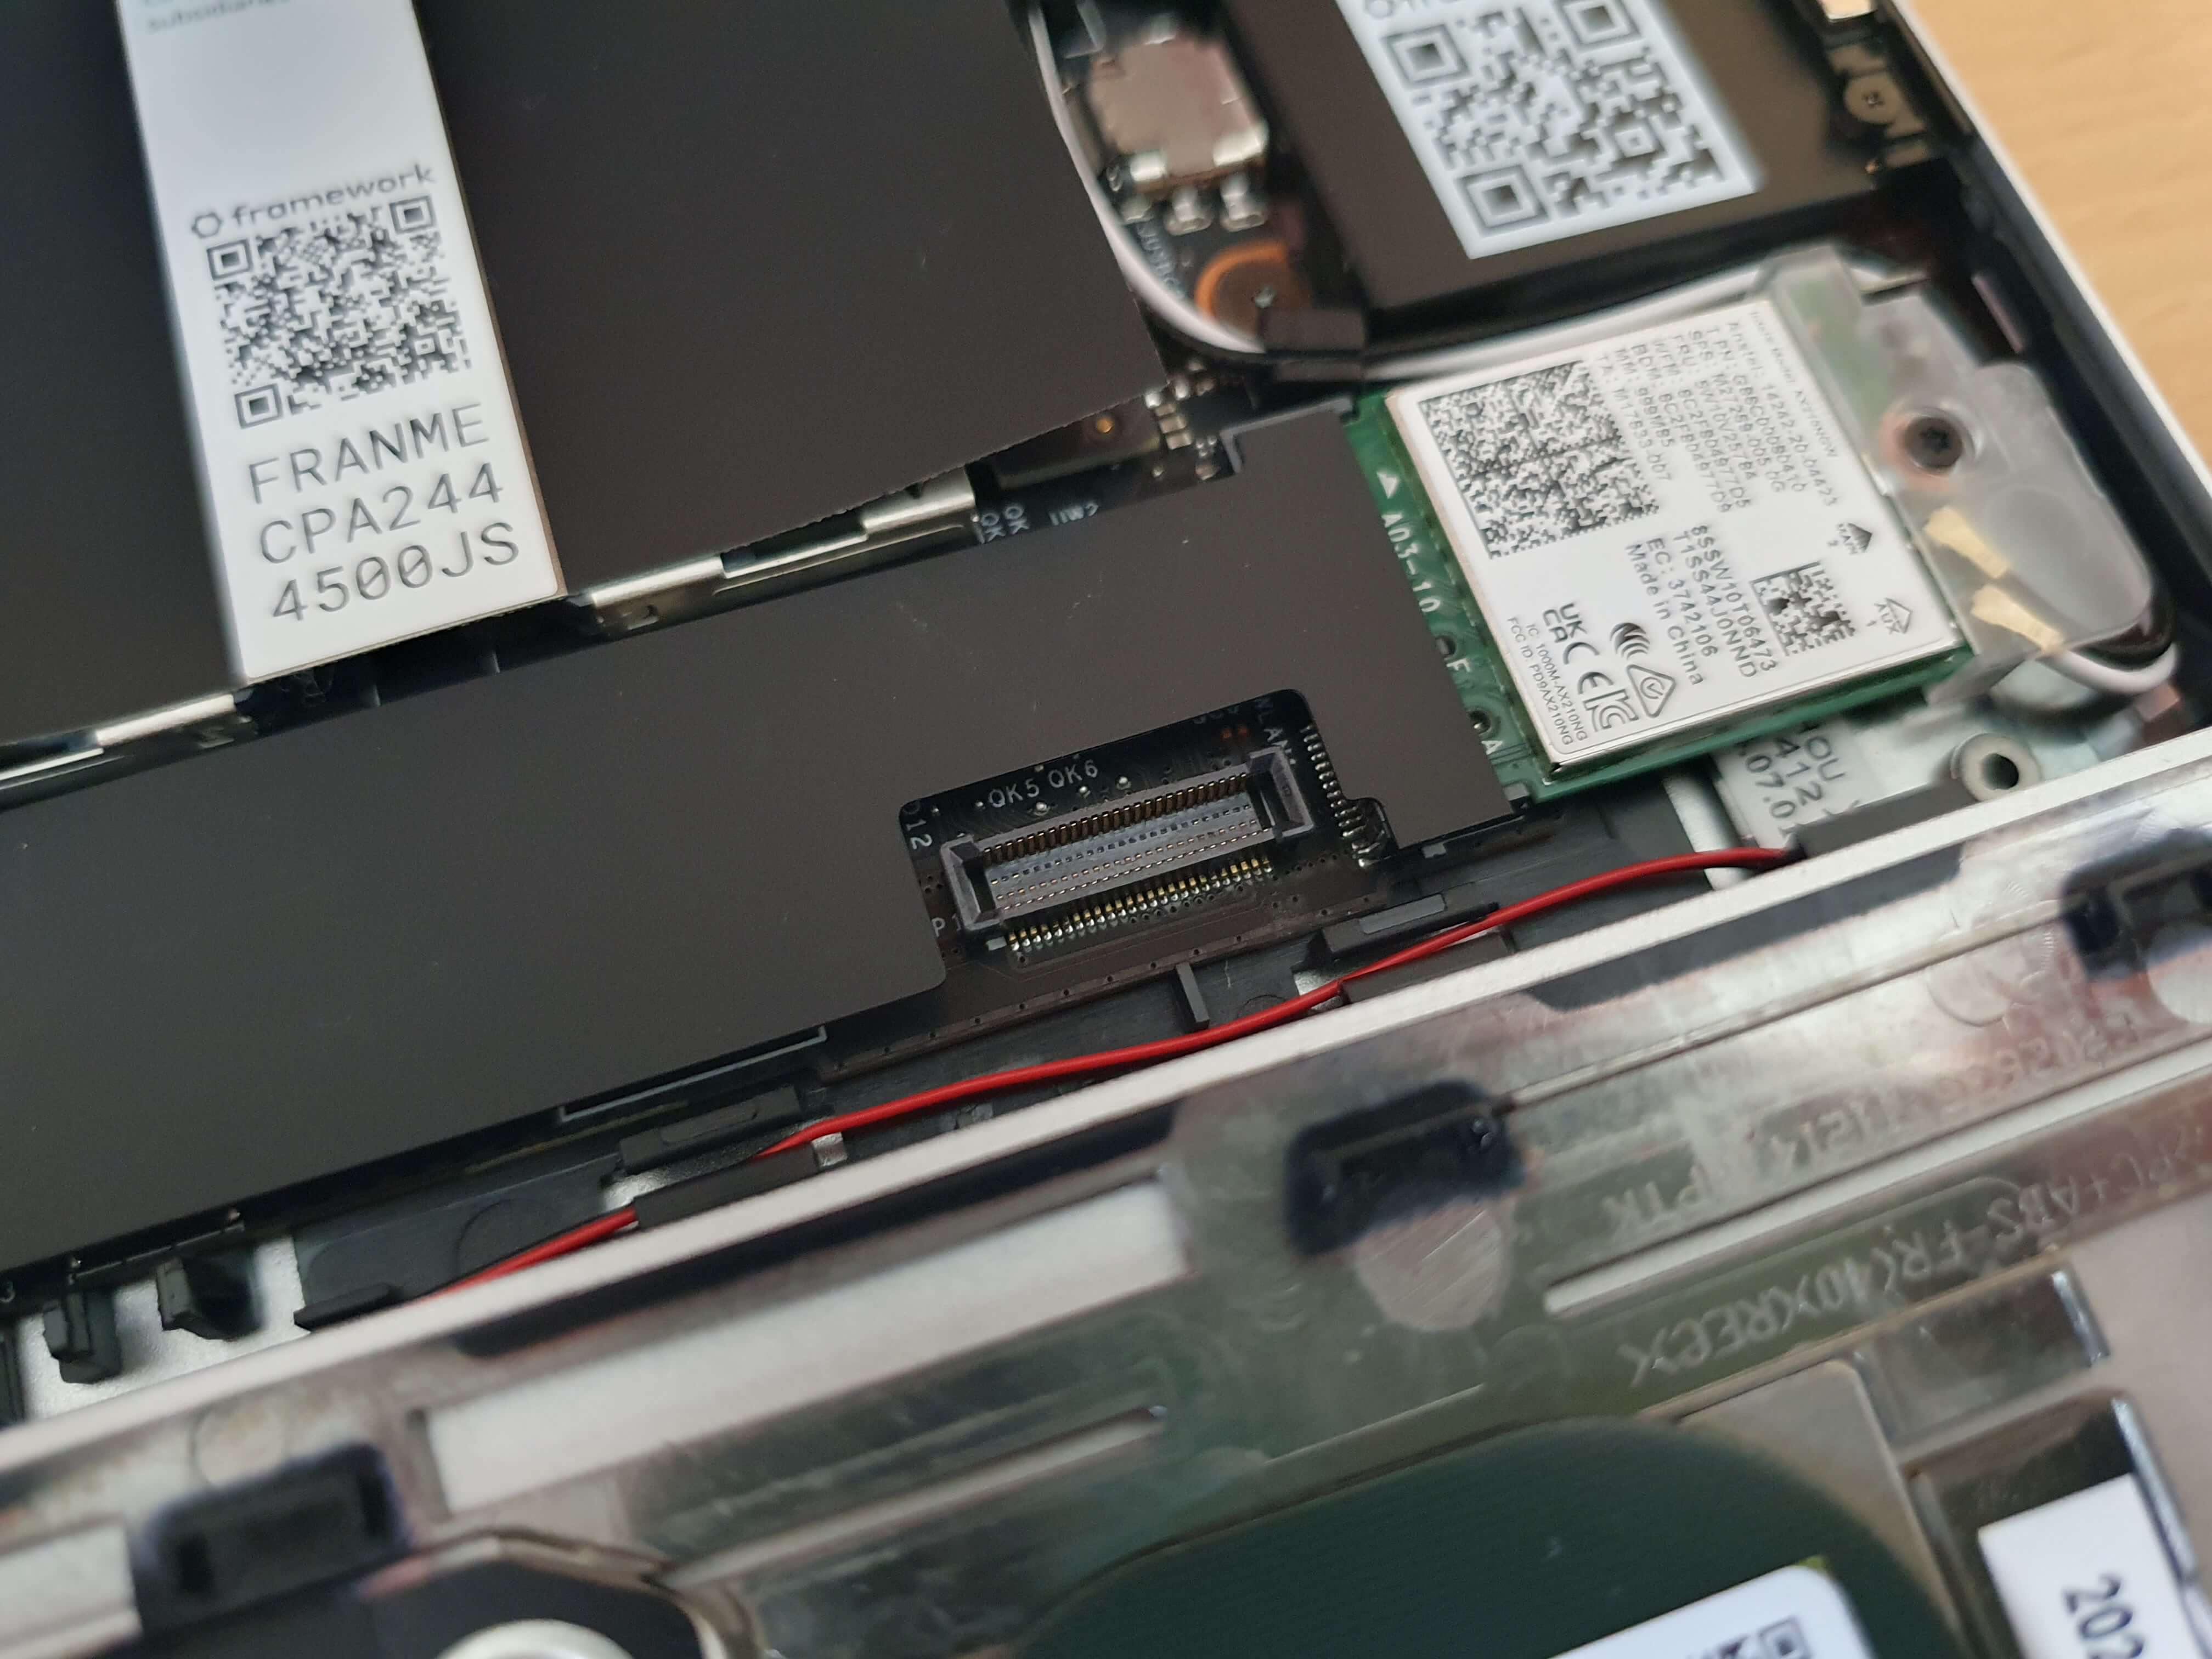
Luckily, there’s a handy little build-in finger loop. Some slight pressure and we’re sorted.
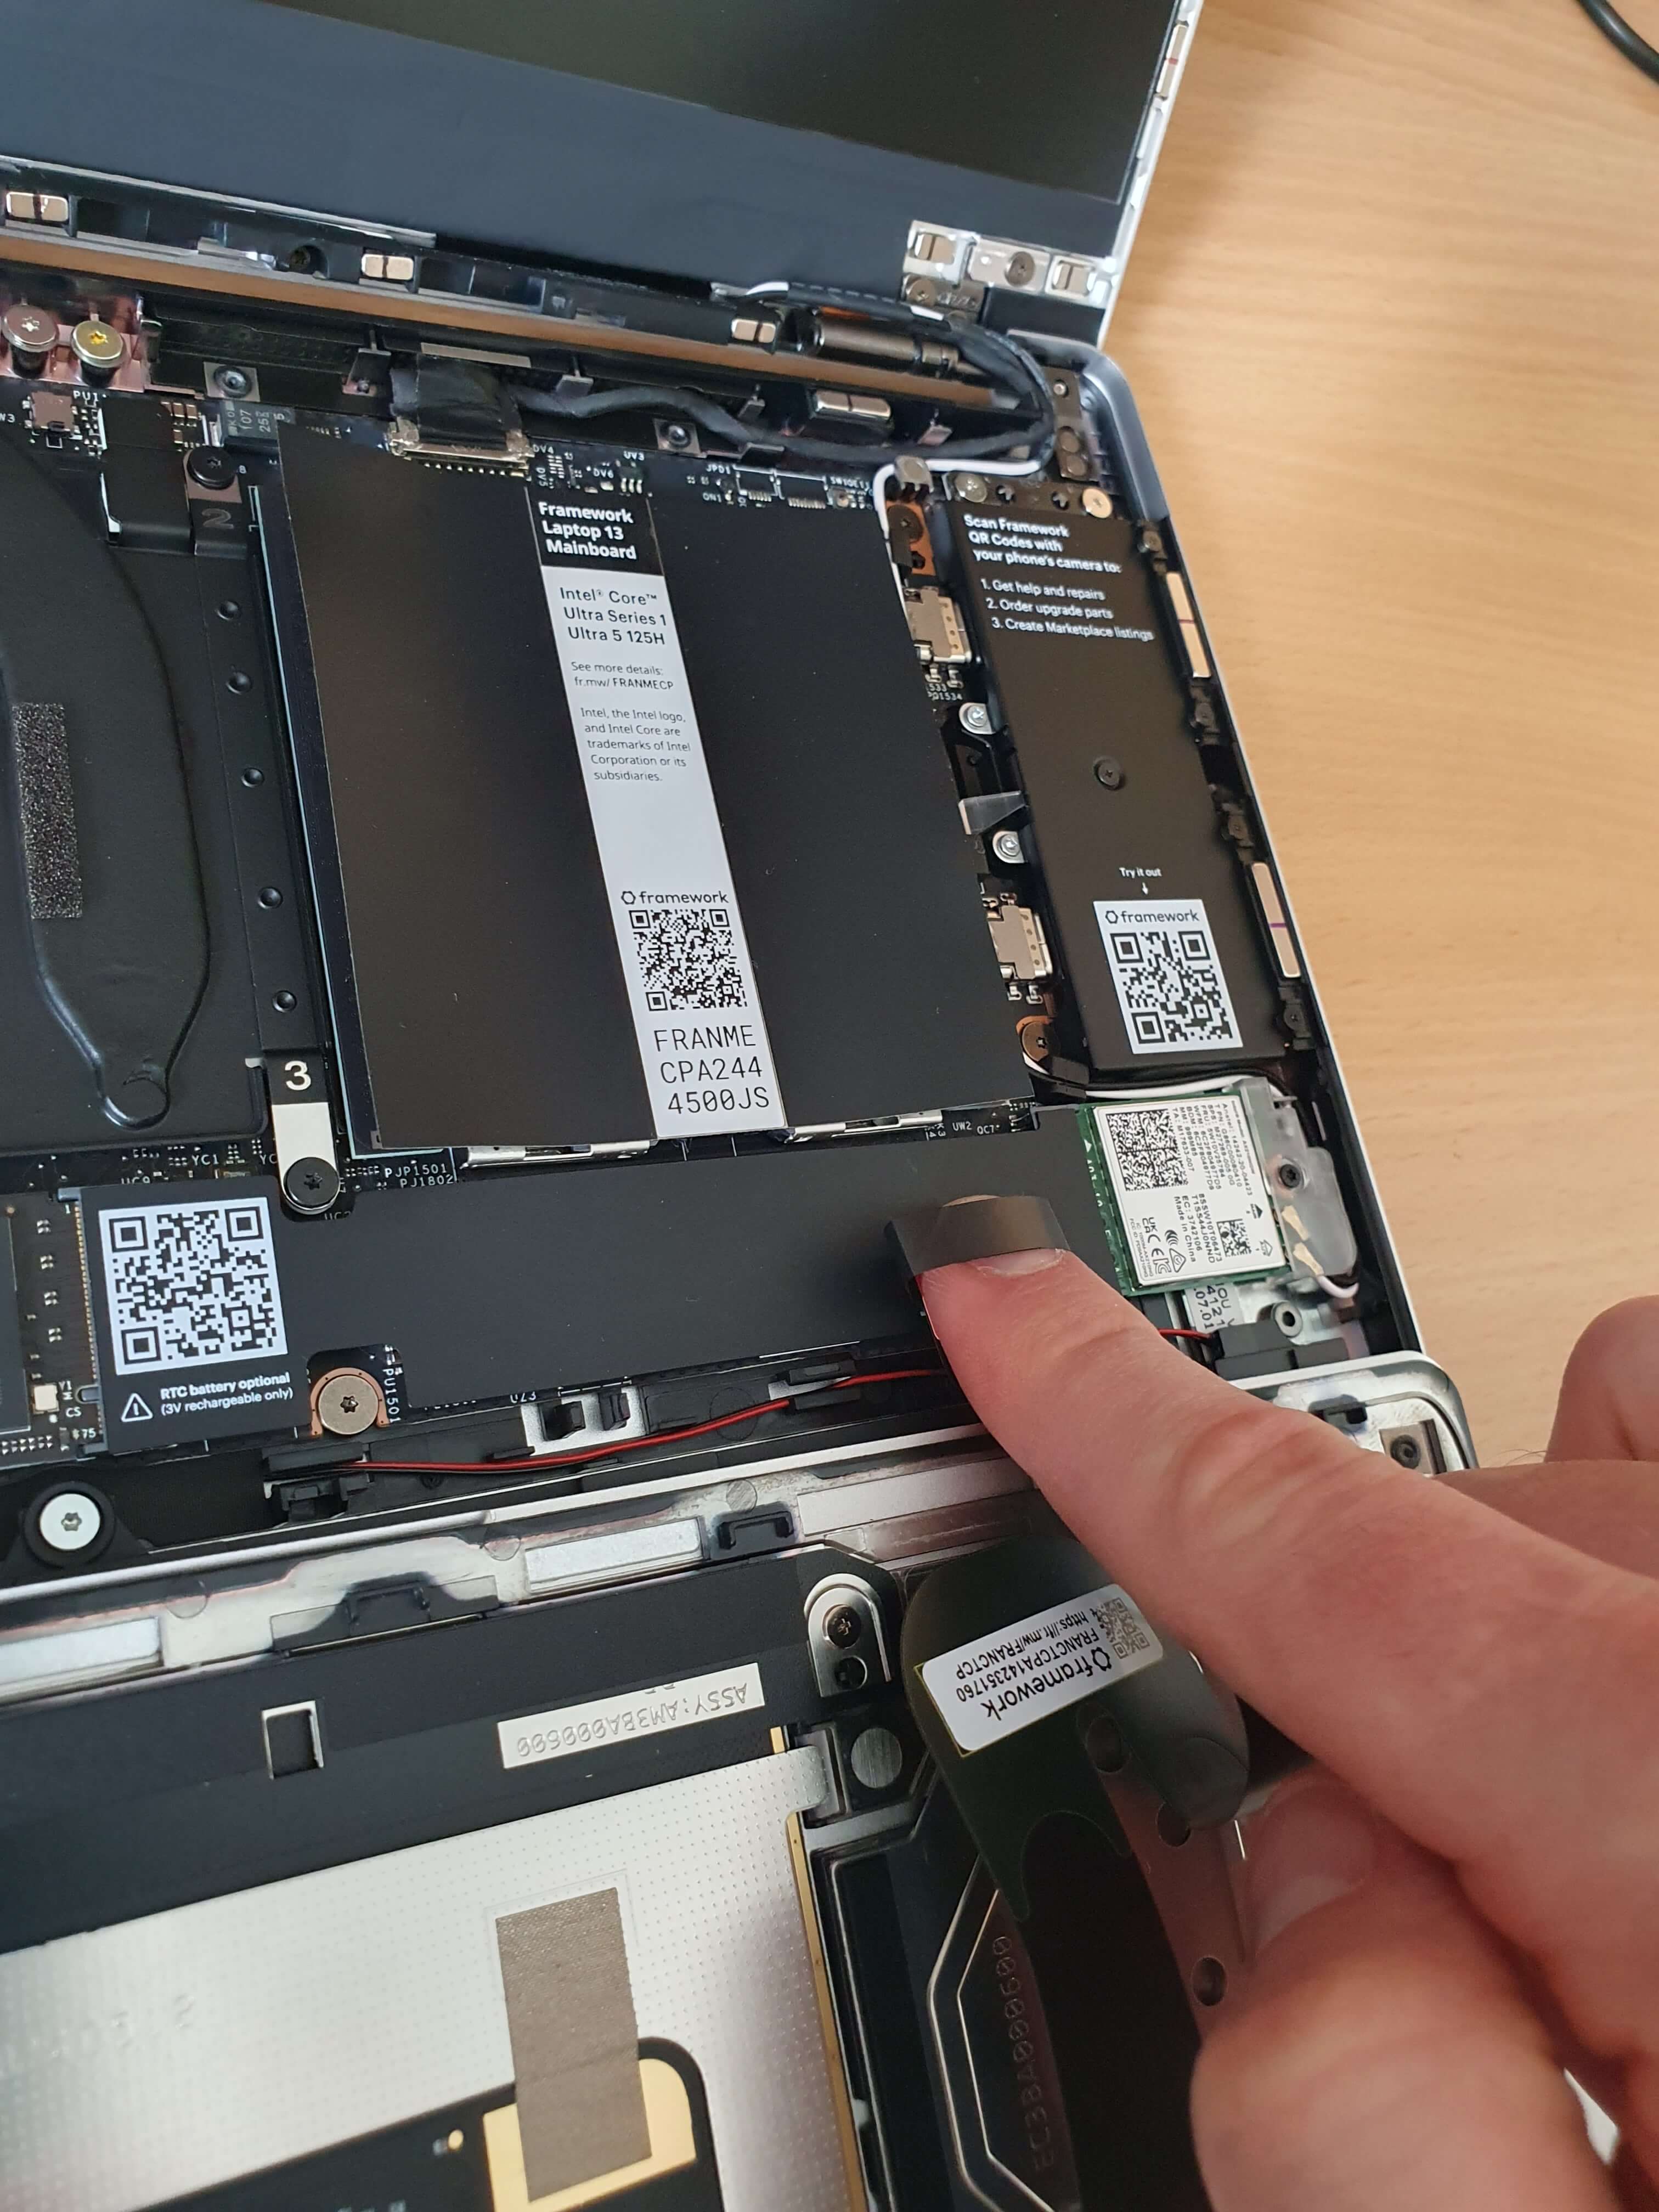
Flip it over, line it up, and the magnets take care of the rest.
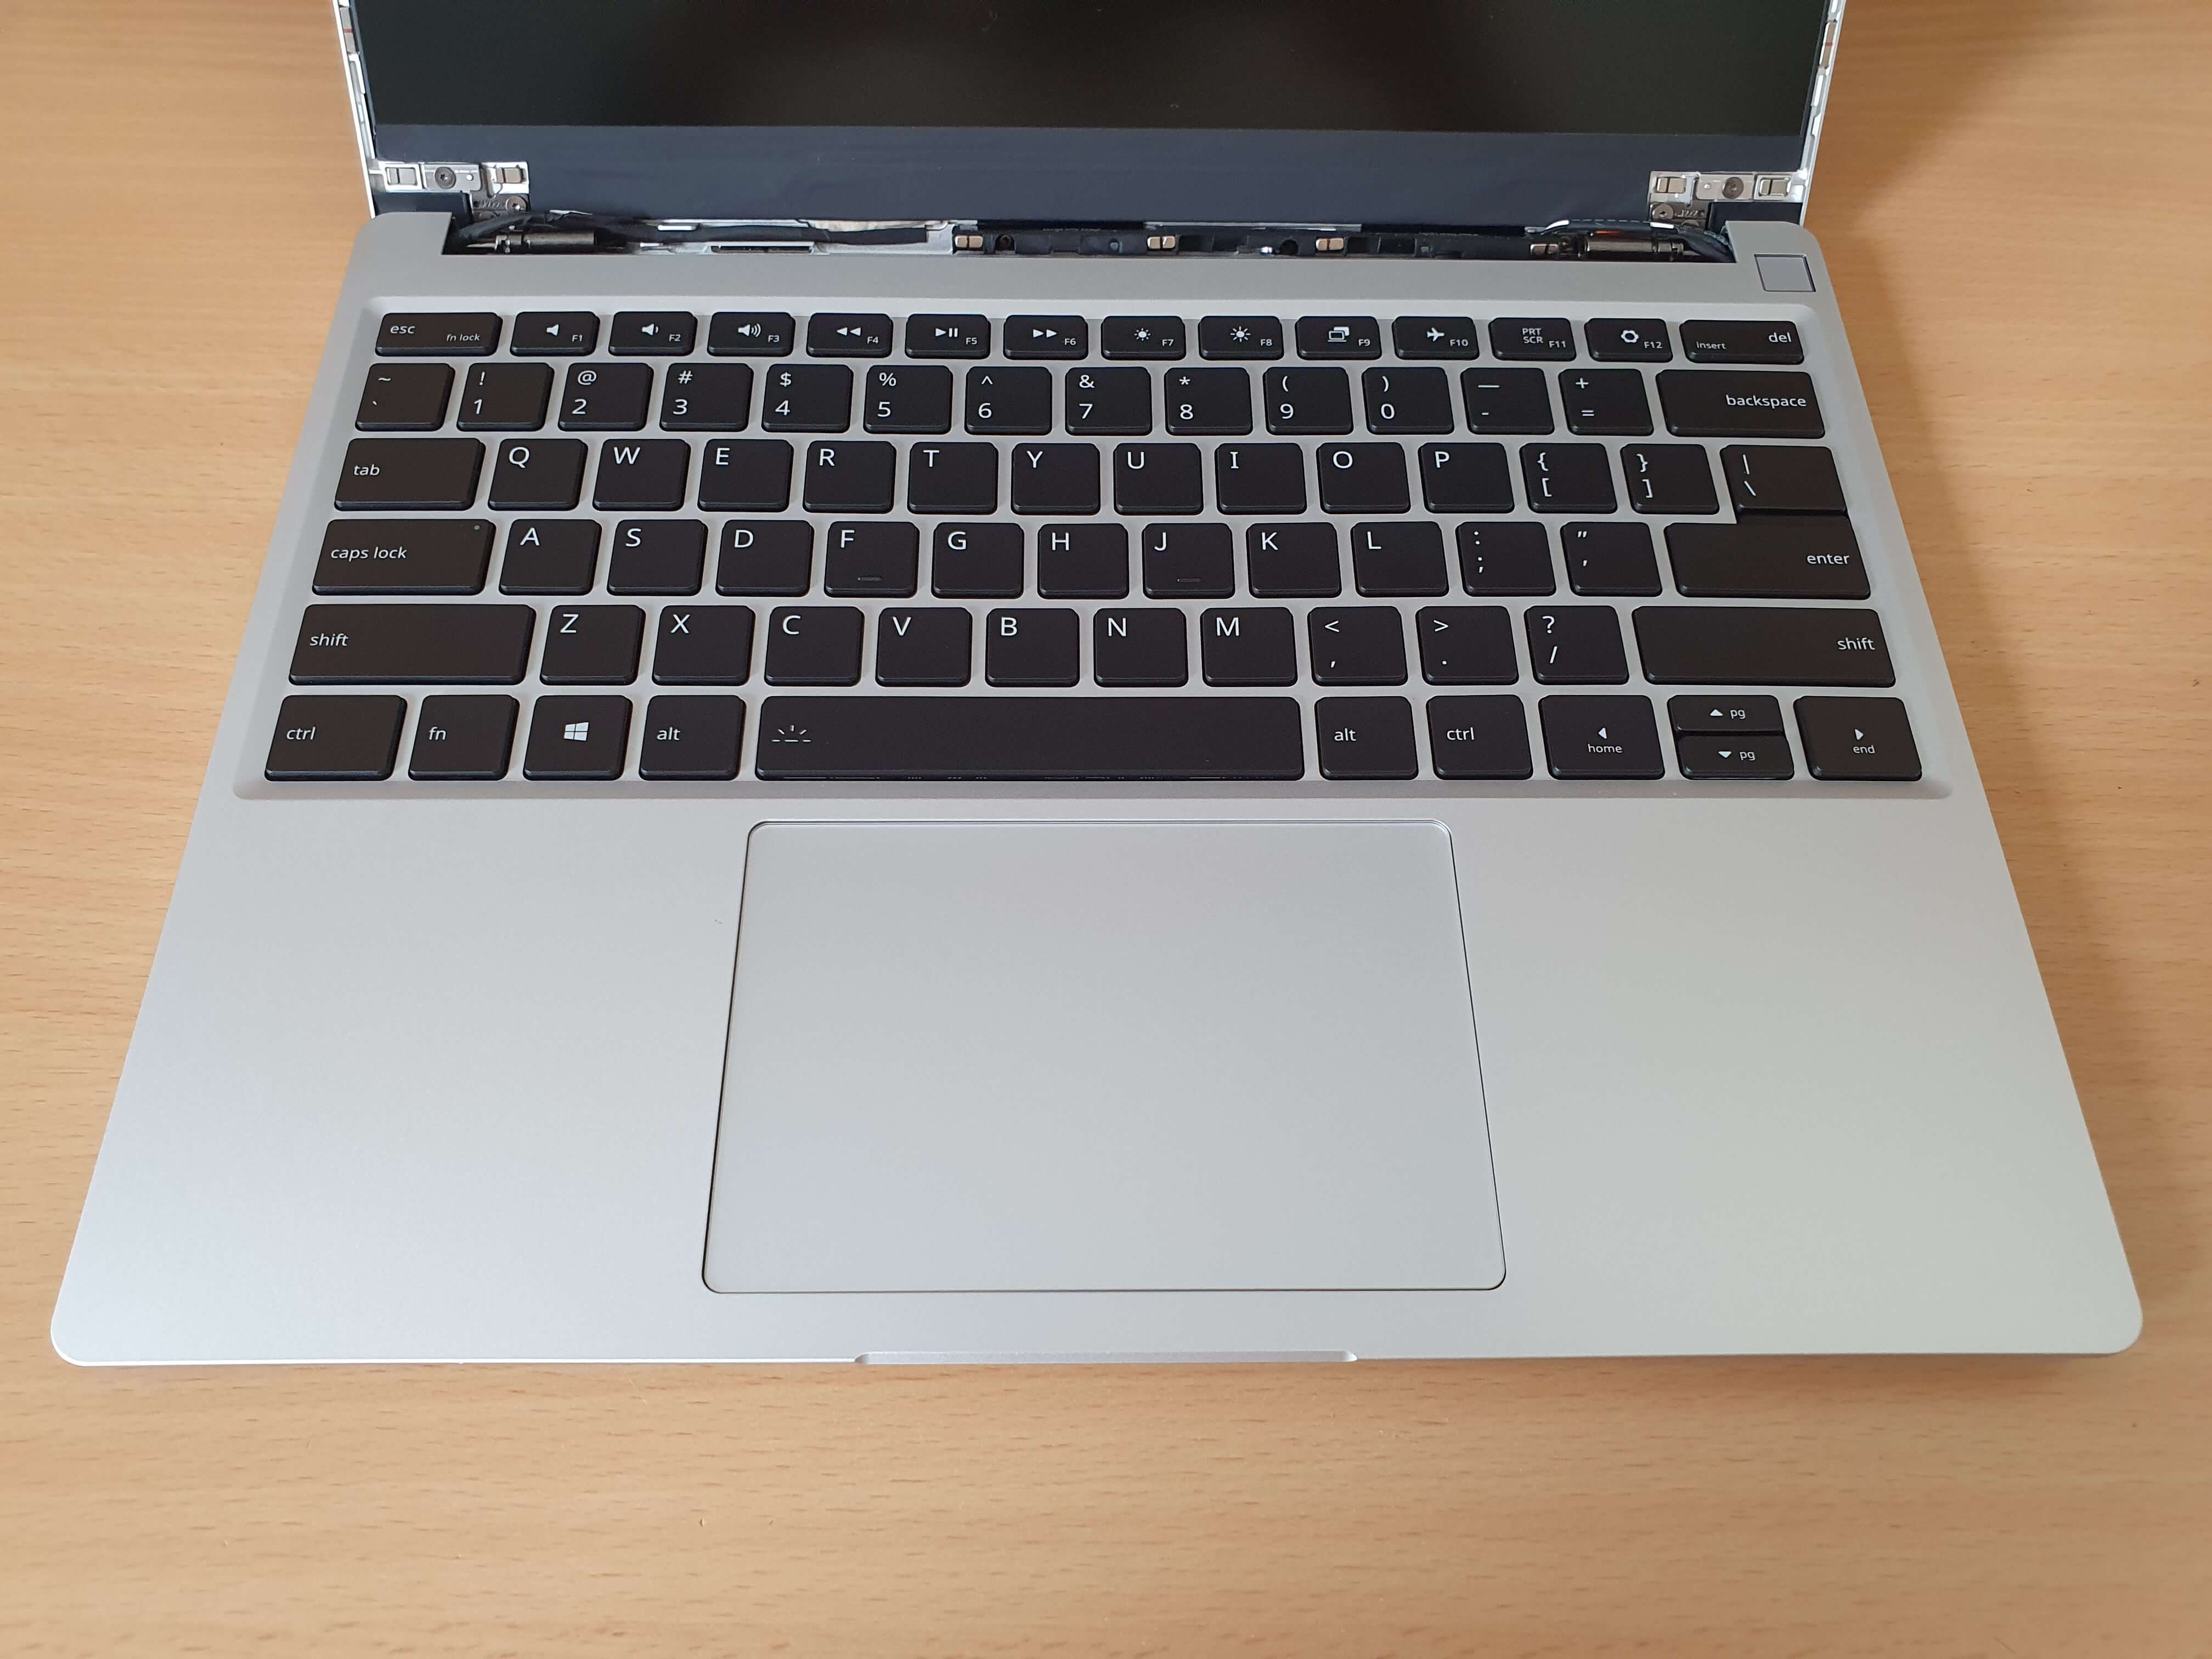
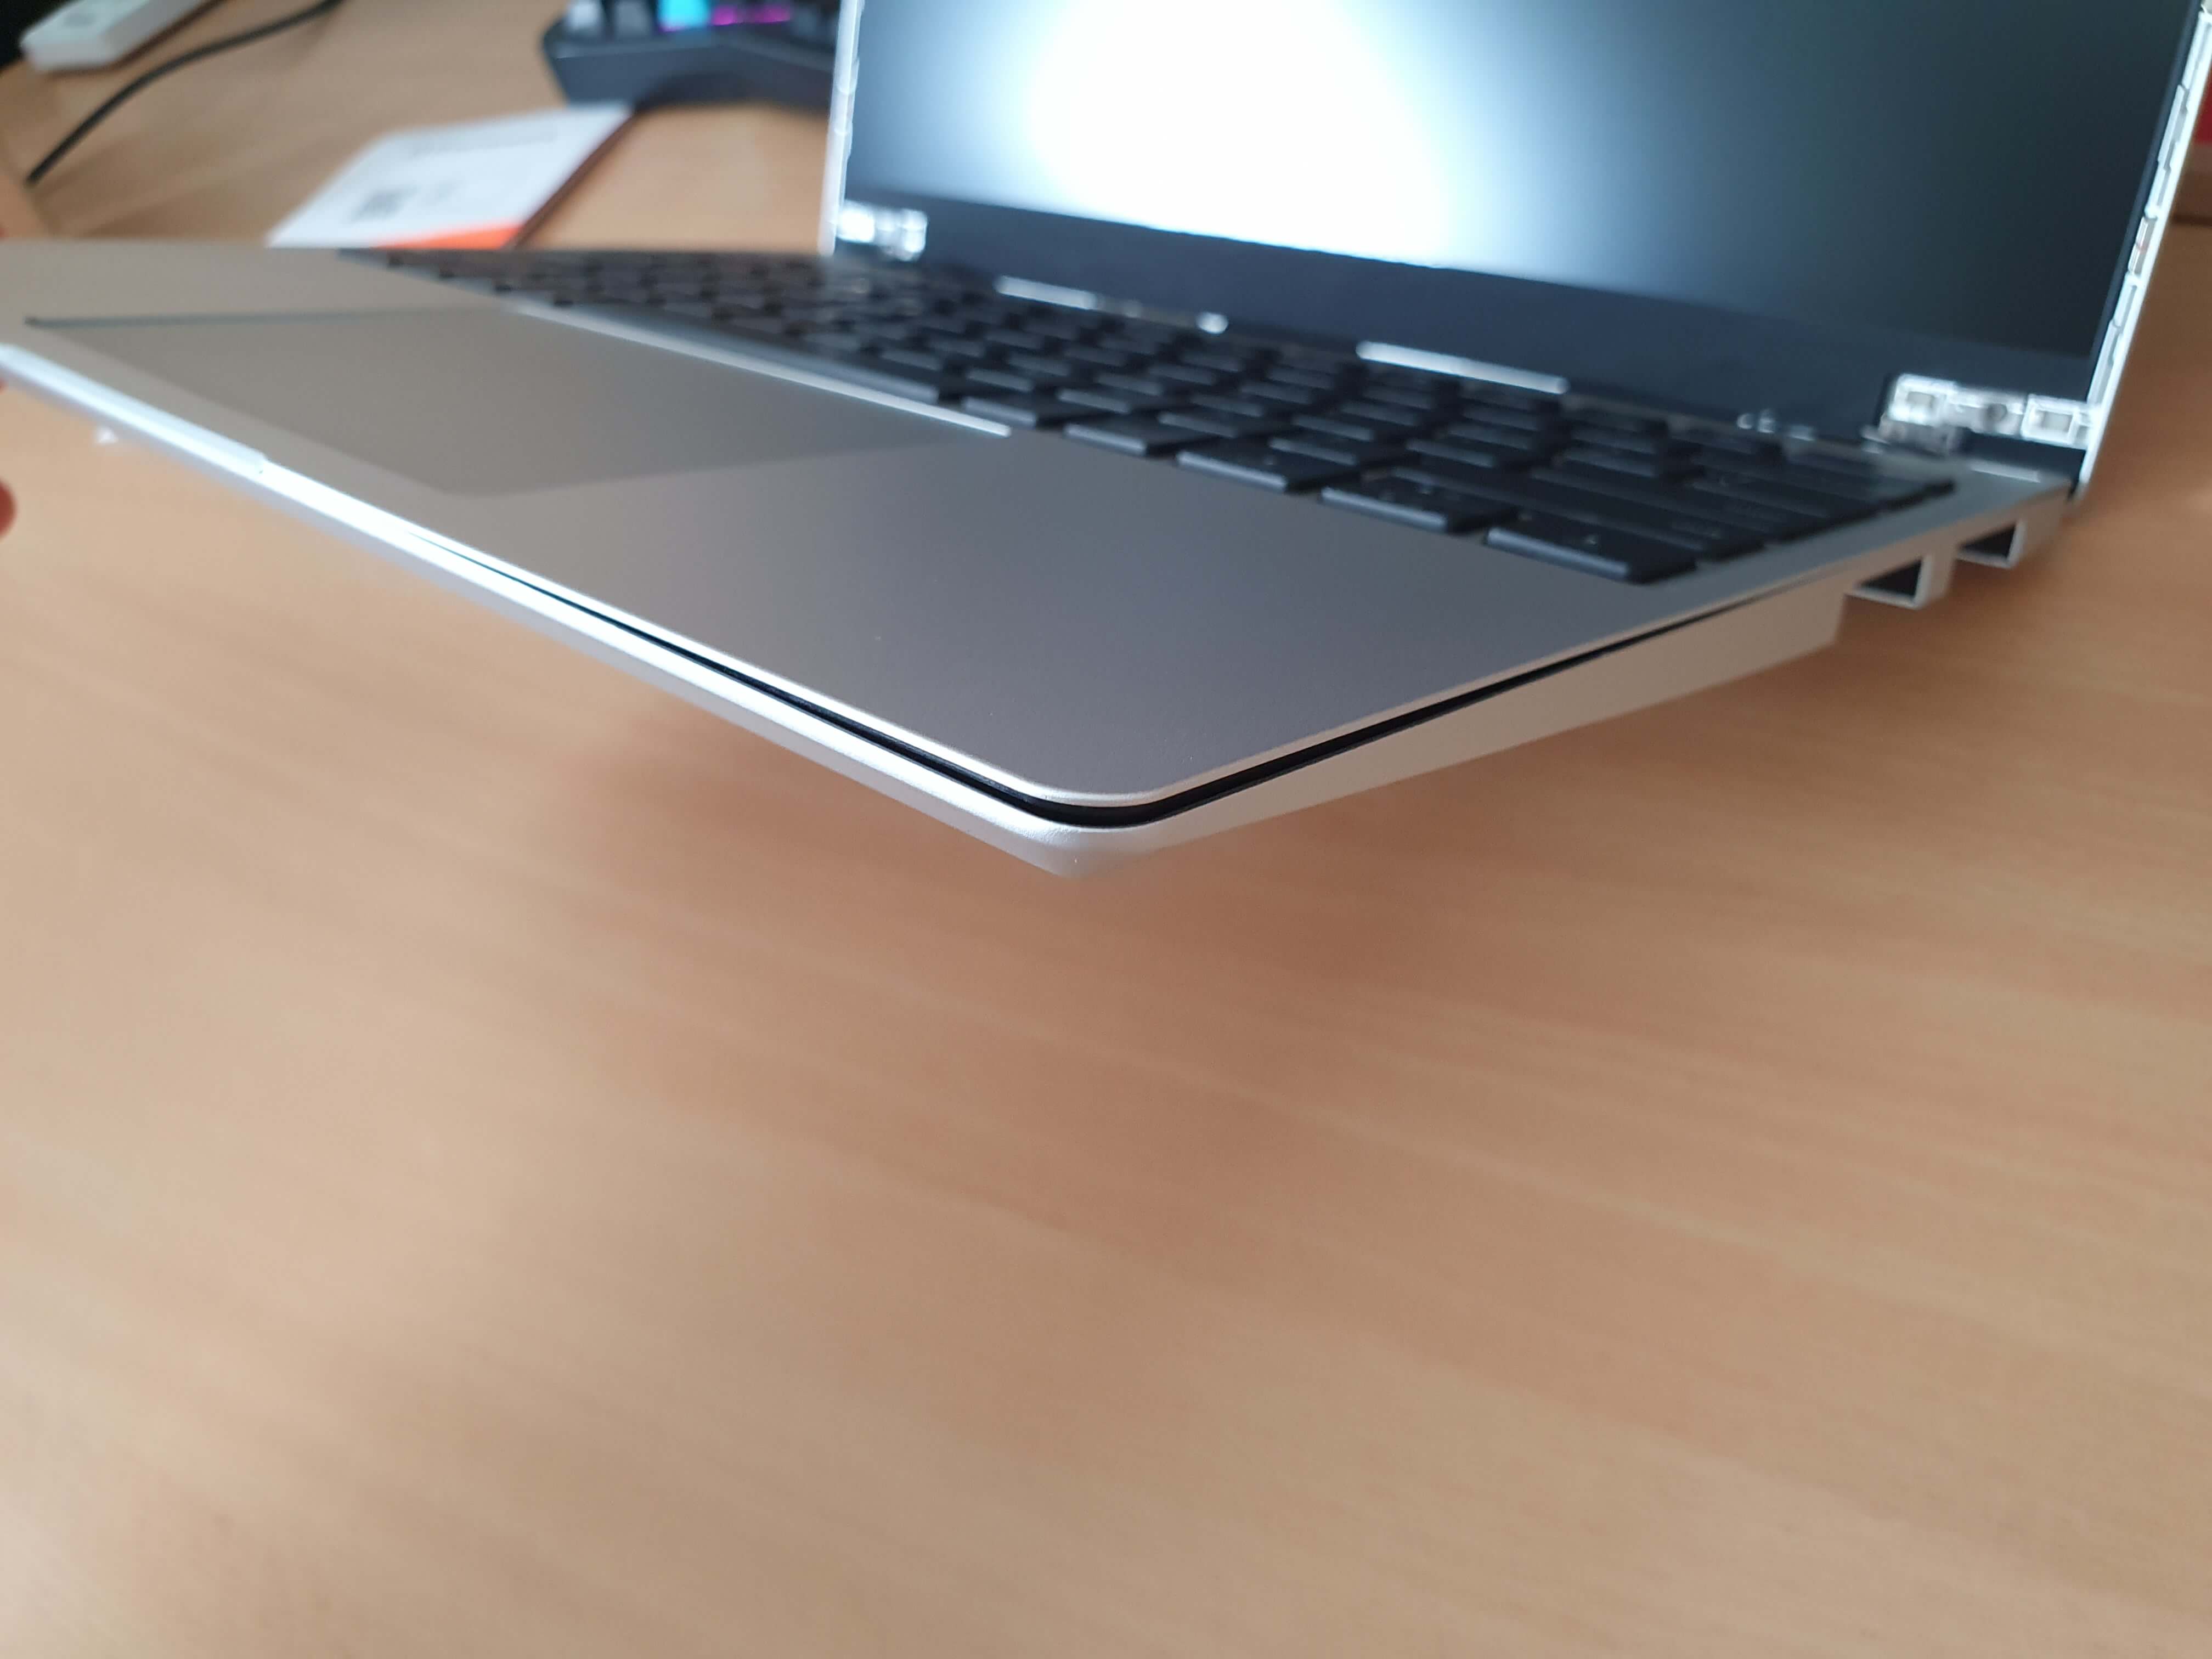
But wait, it isn’t closing properly! Don’t panic, that’s intentional. If you need to re-do this step, or you need to take it apart in the future, that gap is for inserting a prying tool. This makes it so much easier to remove the keyboard.
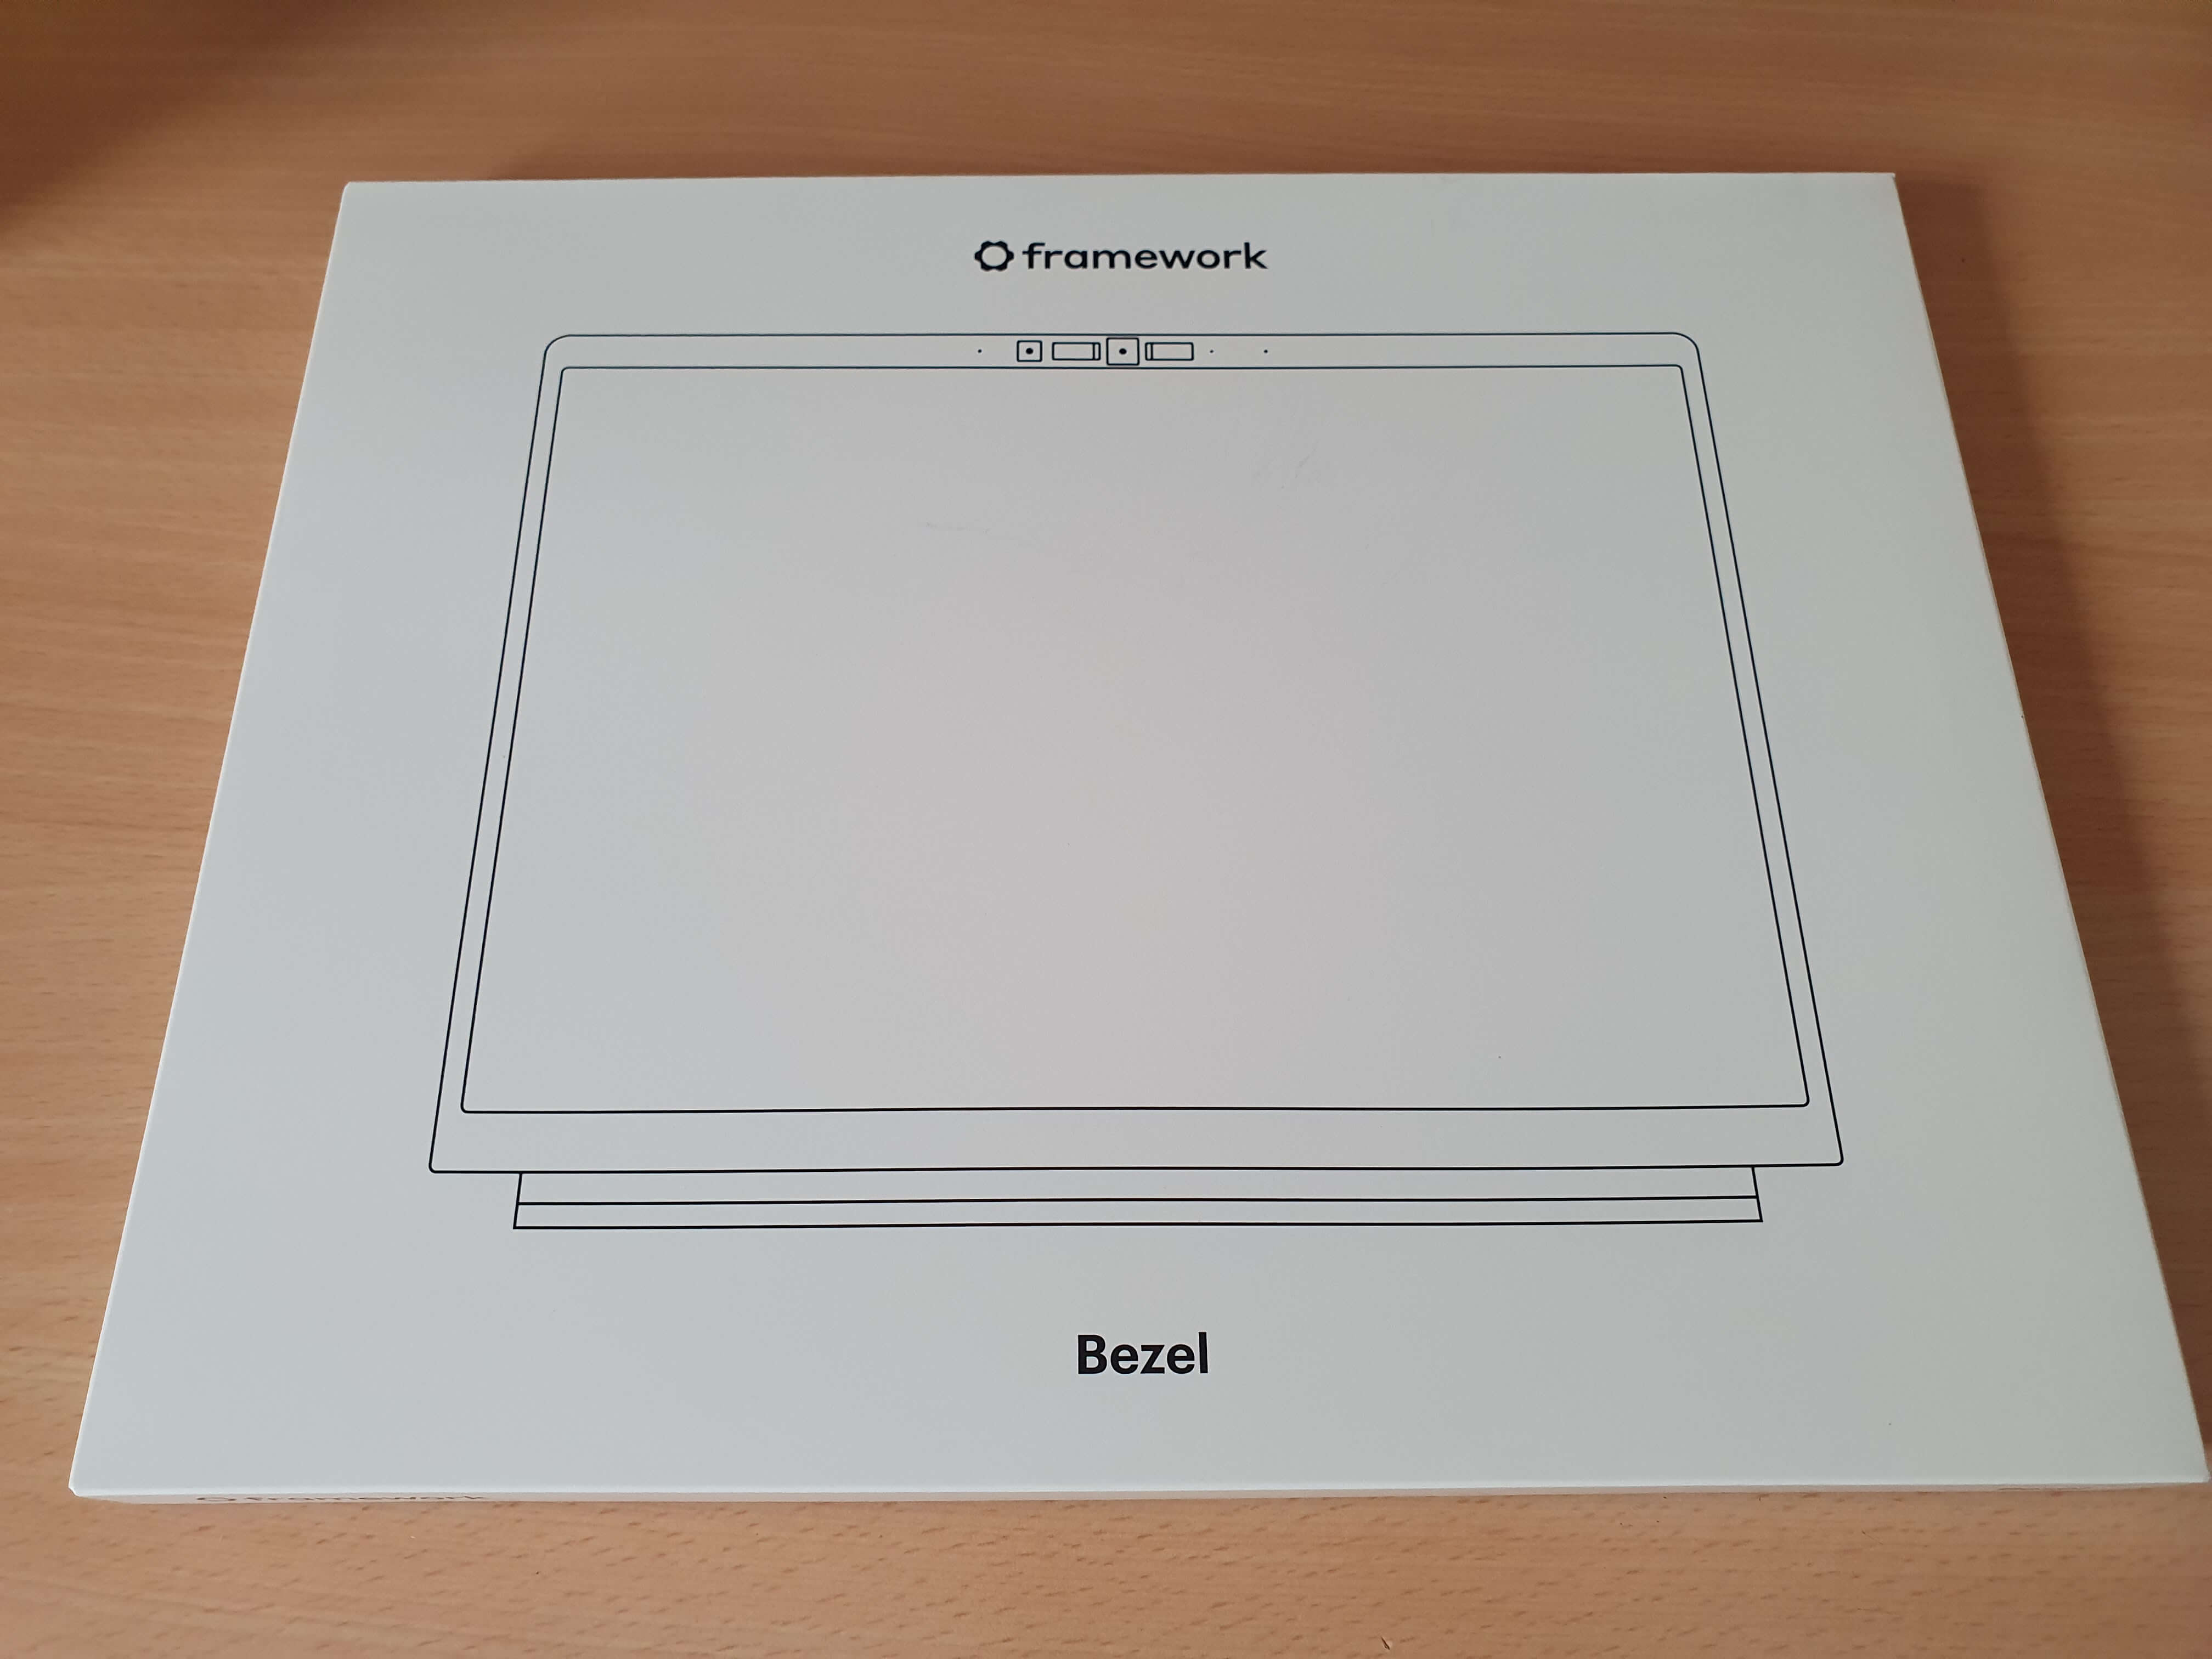
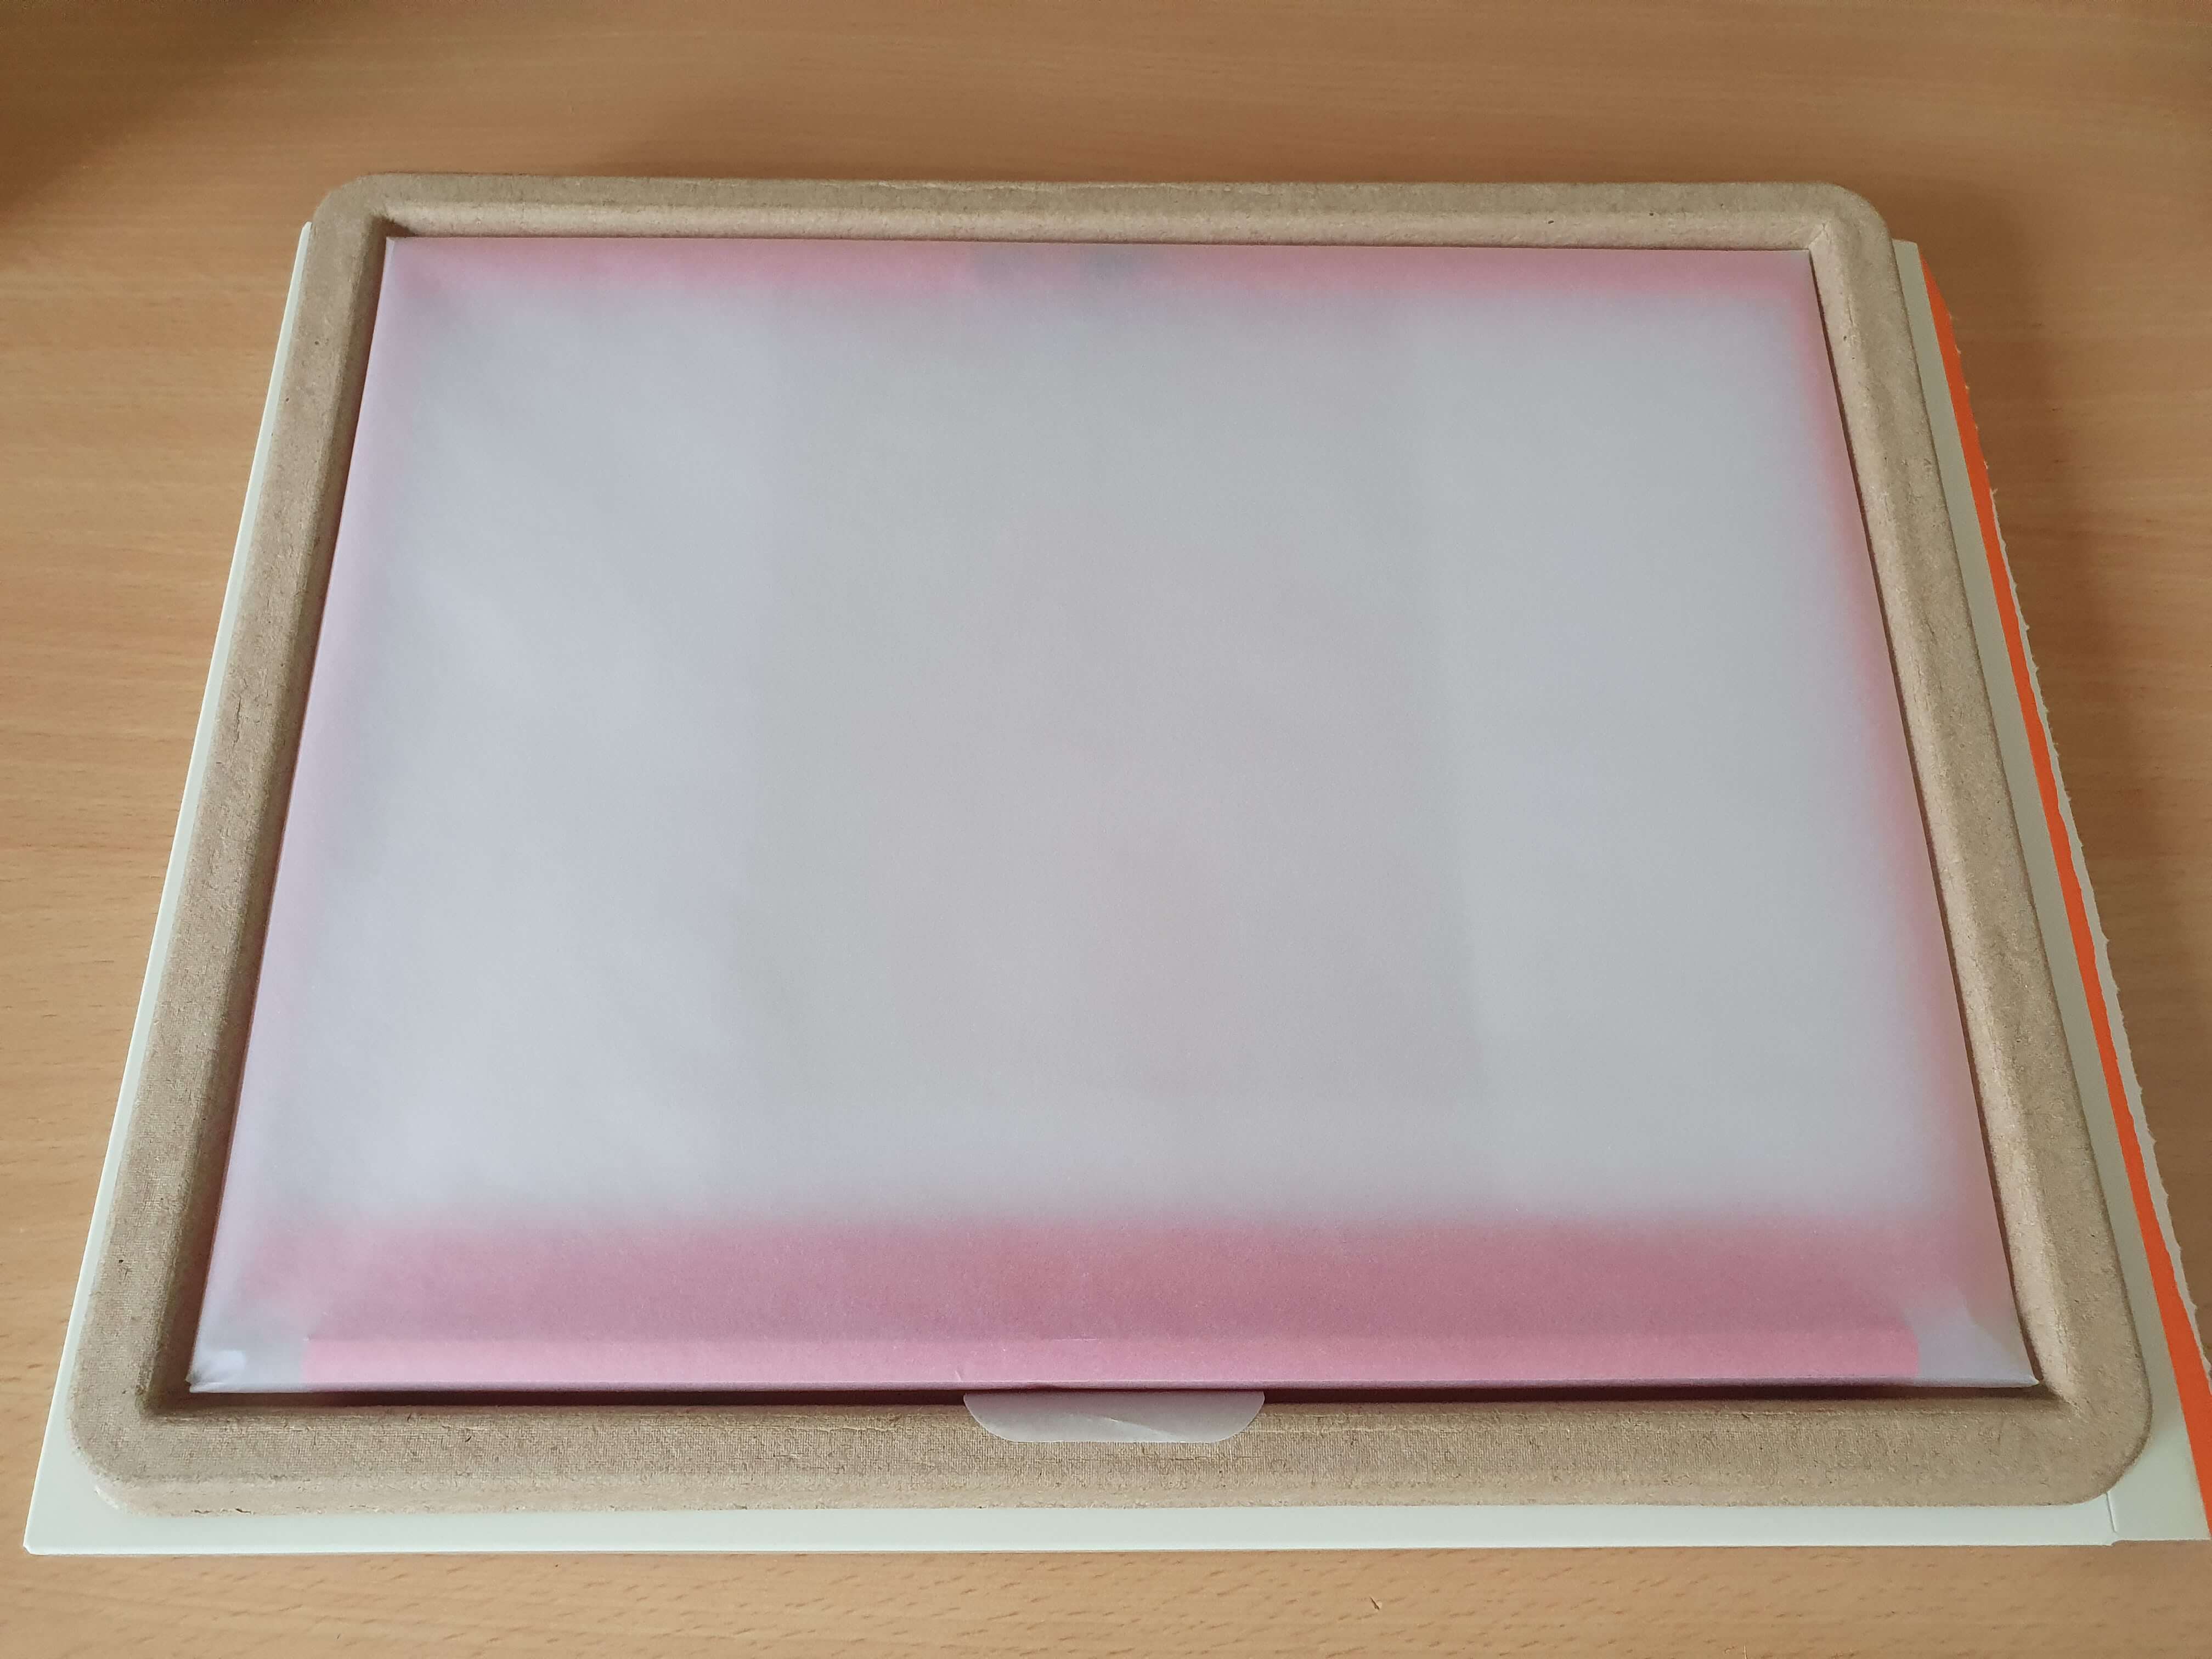
Bezel time. It comes in your choice of colours. I went with red, because everyone knows it’ll make your computer faster. More environmentally friendly packaging.
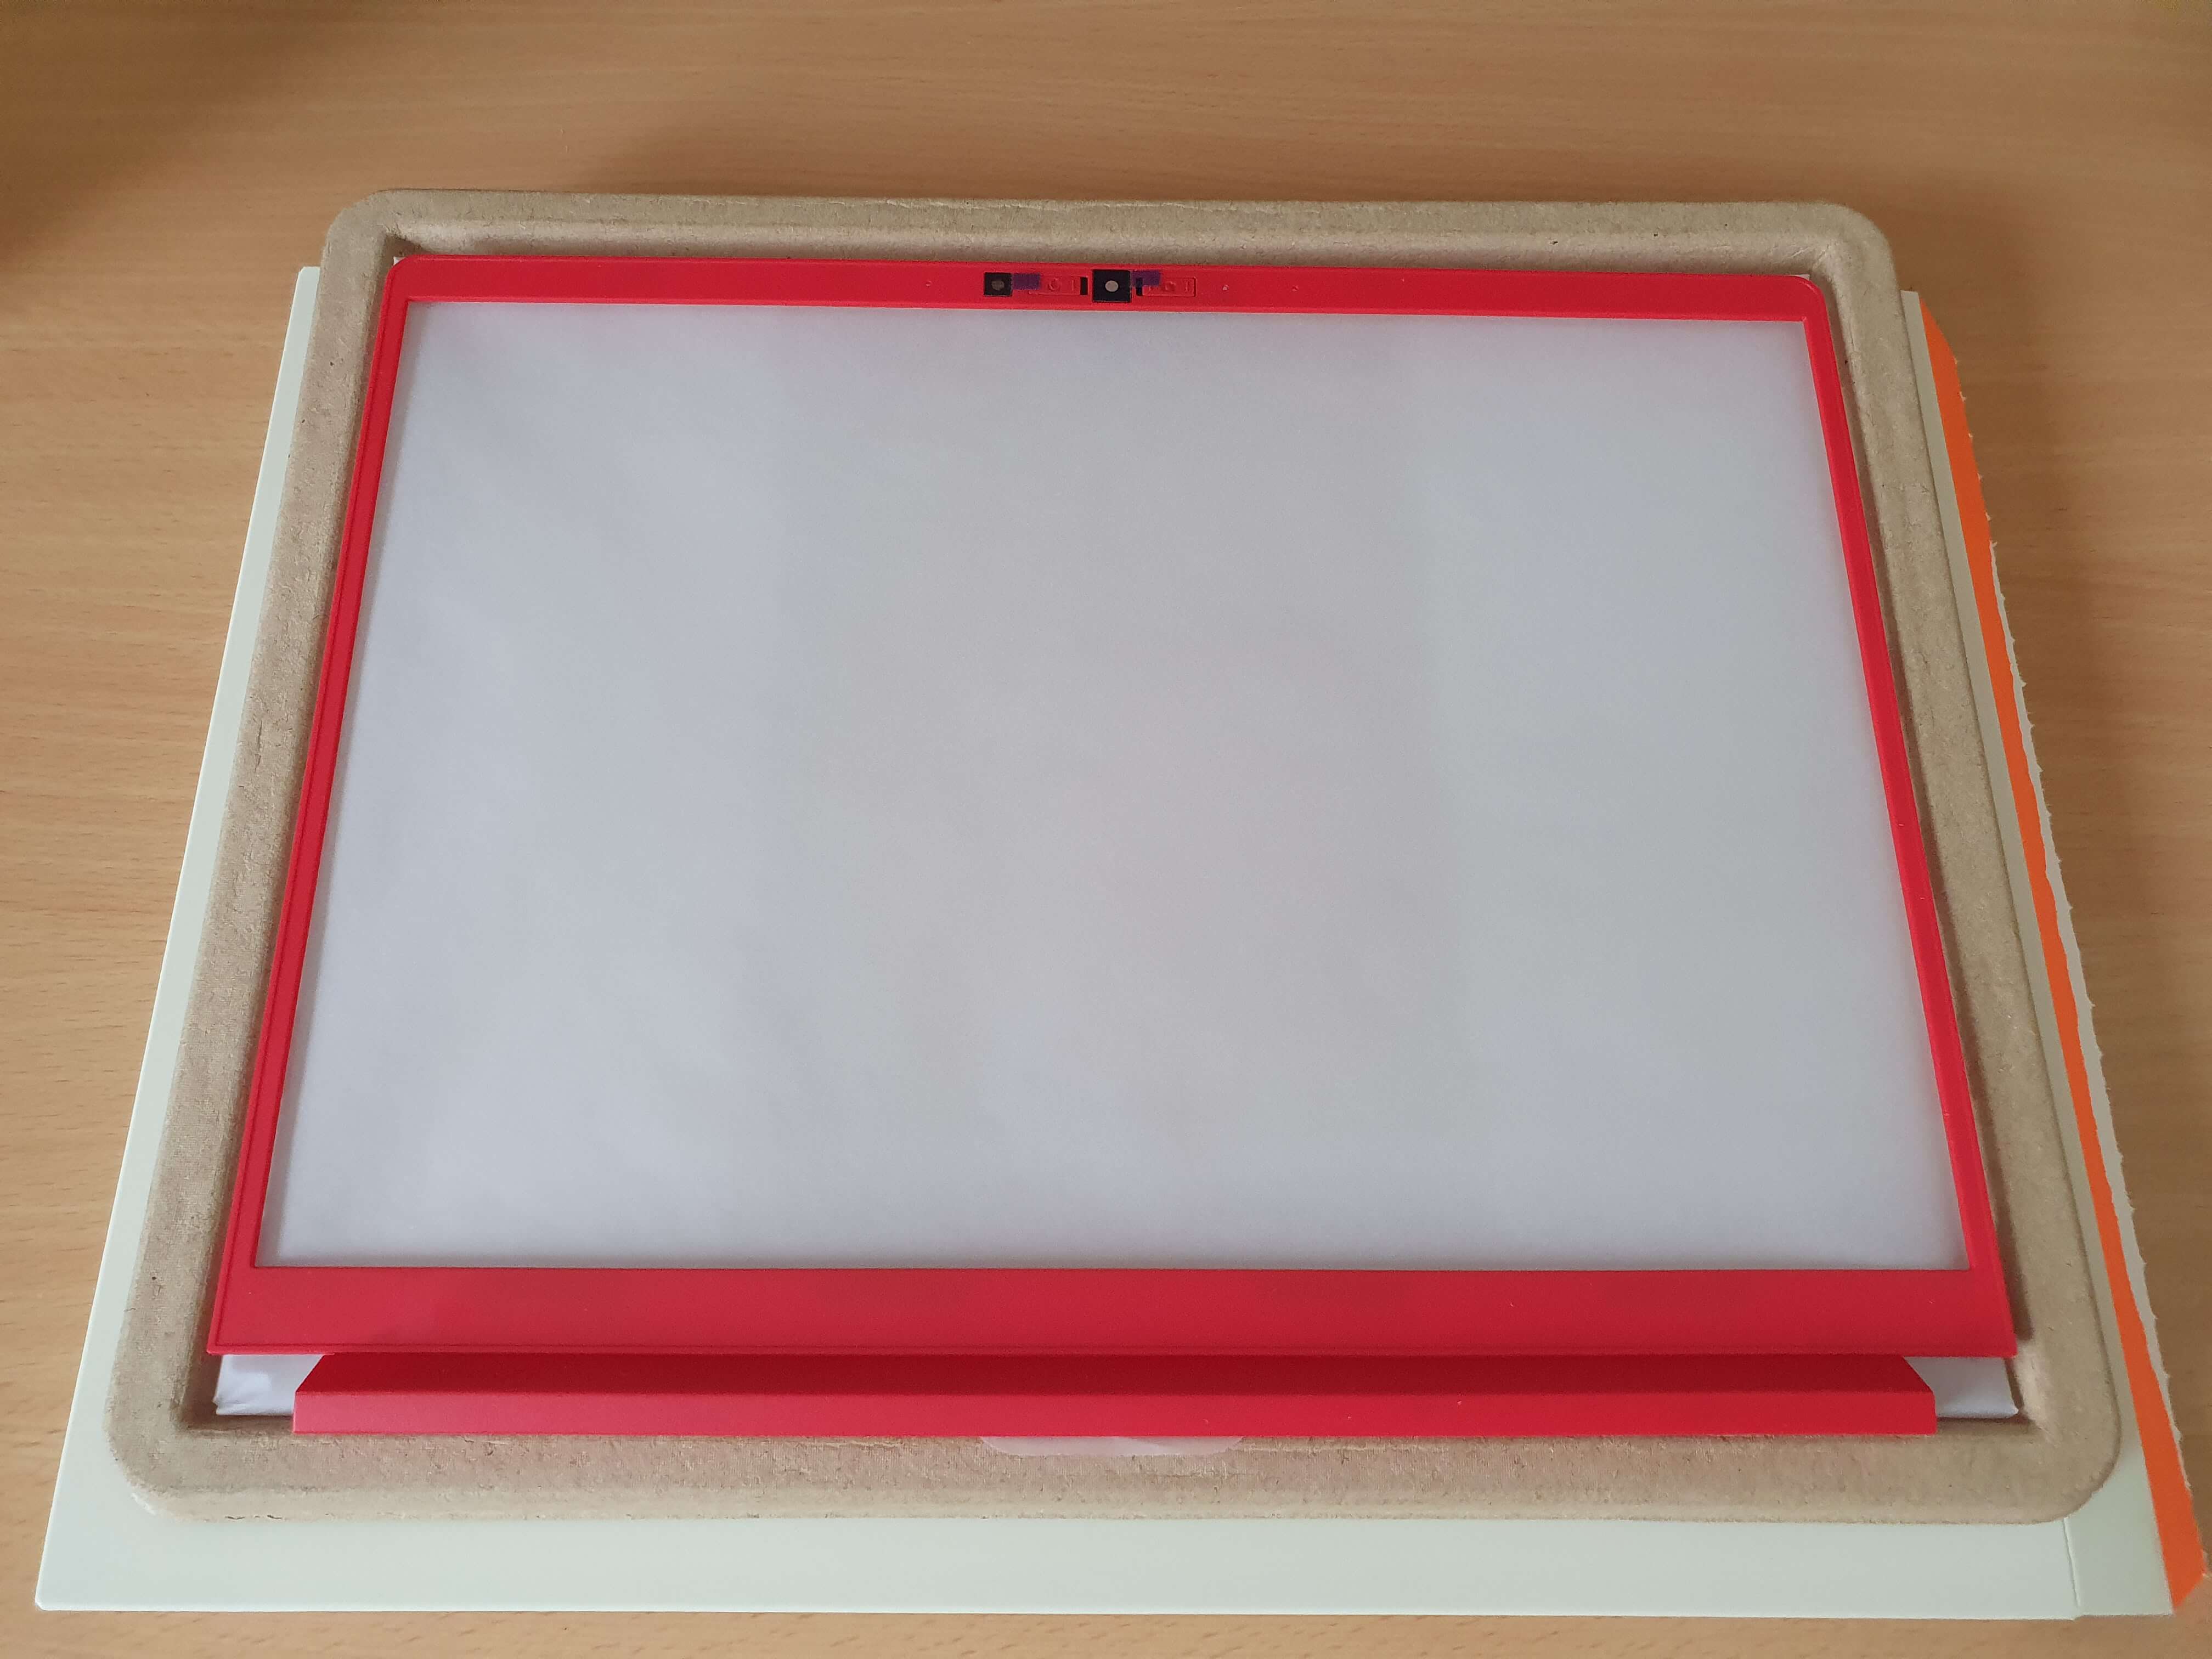
Some adhesive stickers and more magnets later, we’re sorted. 🙌
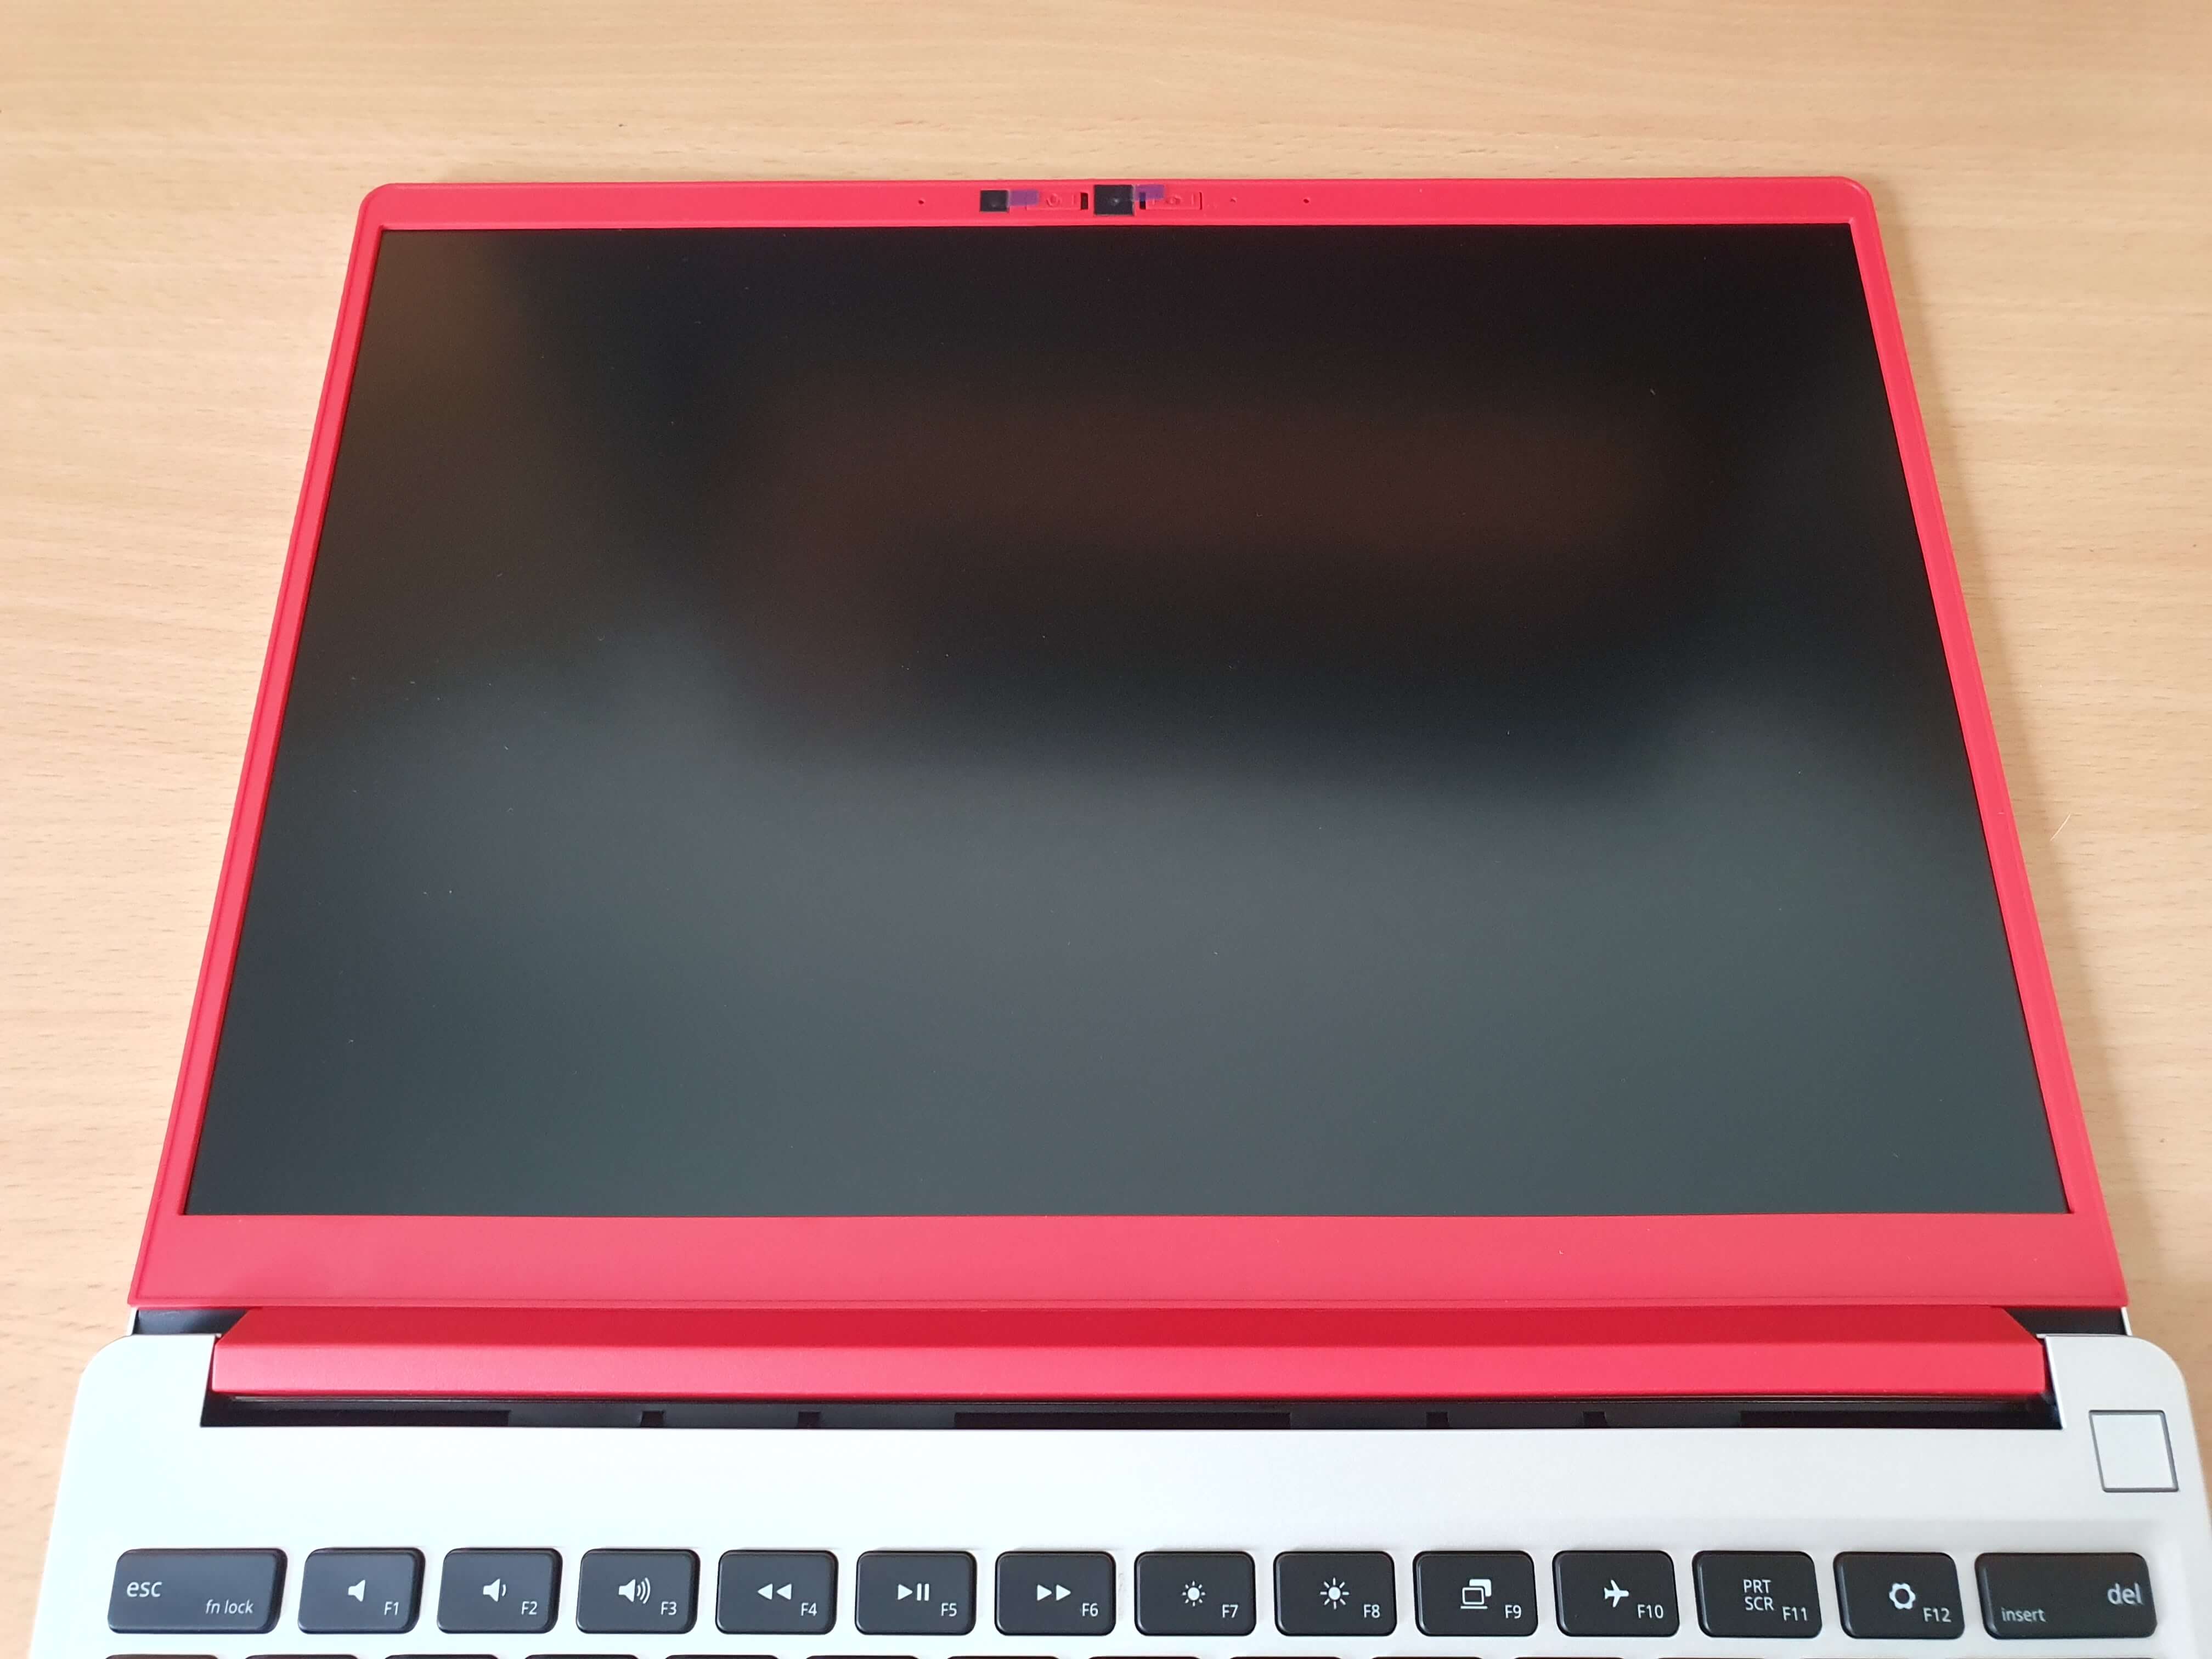
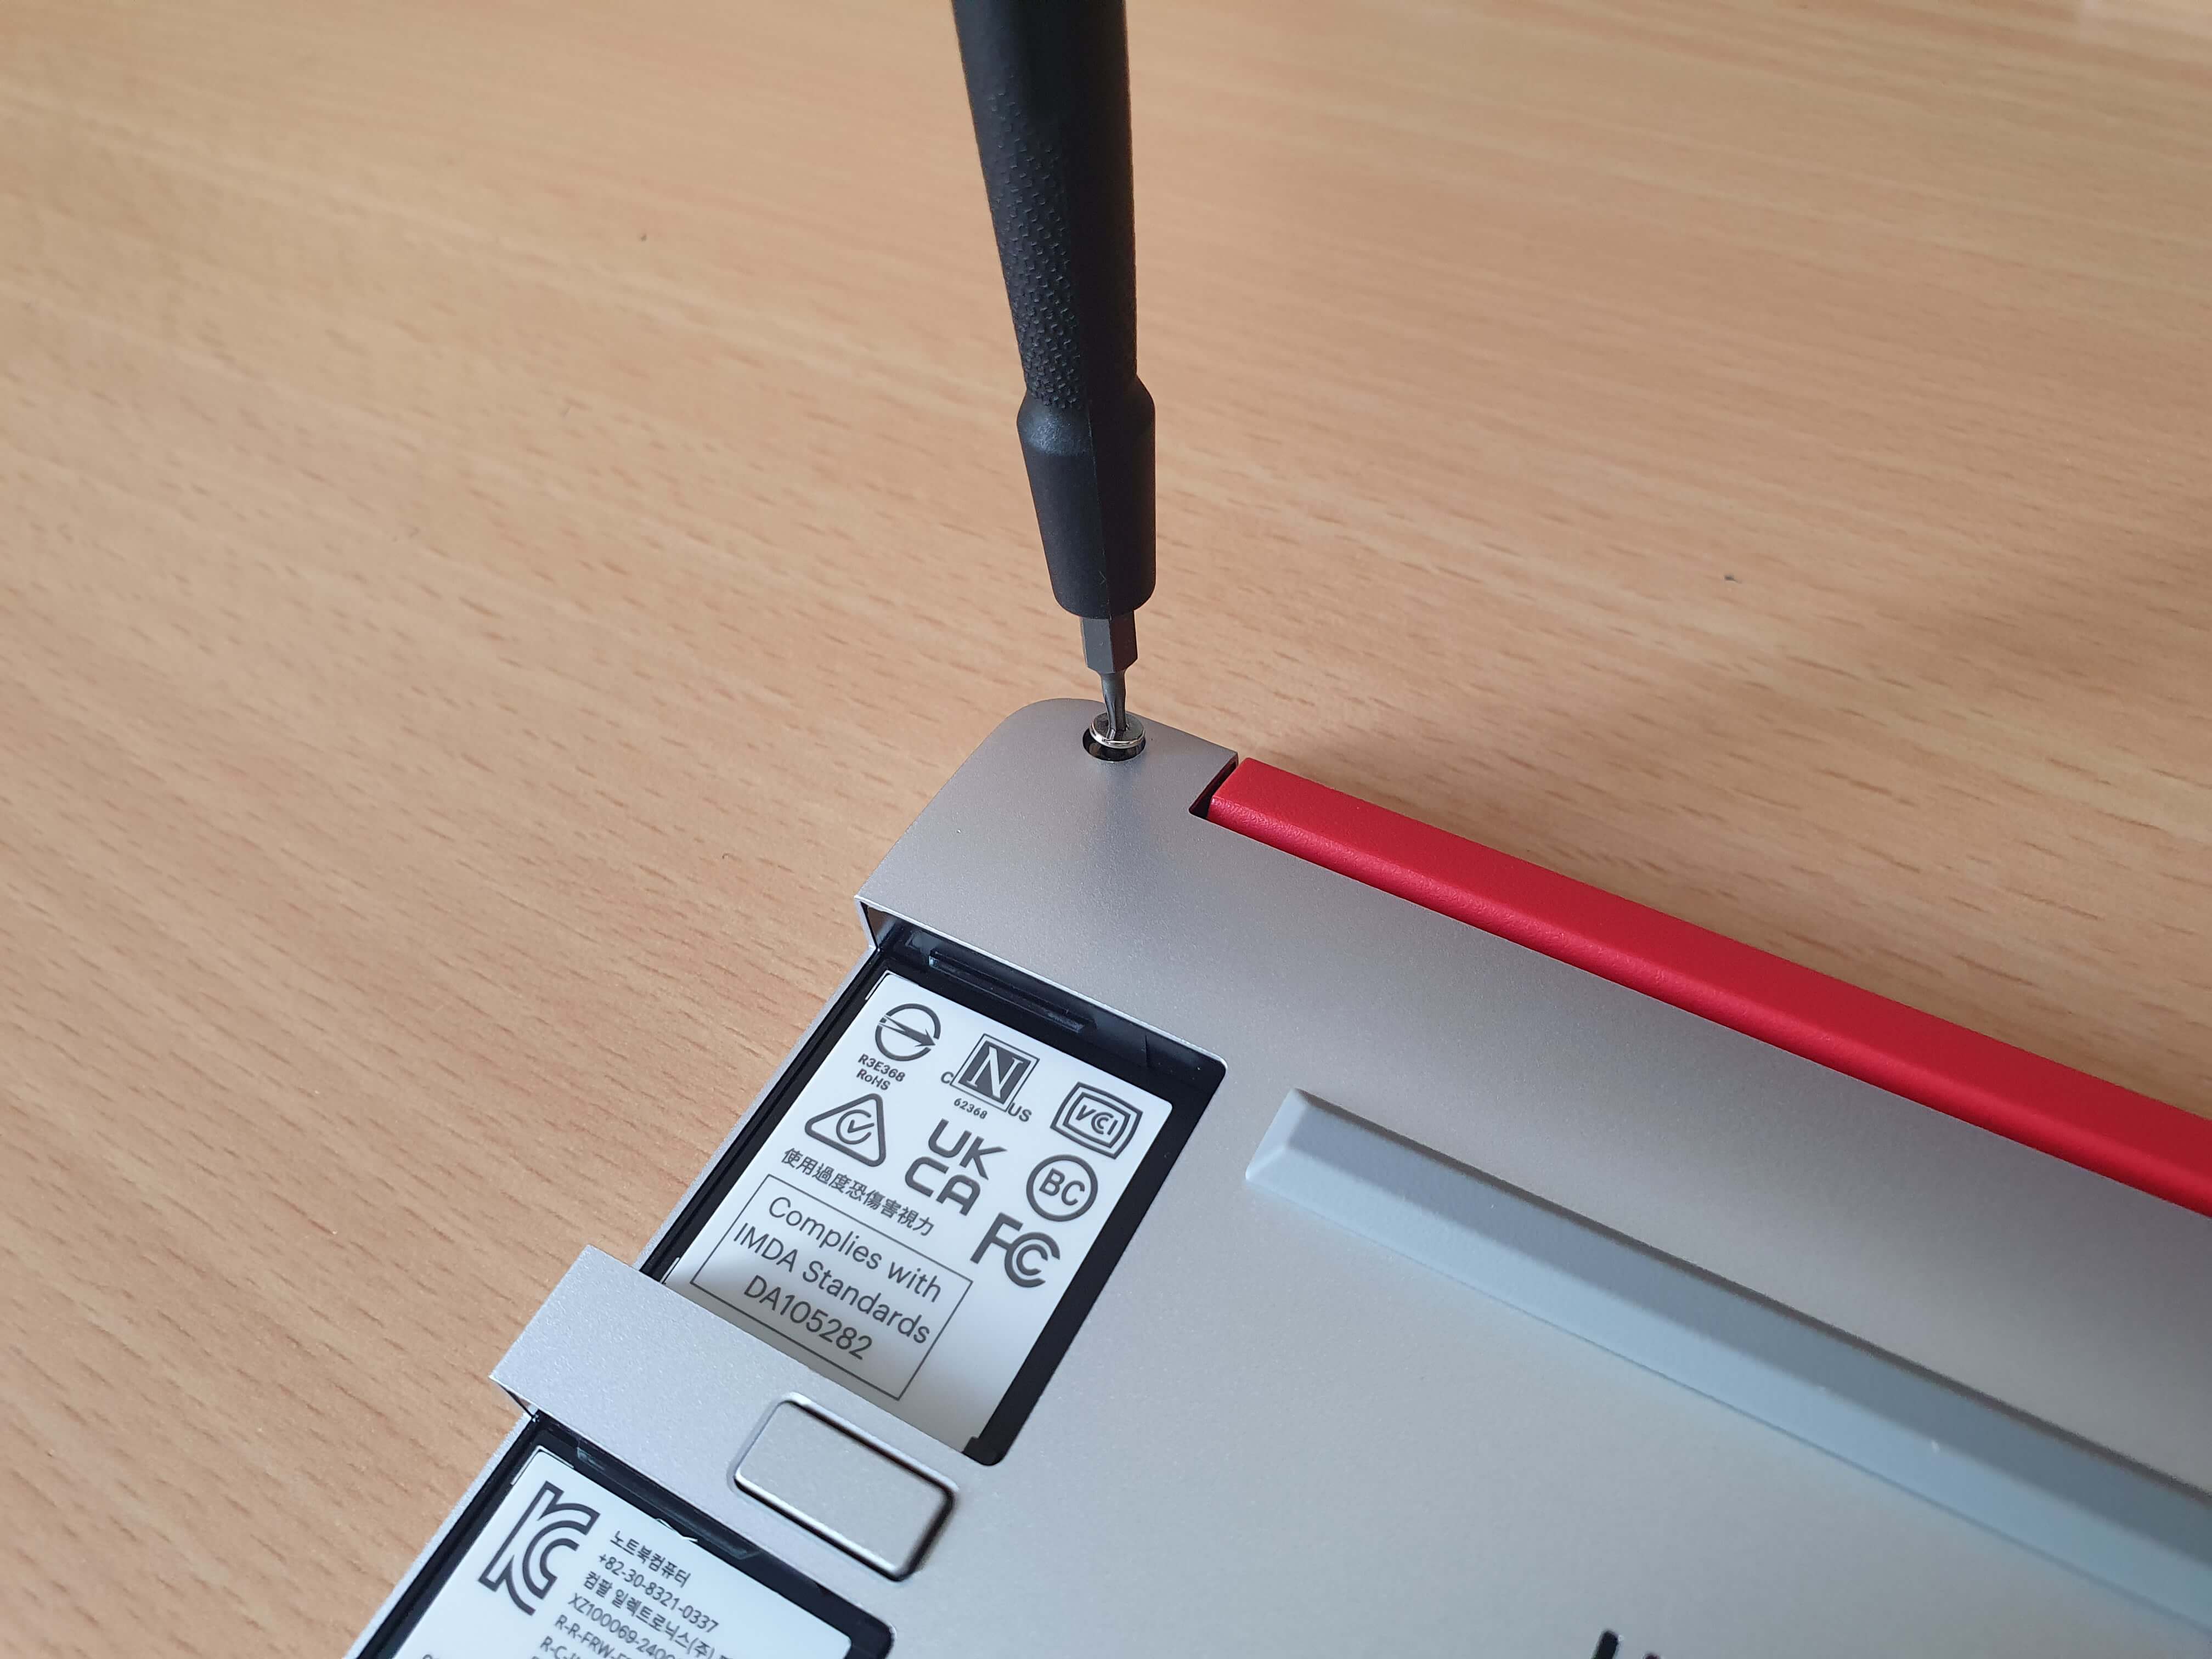
Flipping it over, we’re now going to screw it all together so it doesn’t fall apart when we use it. Those screws have some kind of flare at the end, so they don’t fall out. This makes them impossible to lose. 🧠
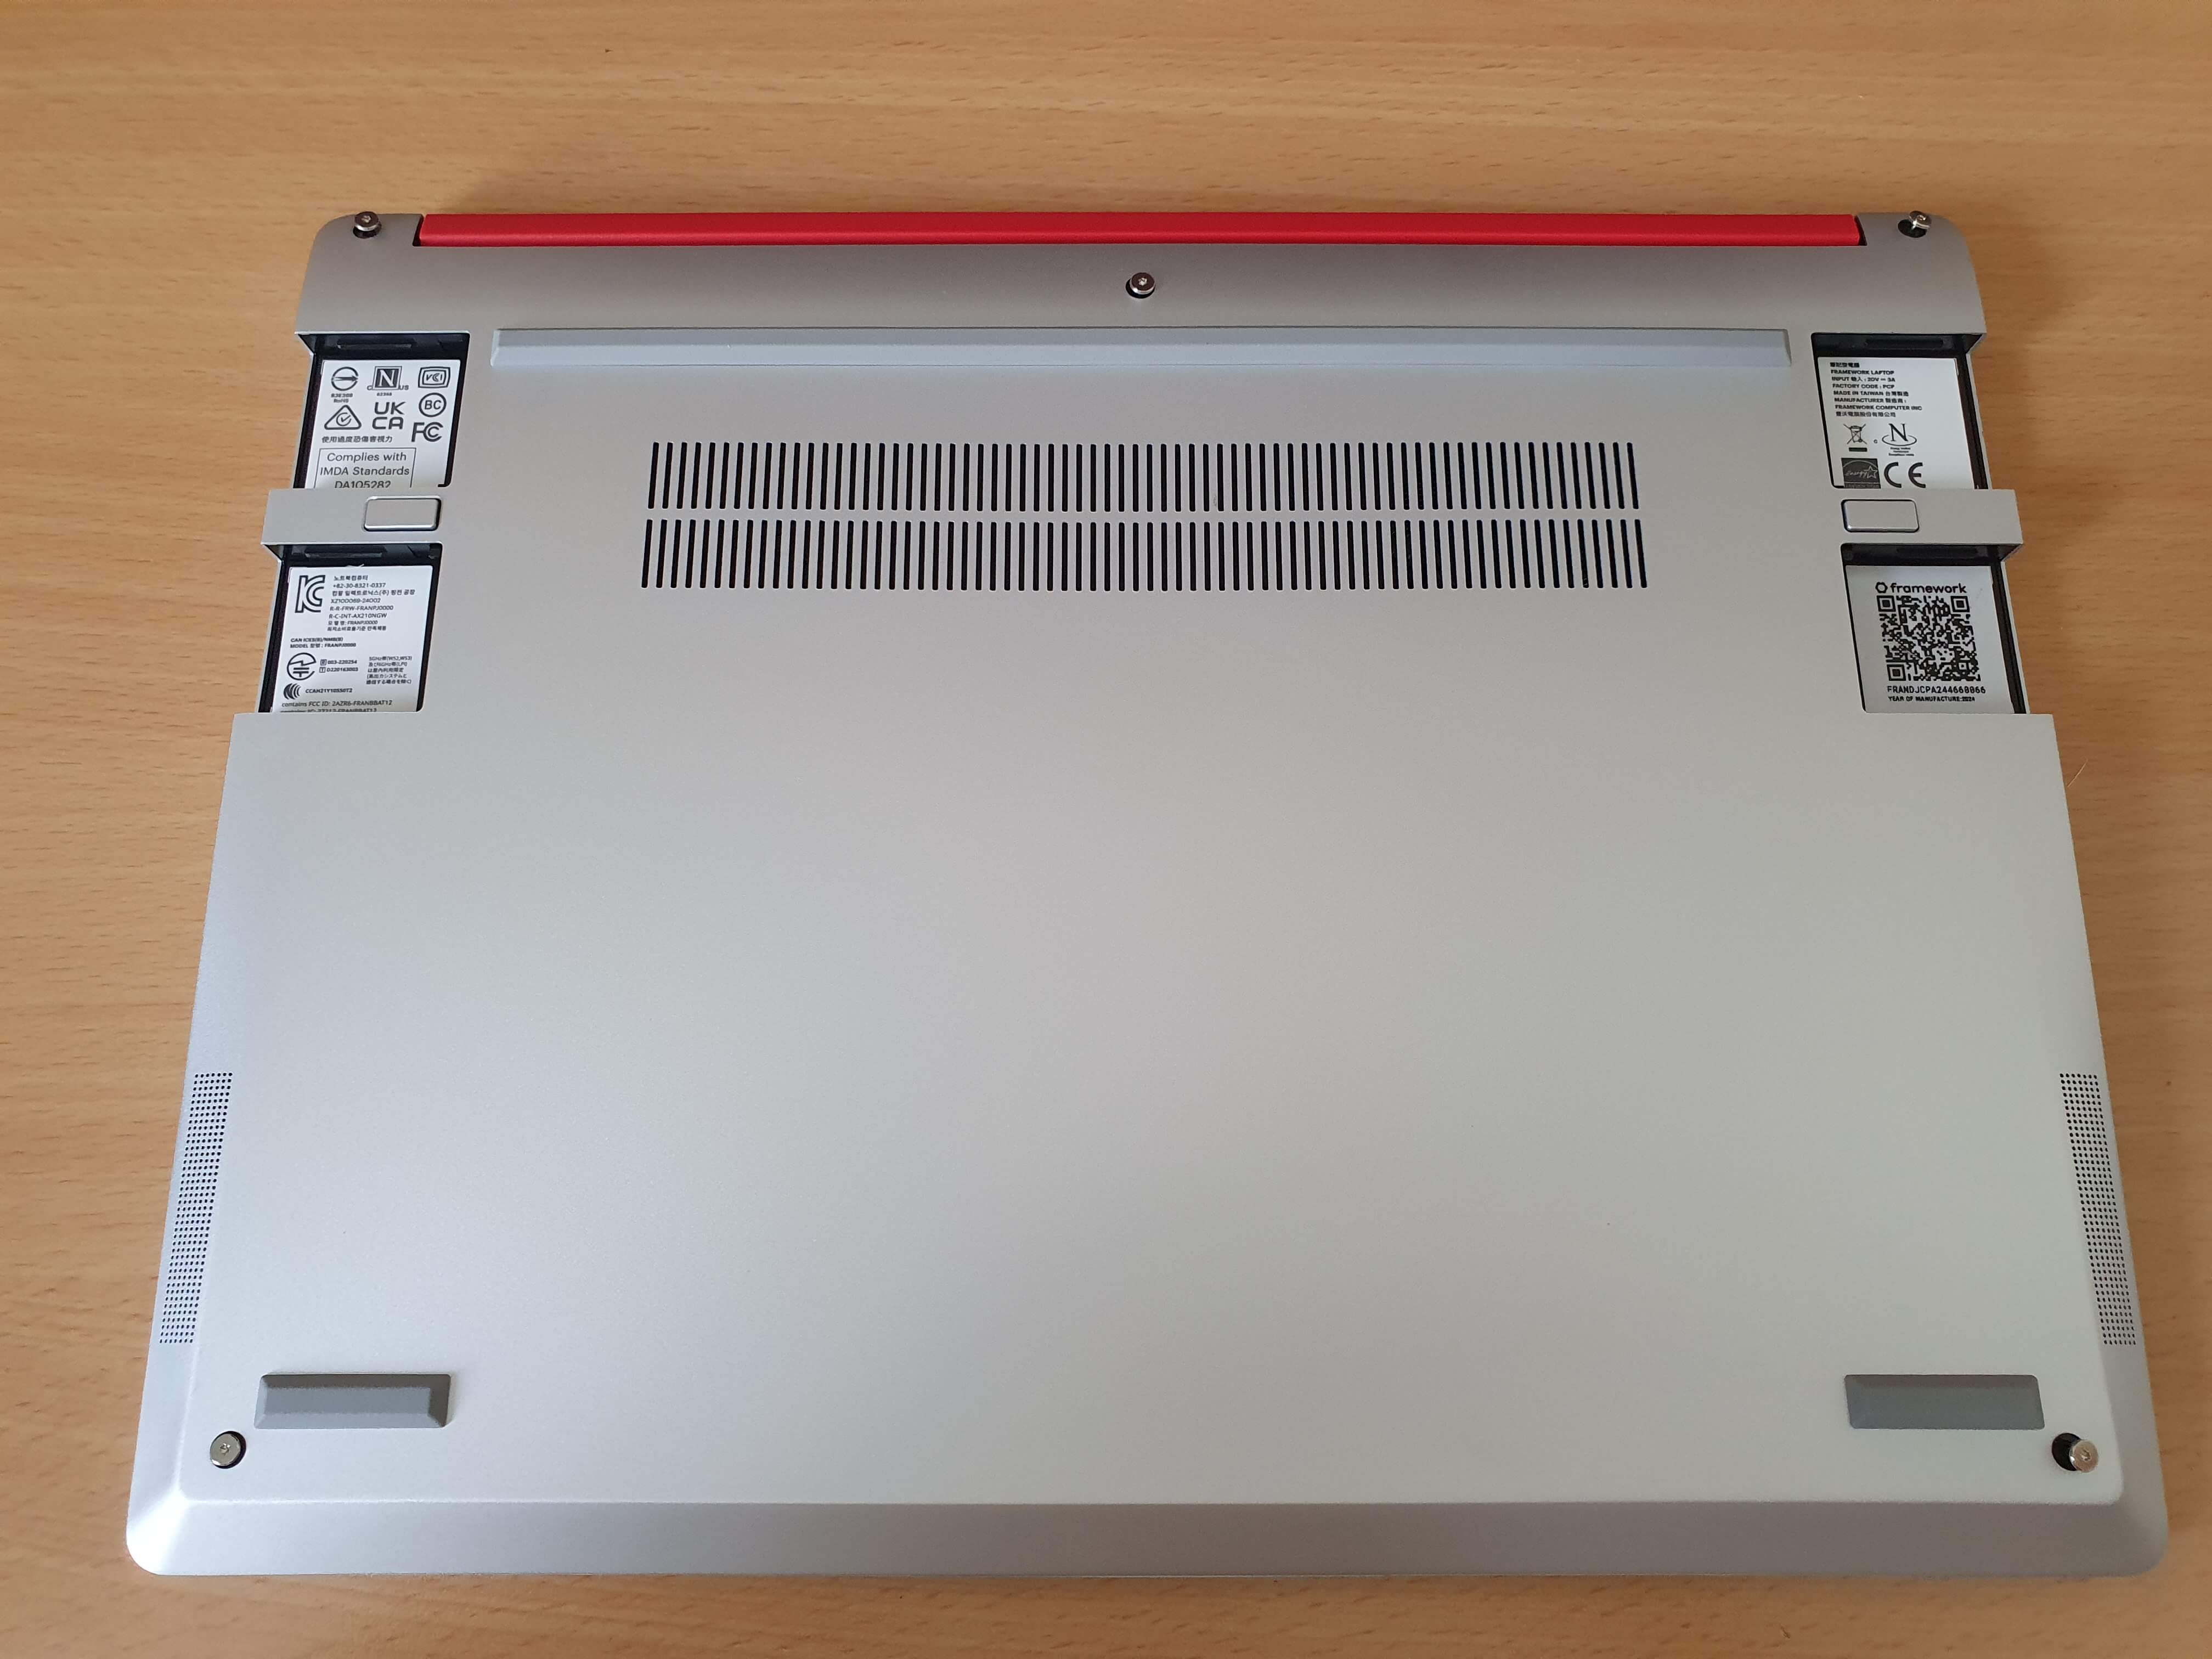
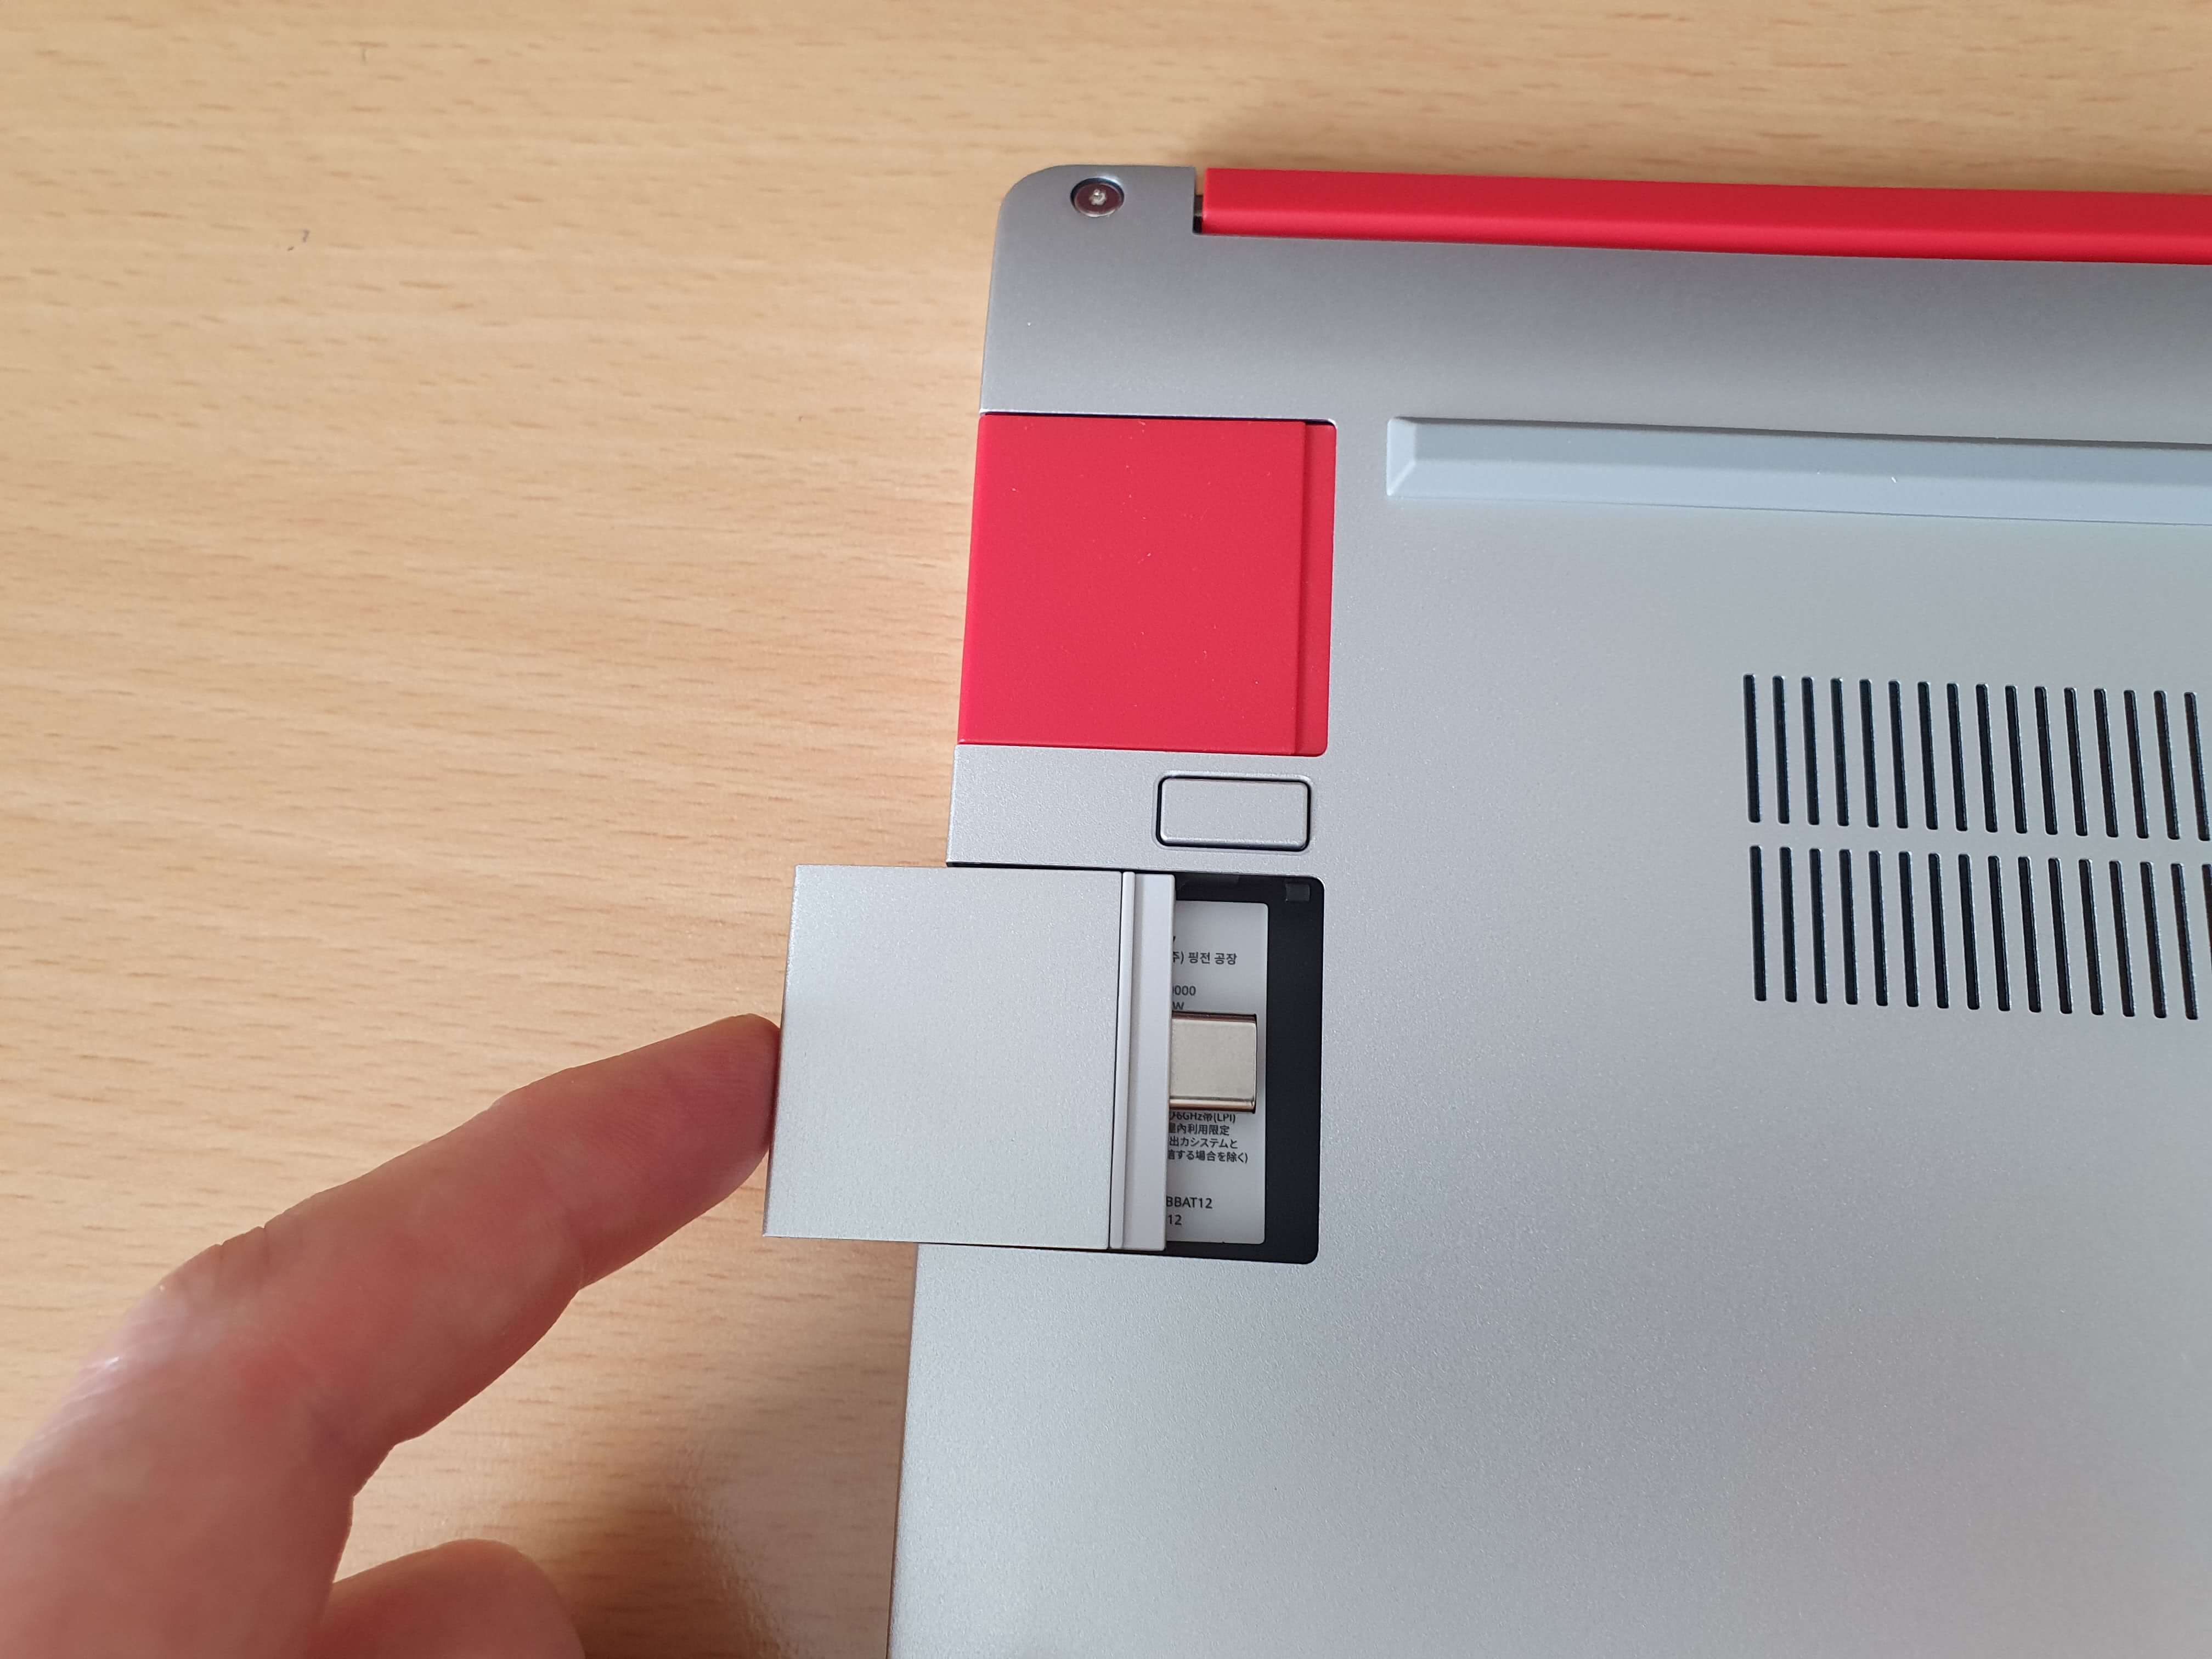
Let’s put those expansion cards in. On the male side, they’re all USB C. You can put them in any order, and swap them around at will, and even have spare expansions. I got an extra ethernet expansion card for moments when I need to physically plug into a network and debug things (happens more often than you’d believe). The USB C expansion cards can carry power signals, and also come in colours. They had to match of course.
Final stretch. Let’s plug it in and power it on.
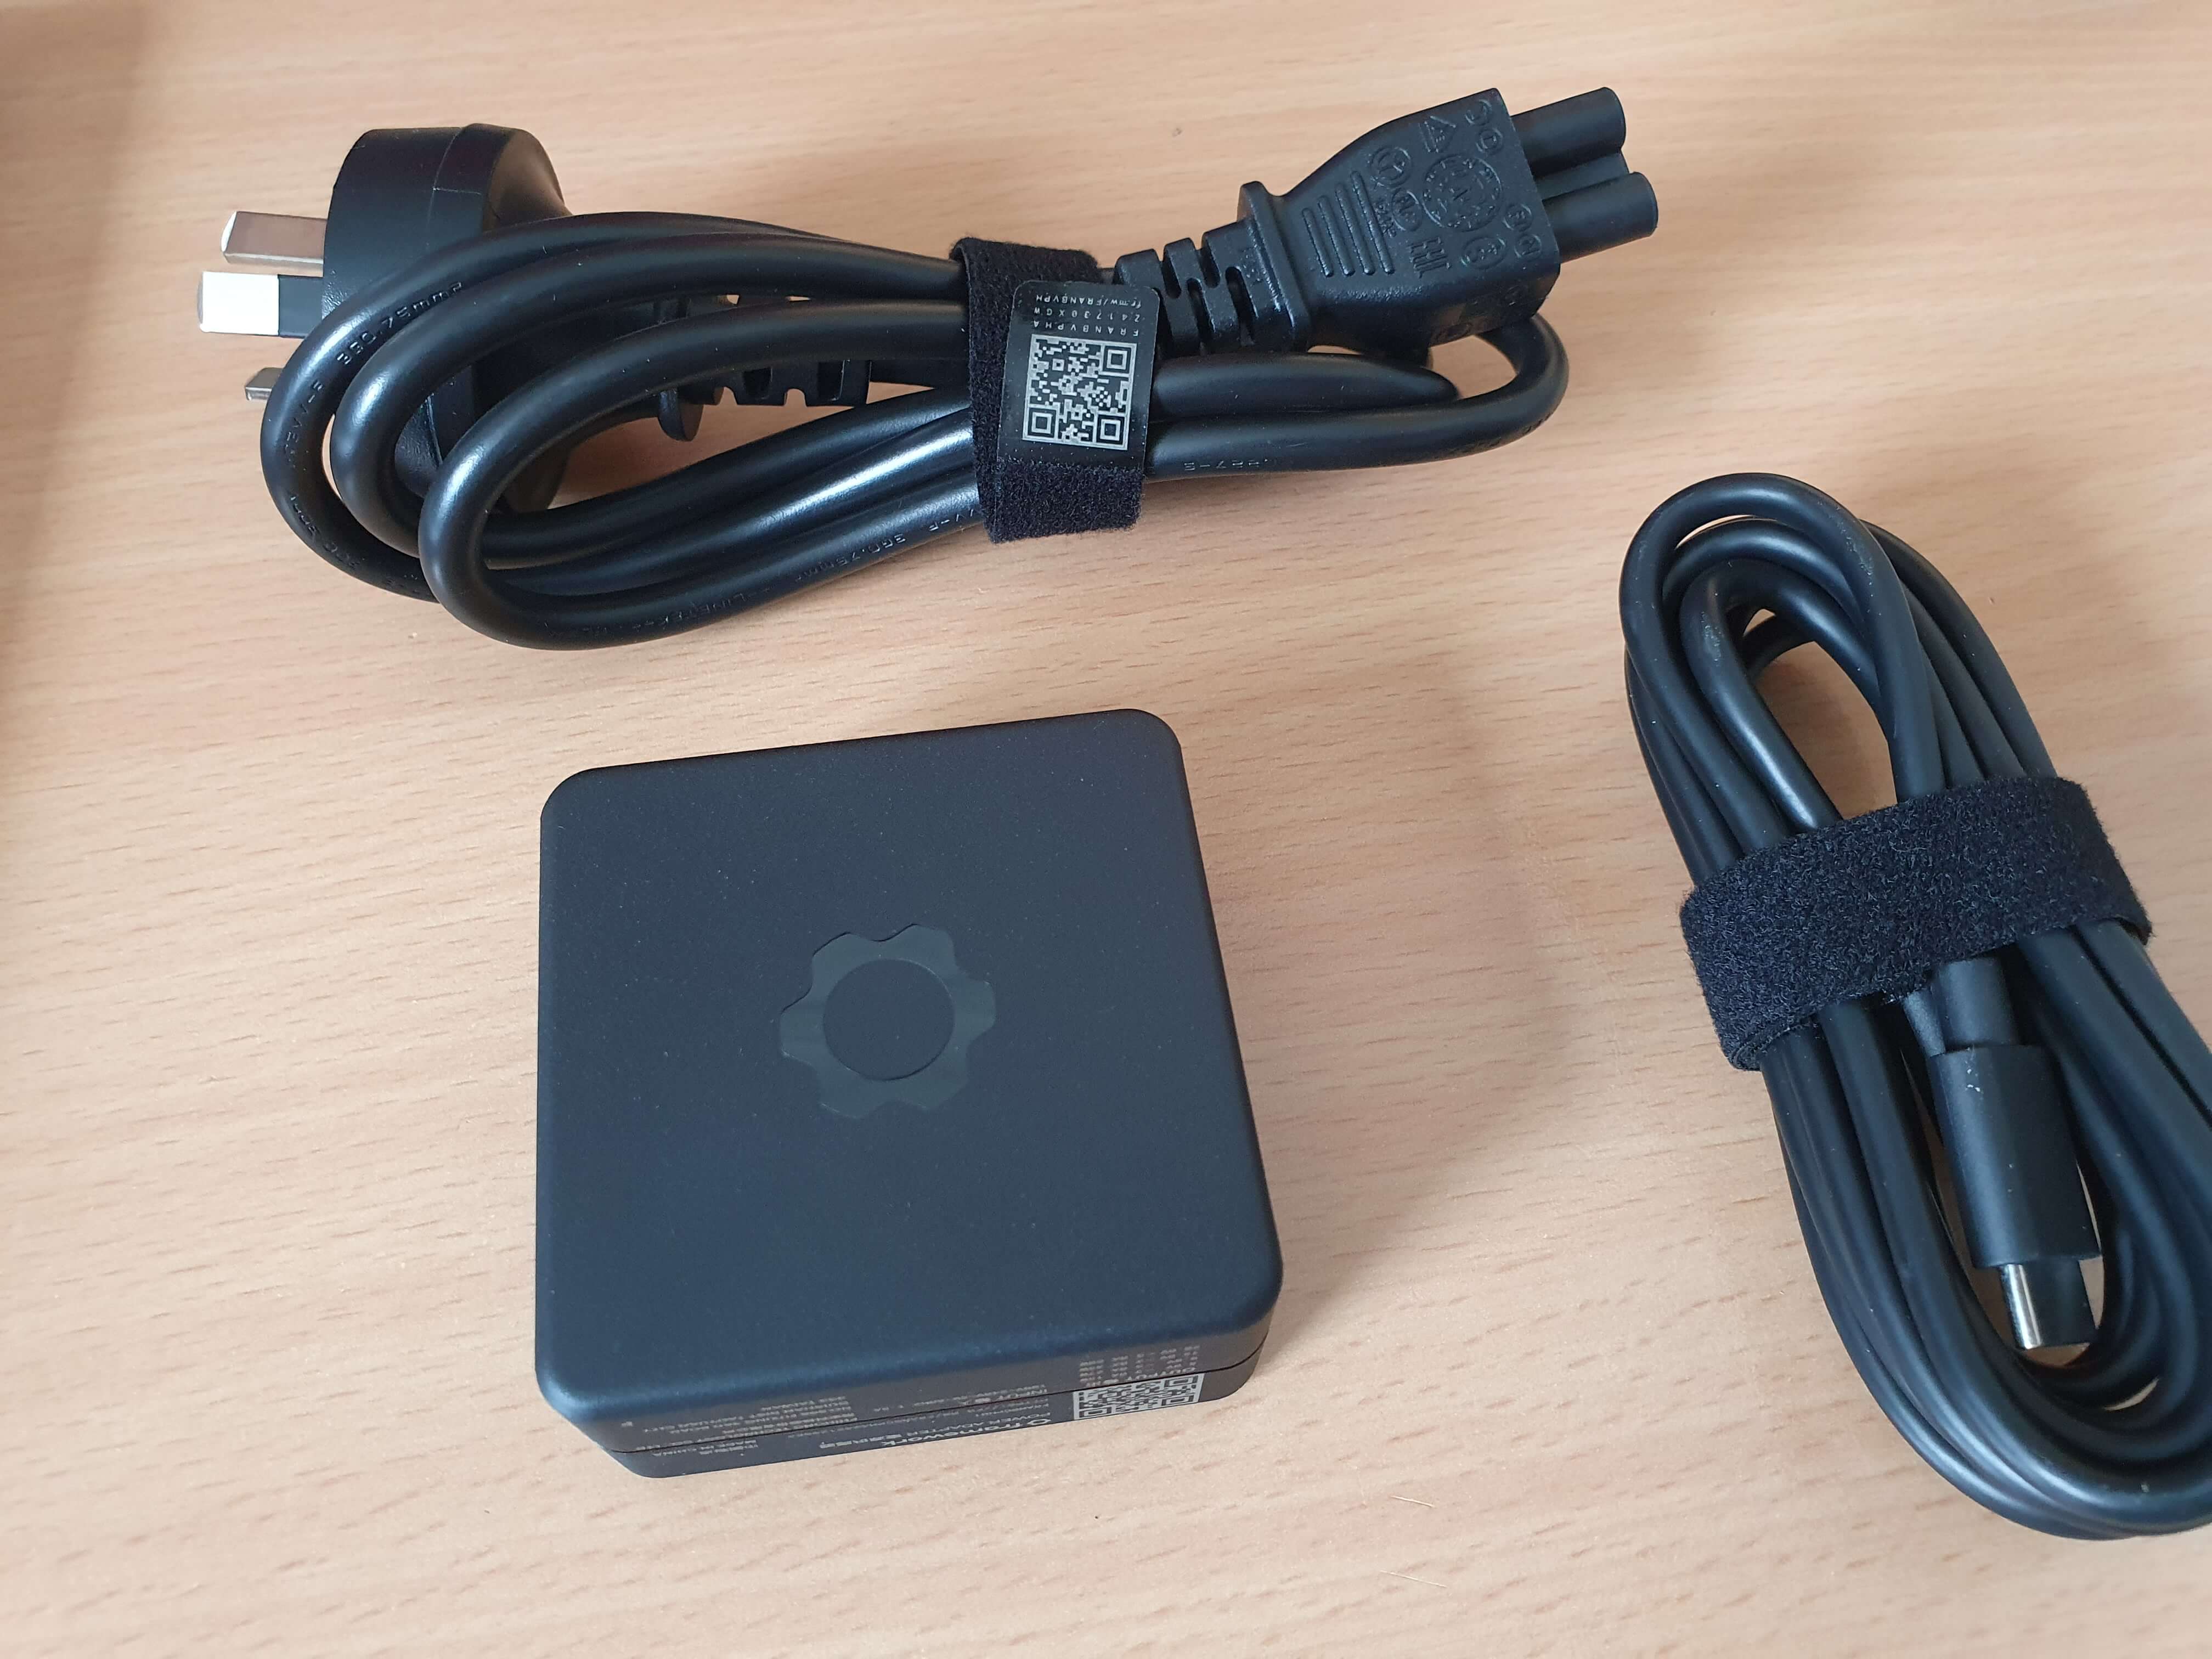
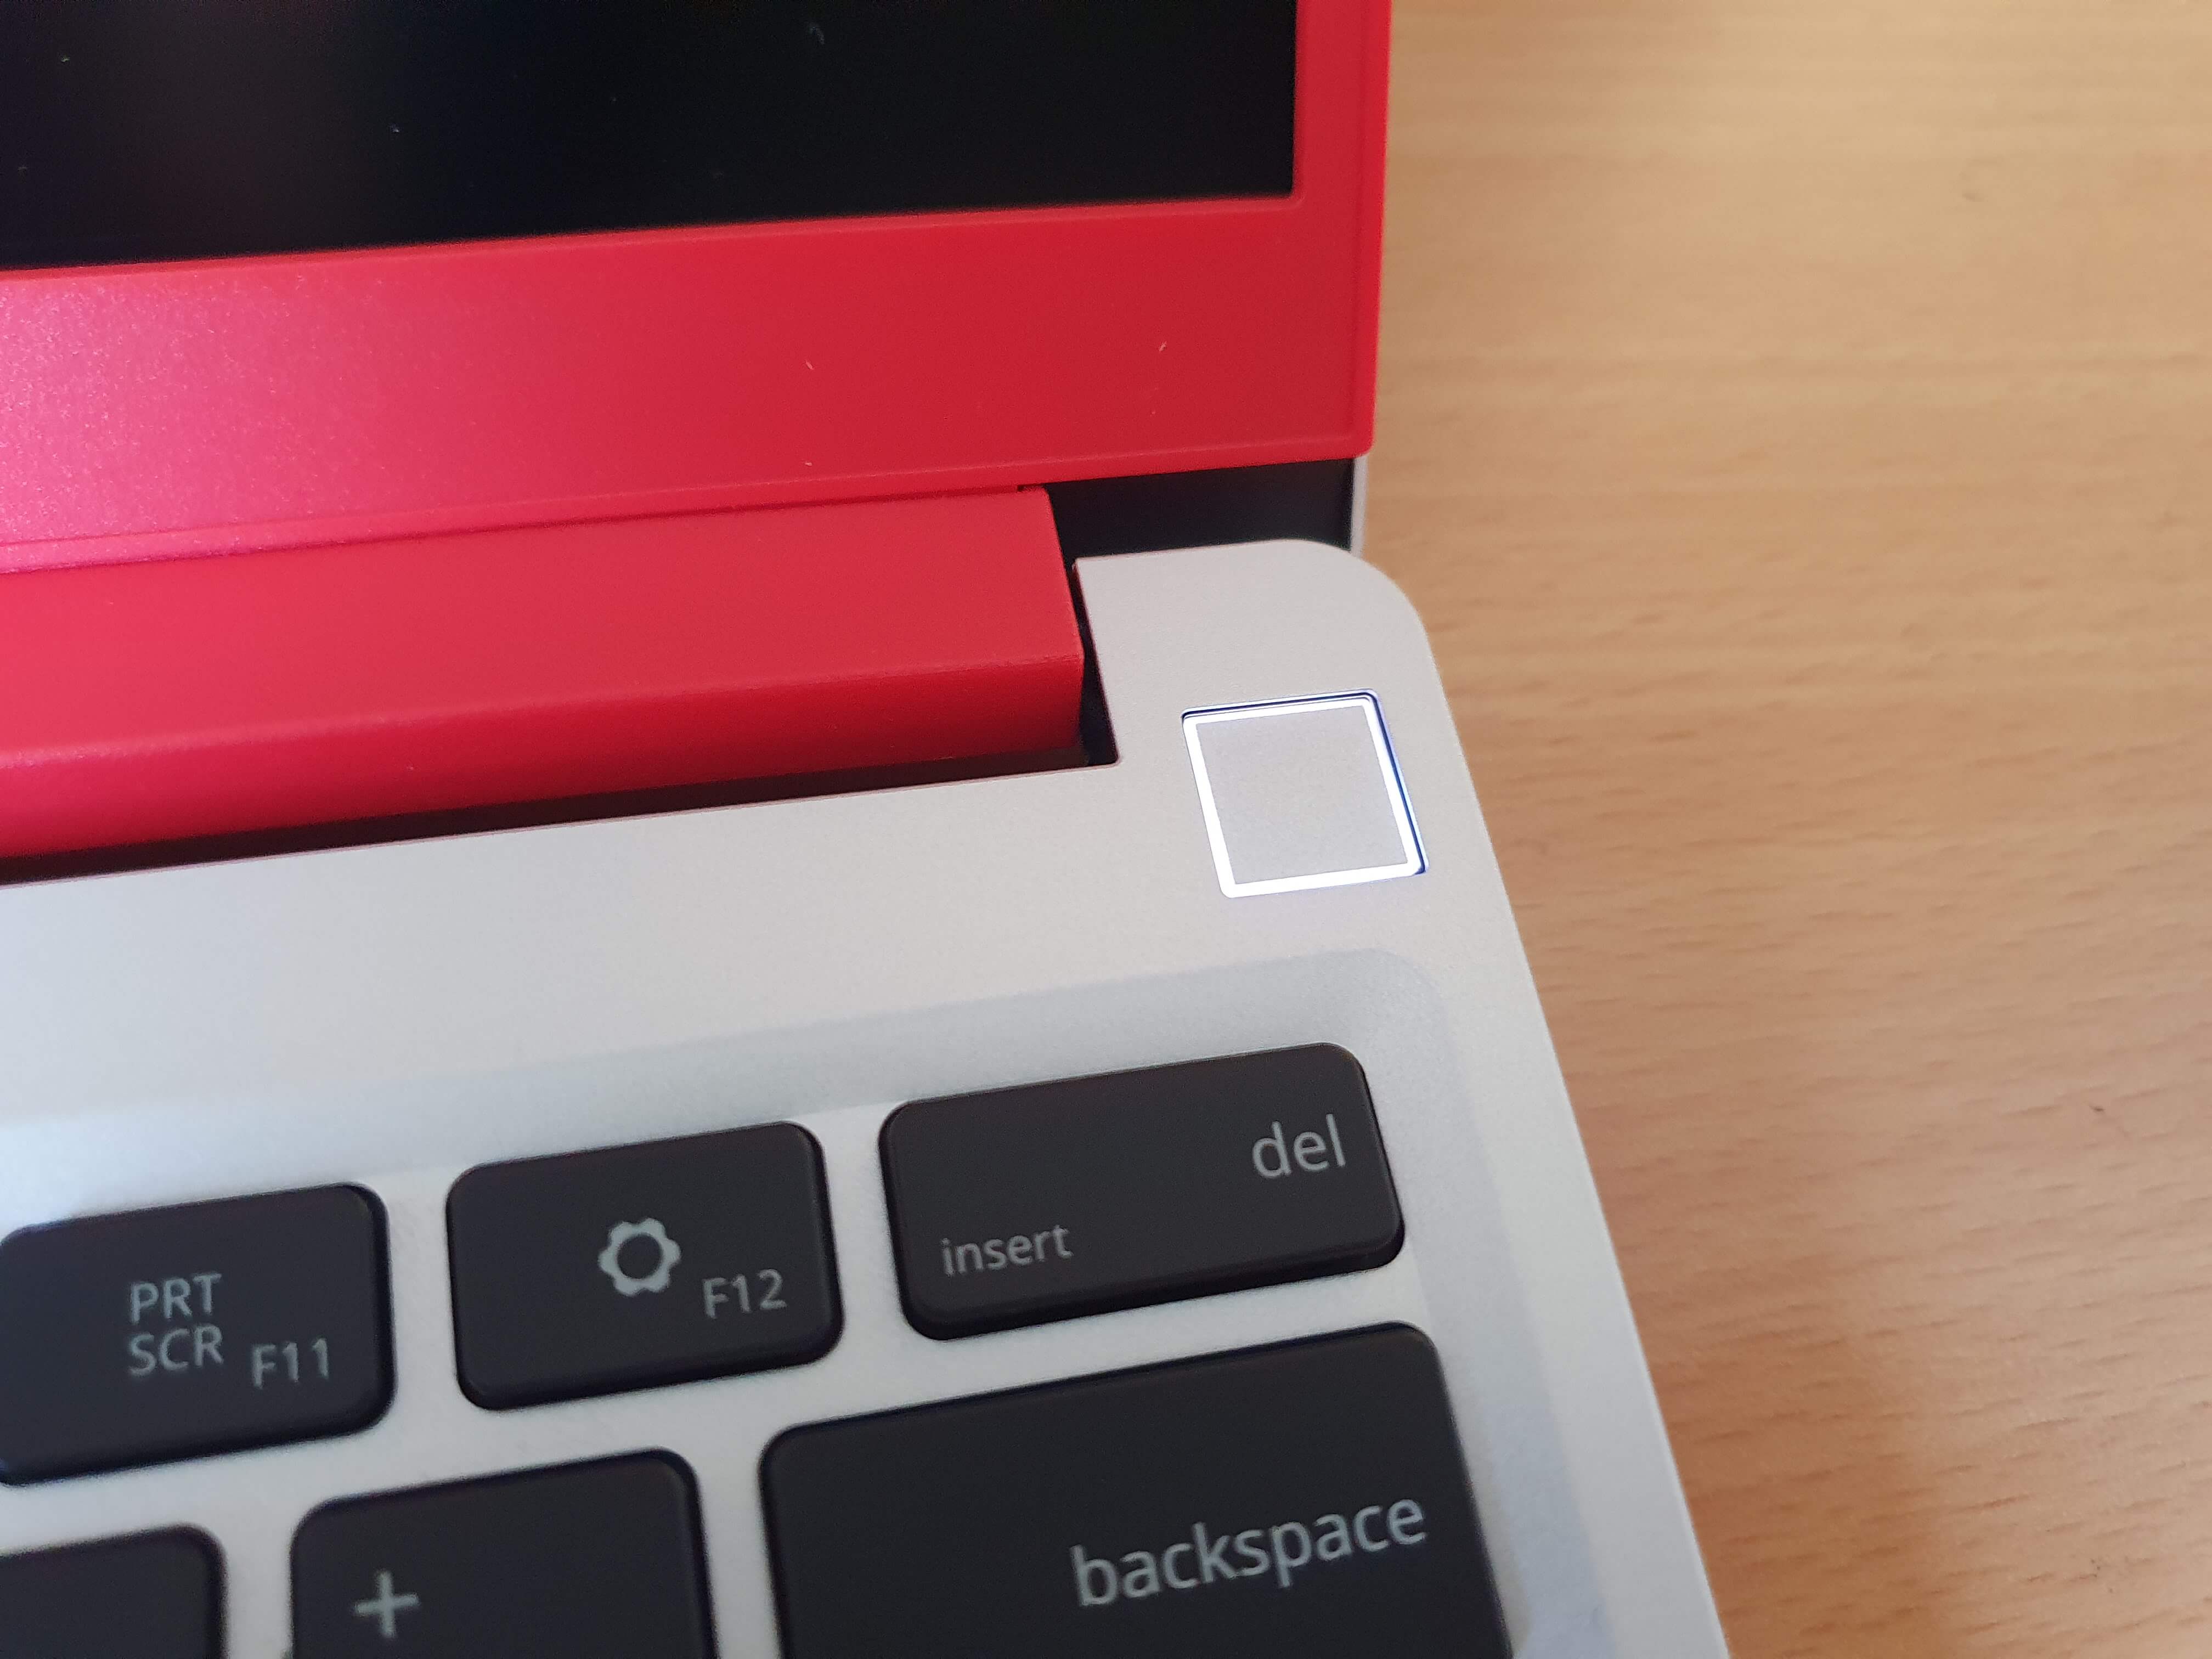
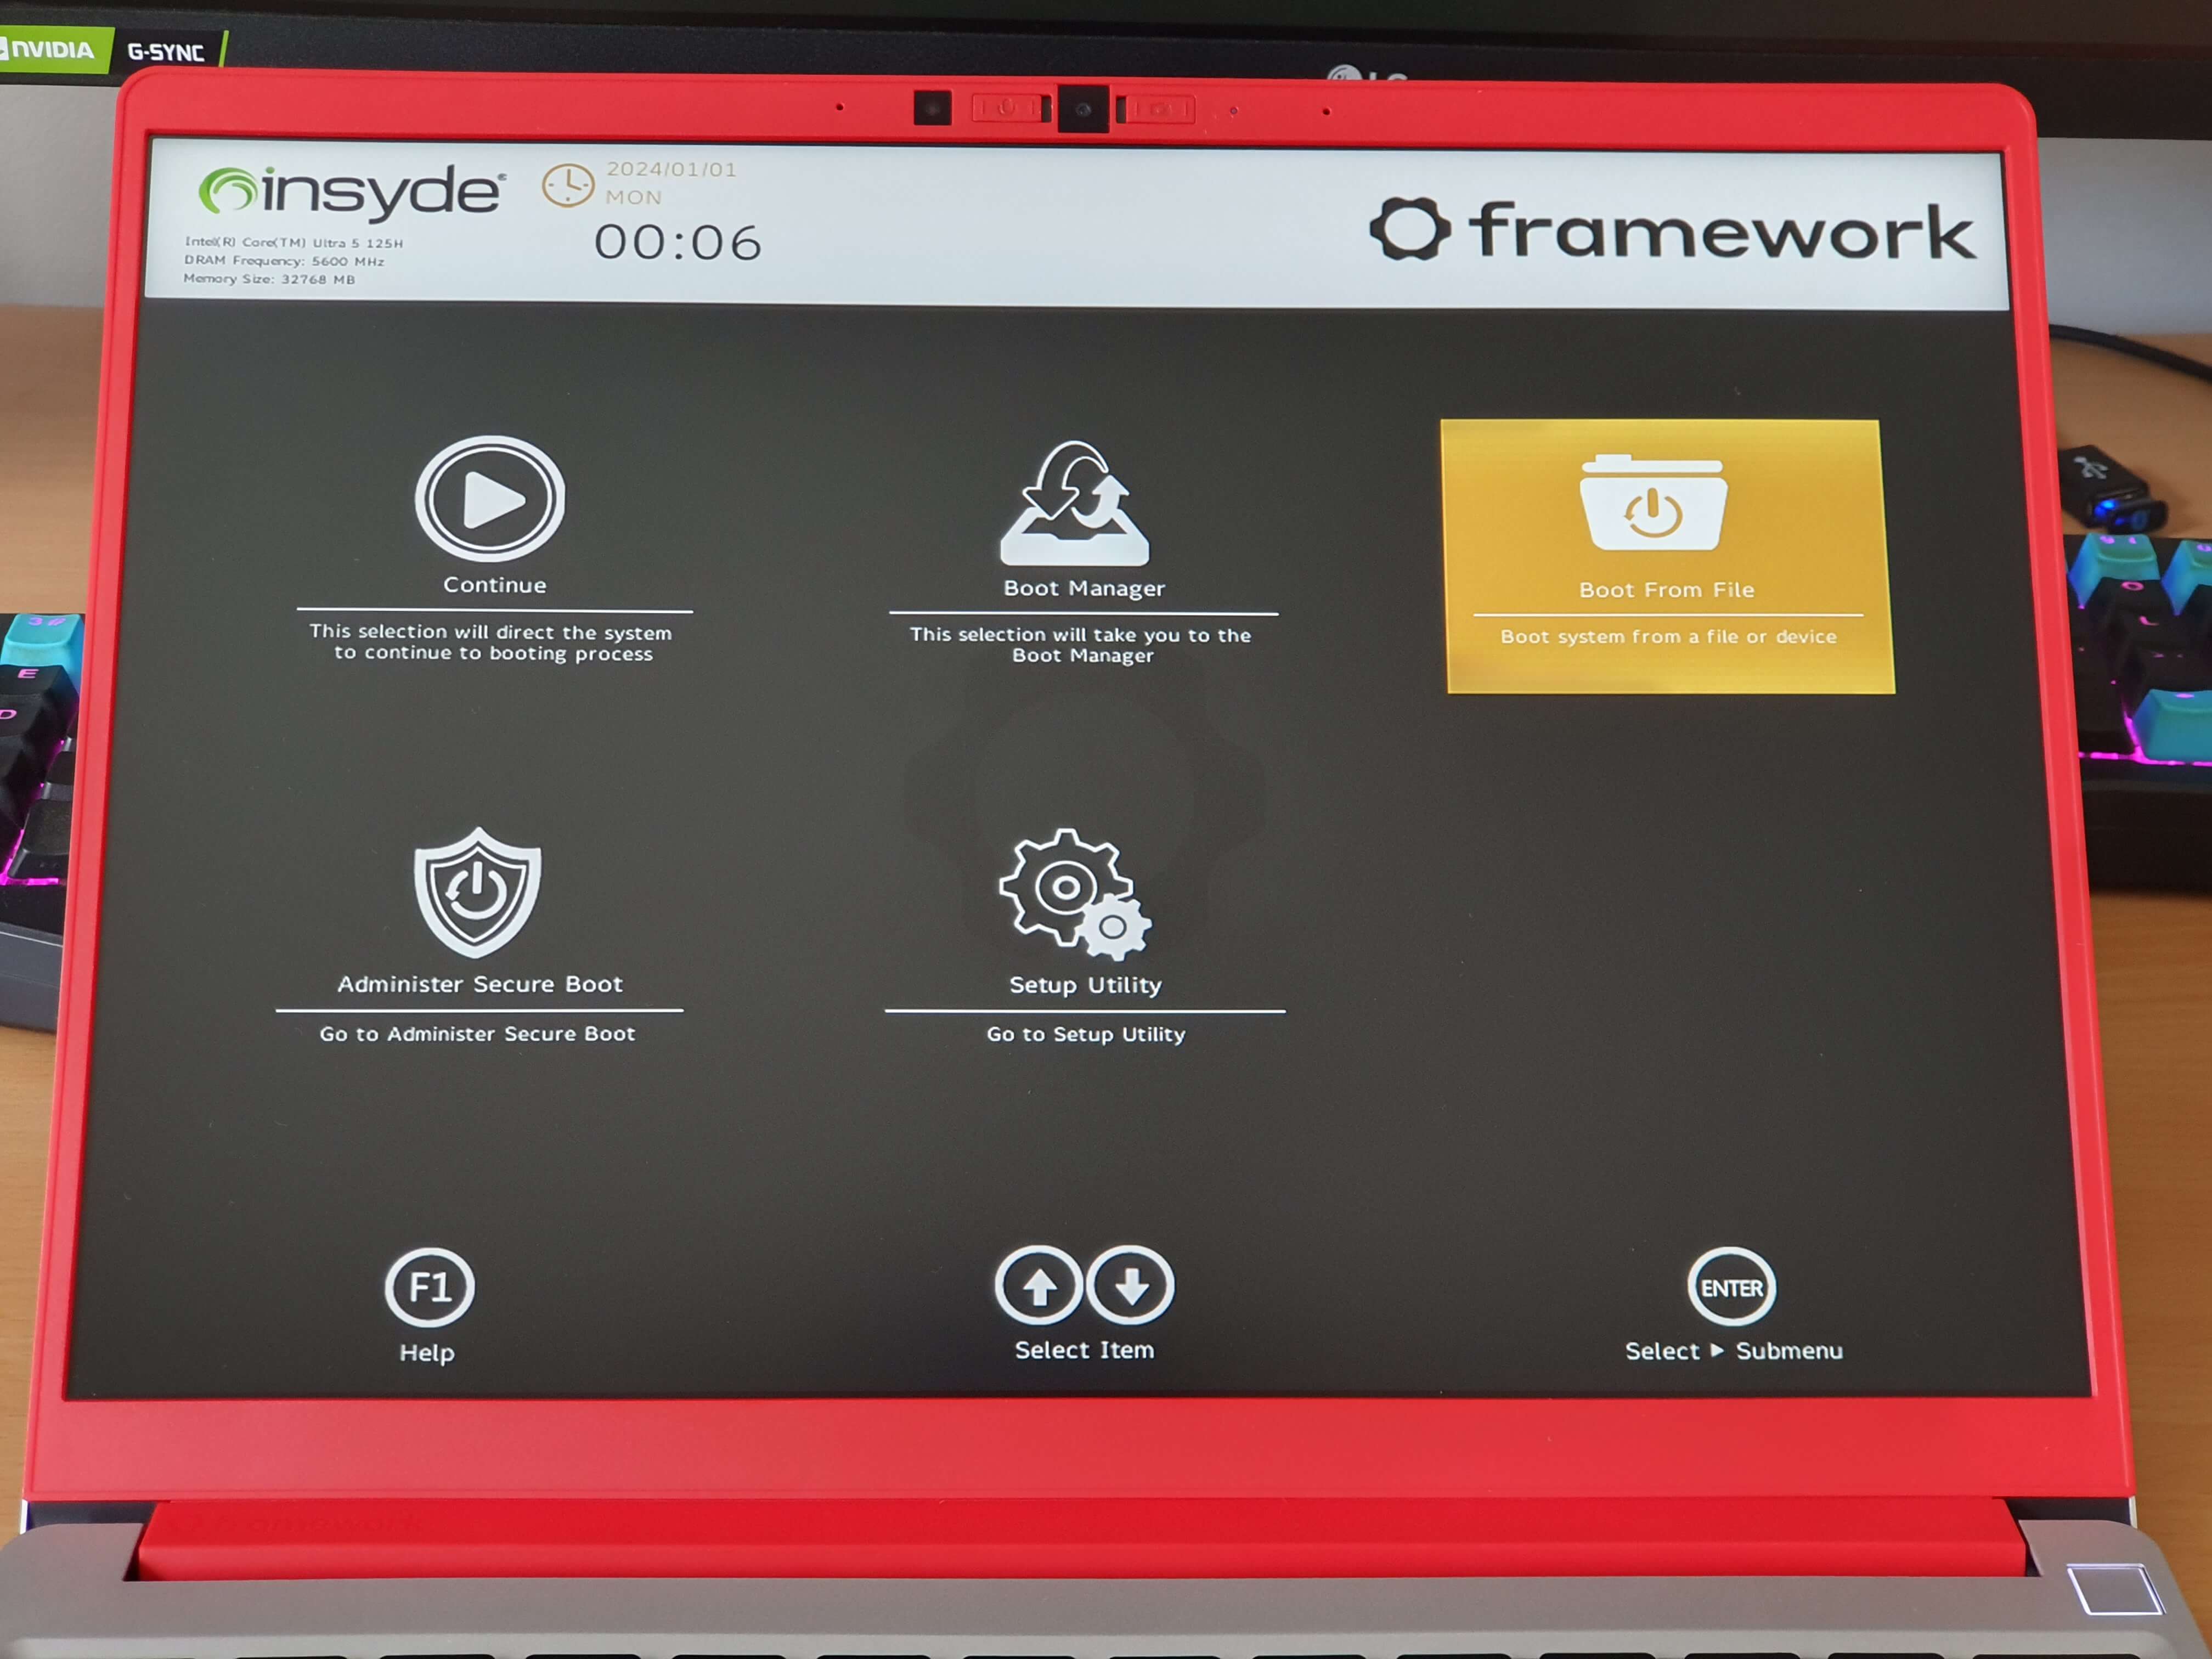
🎉

Obviously the most important part can’t be forgotten…
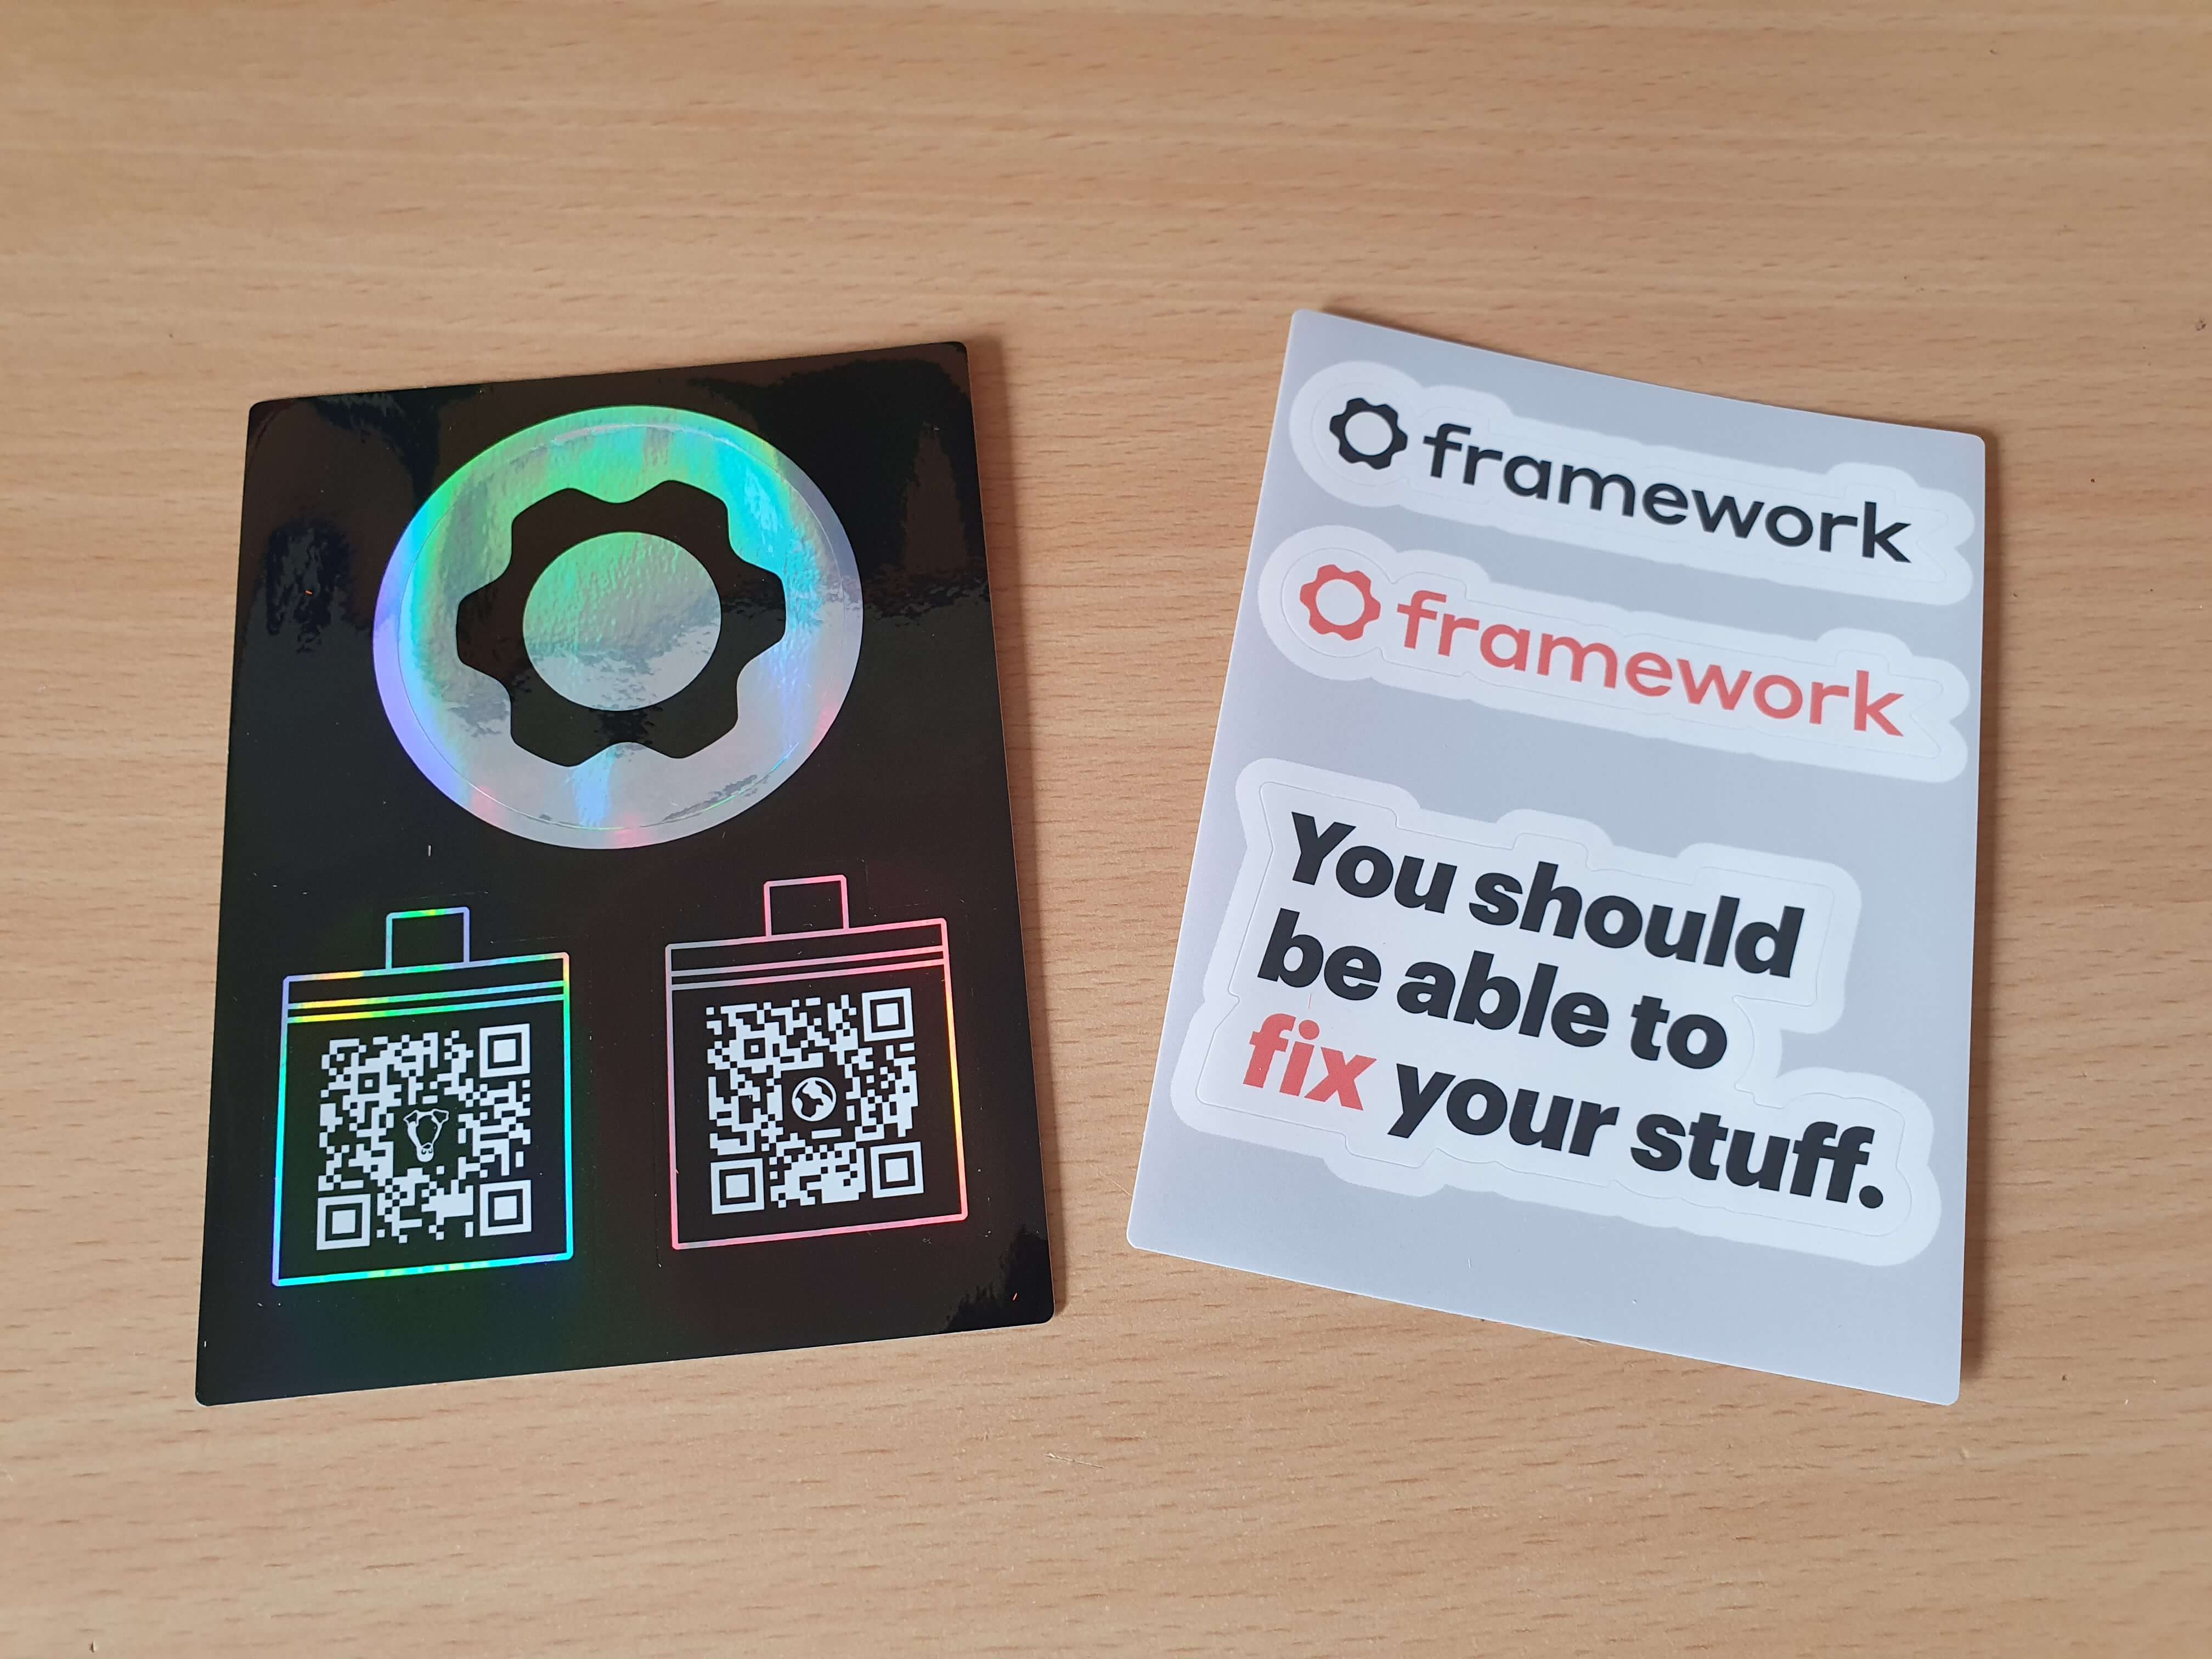
10/10, would build again.